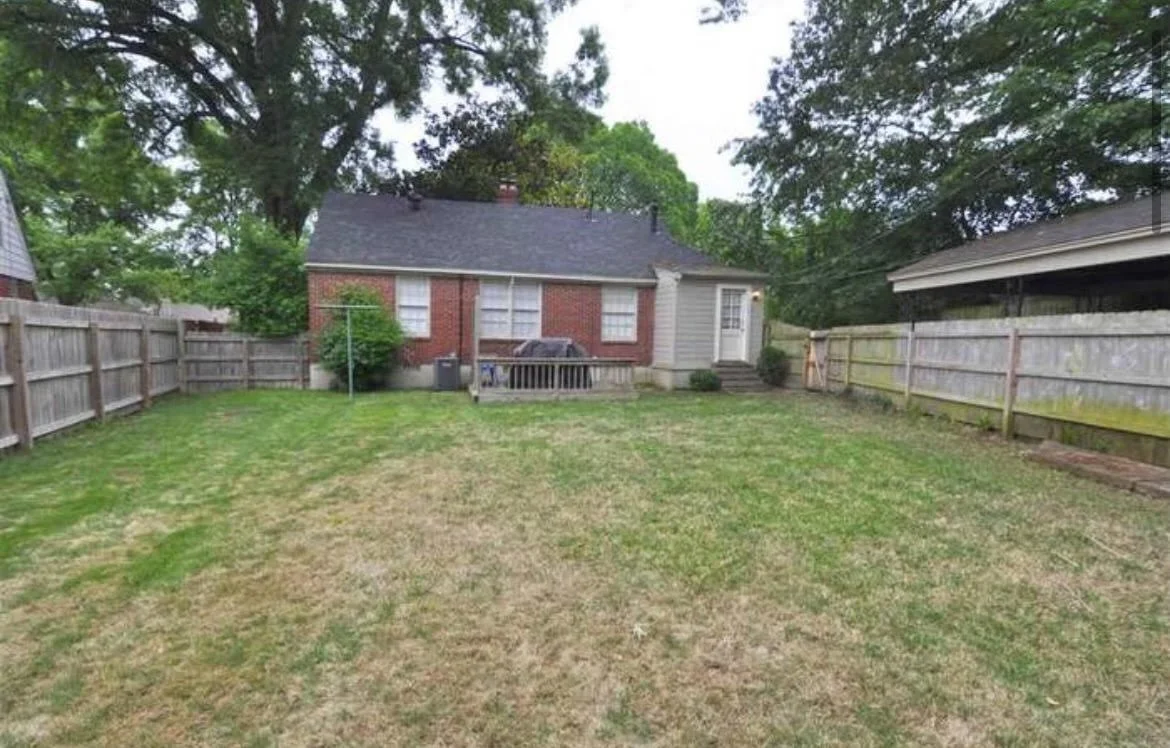
High-Point Terrace Addition
-
![]()
Day 1
-
![]()
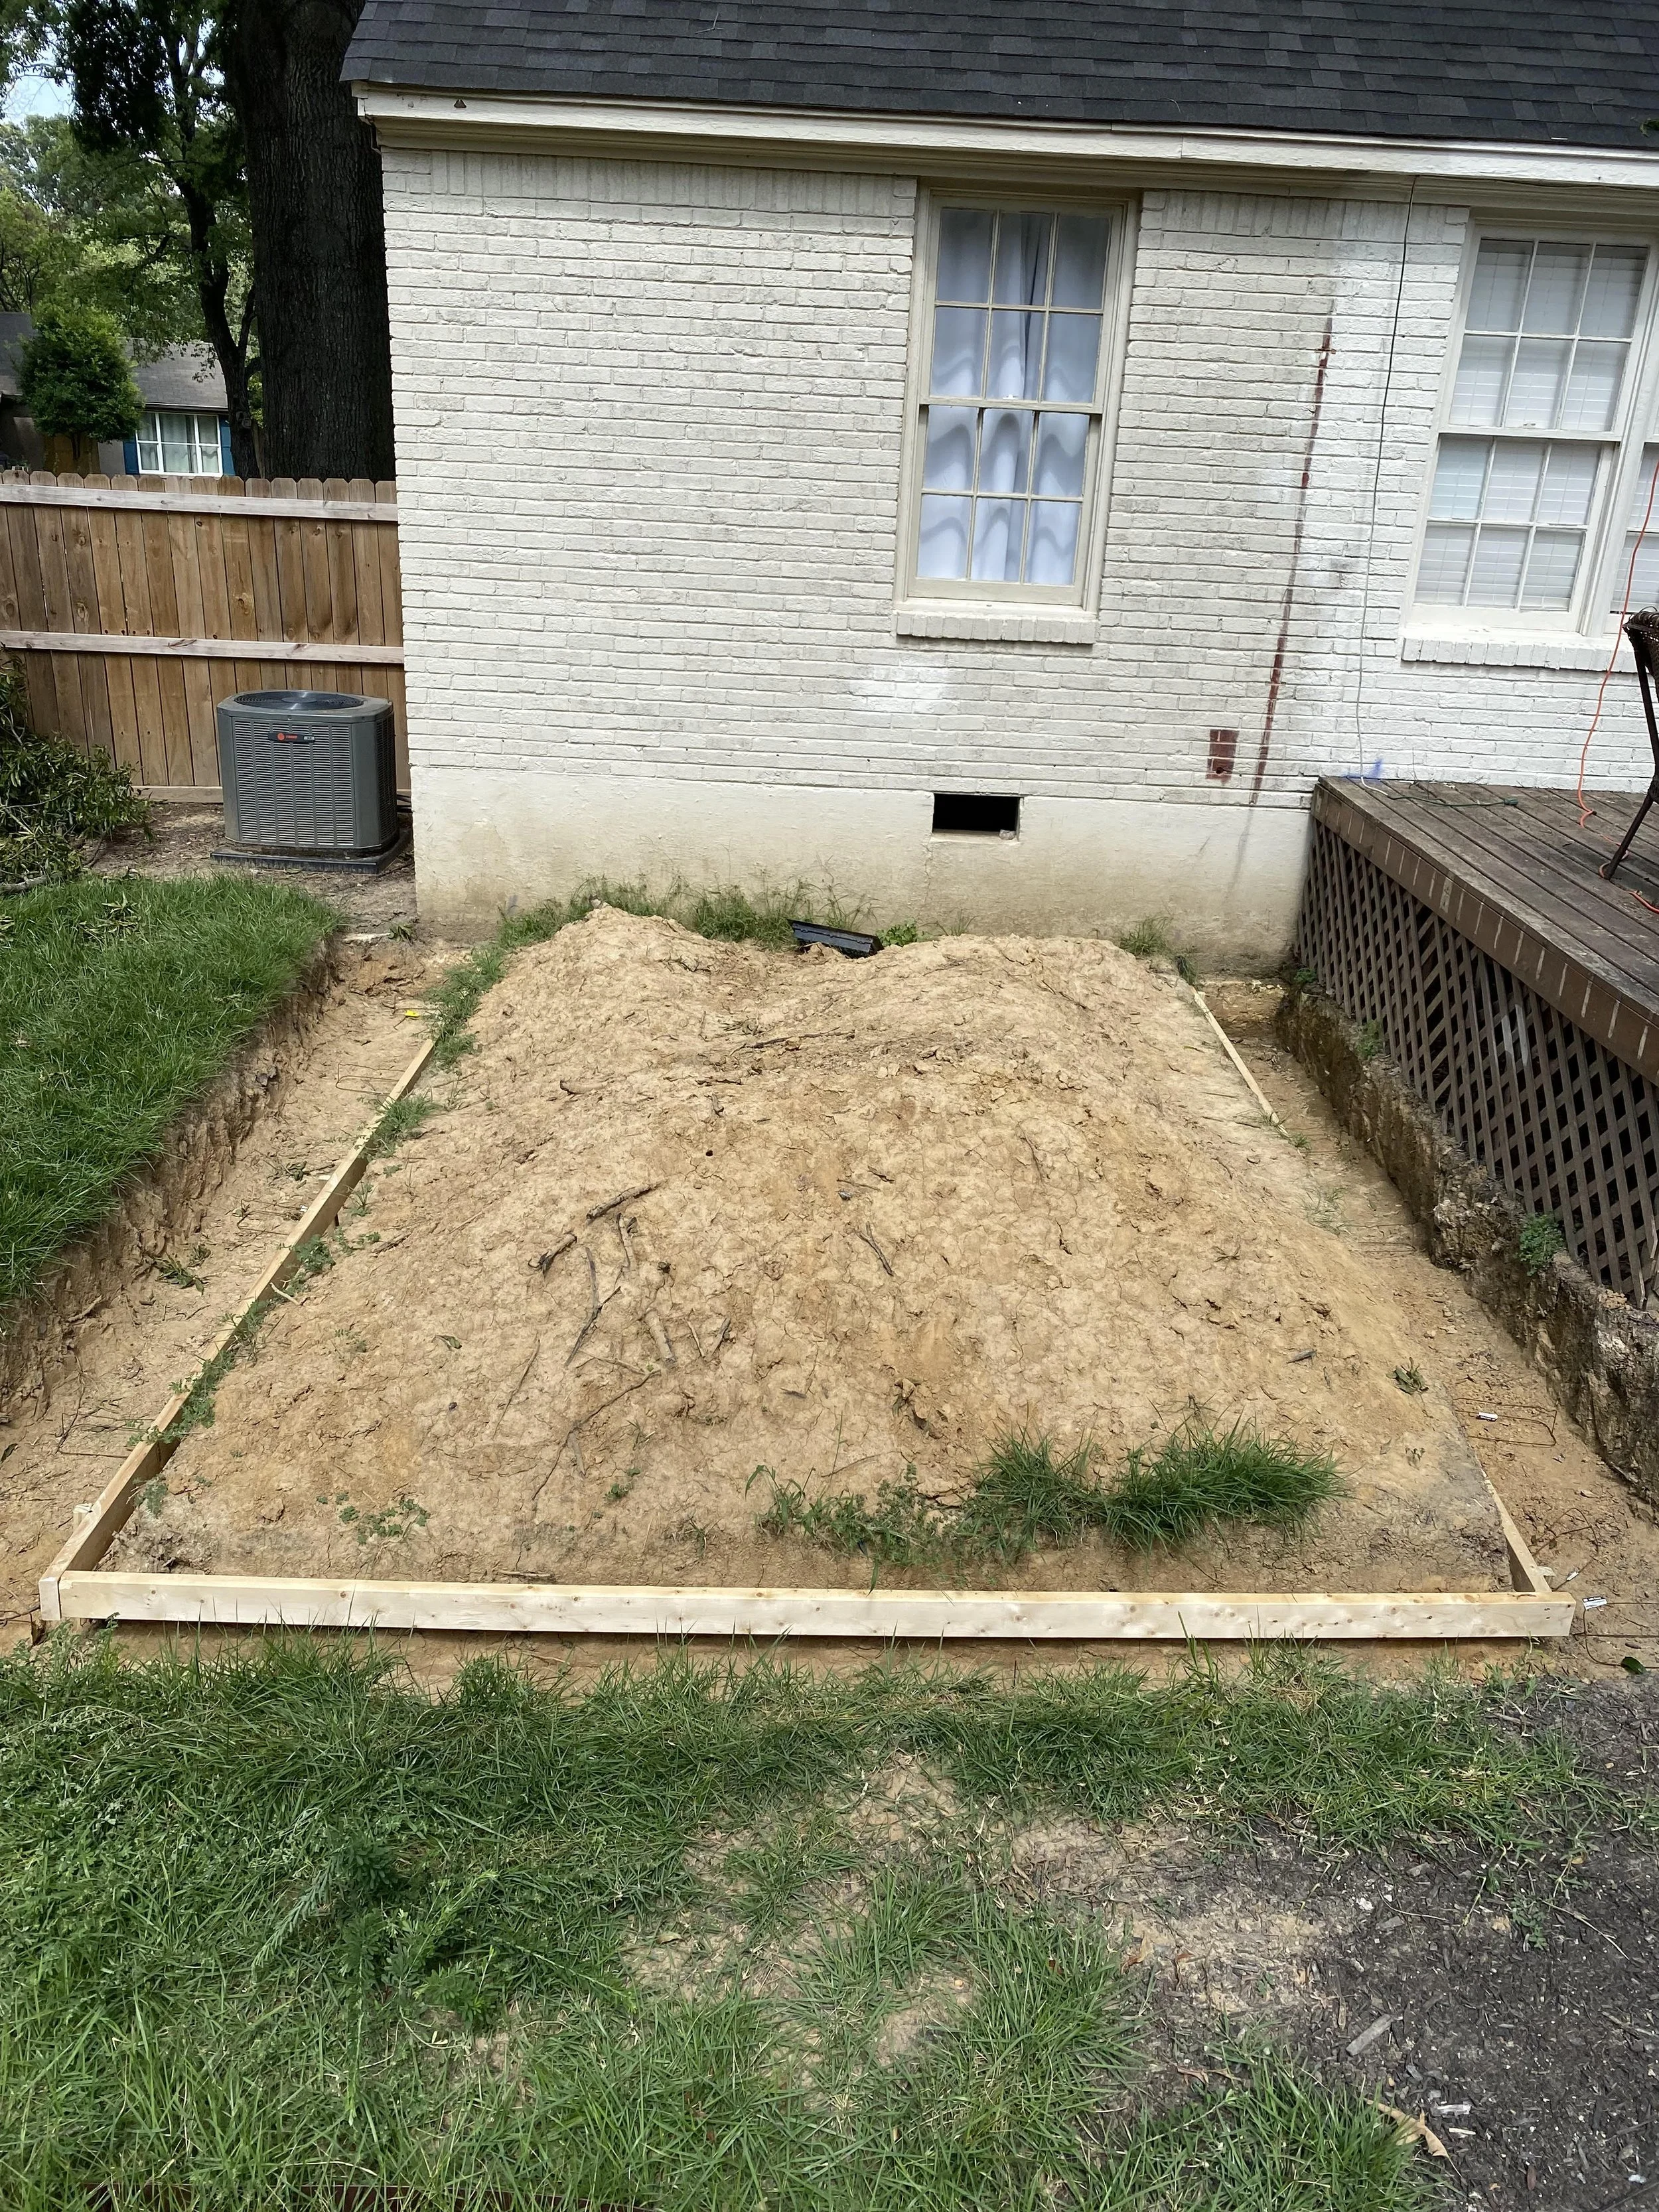
Digging footings
-
![]()
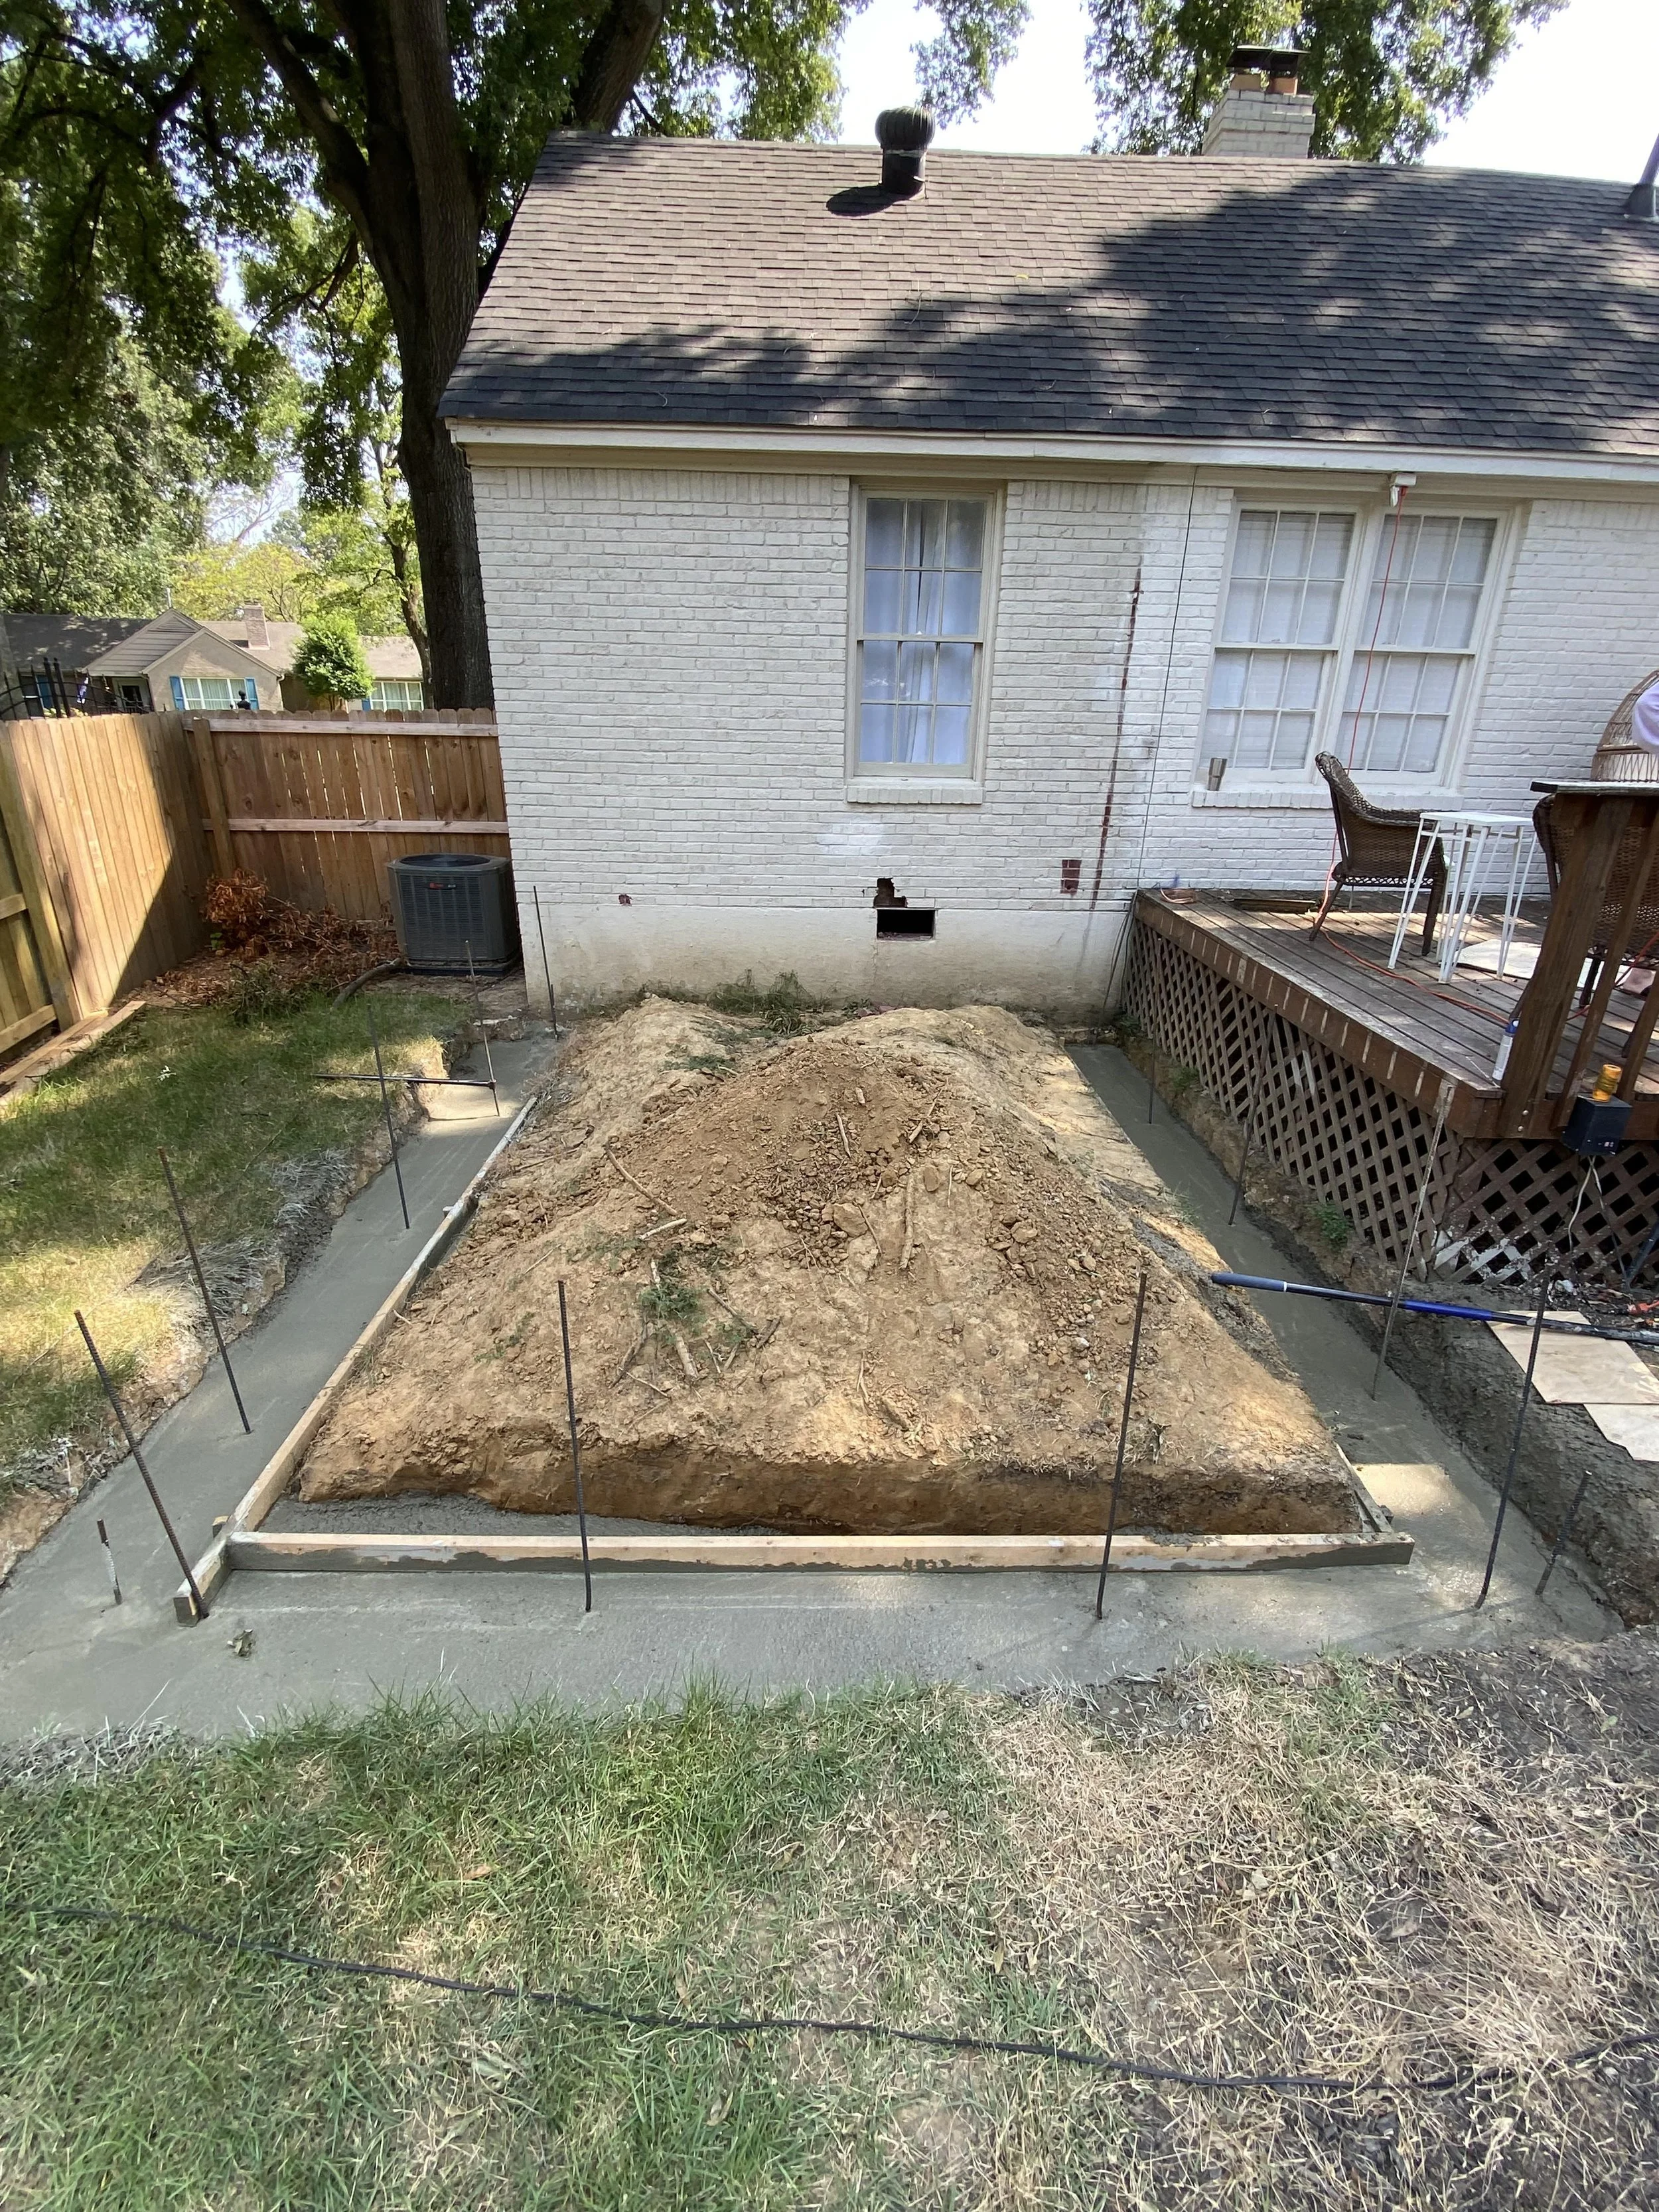
Pouring footings
-
![]()
Adding block
-
![]()
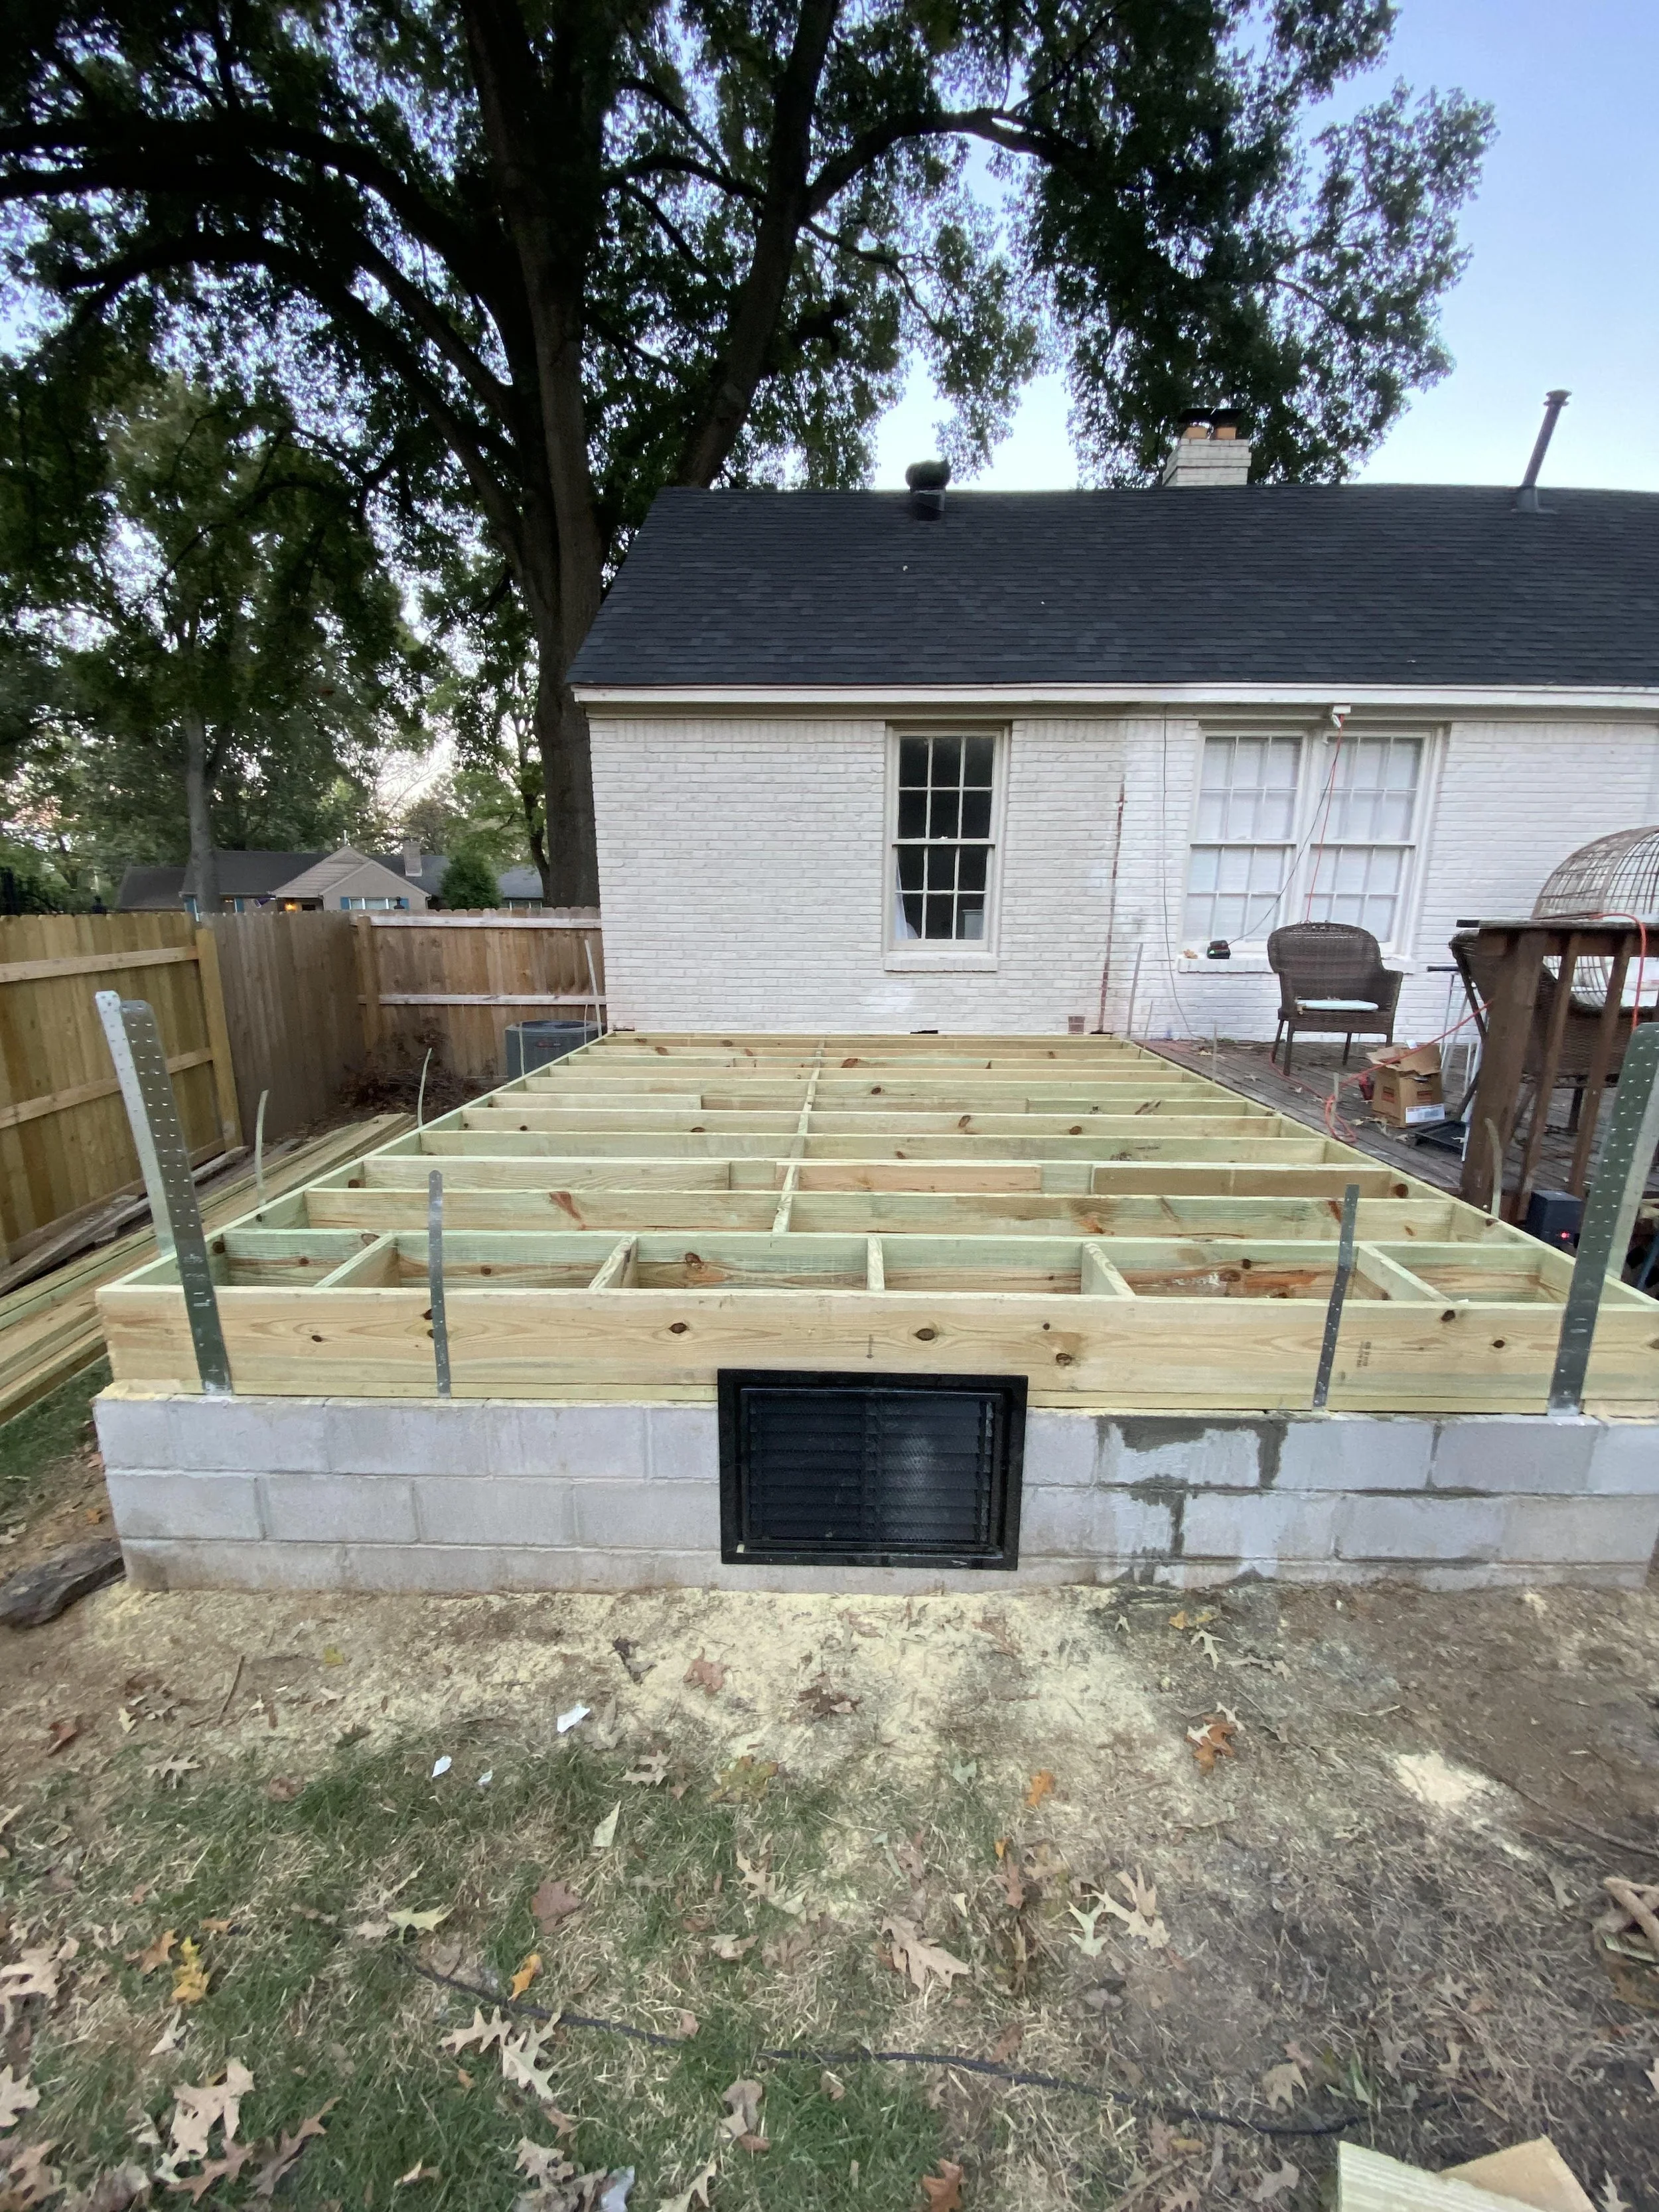
Floor joists
-
![]()
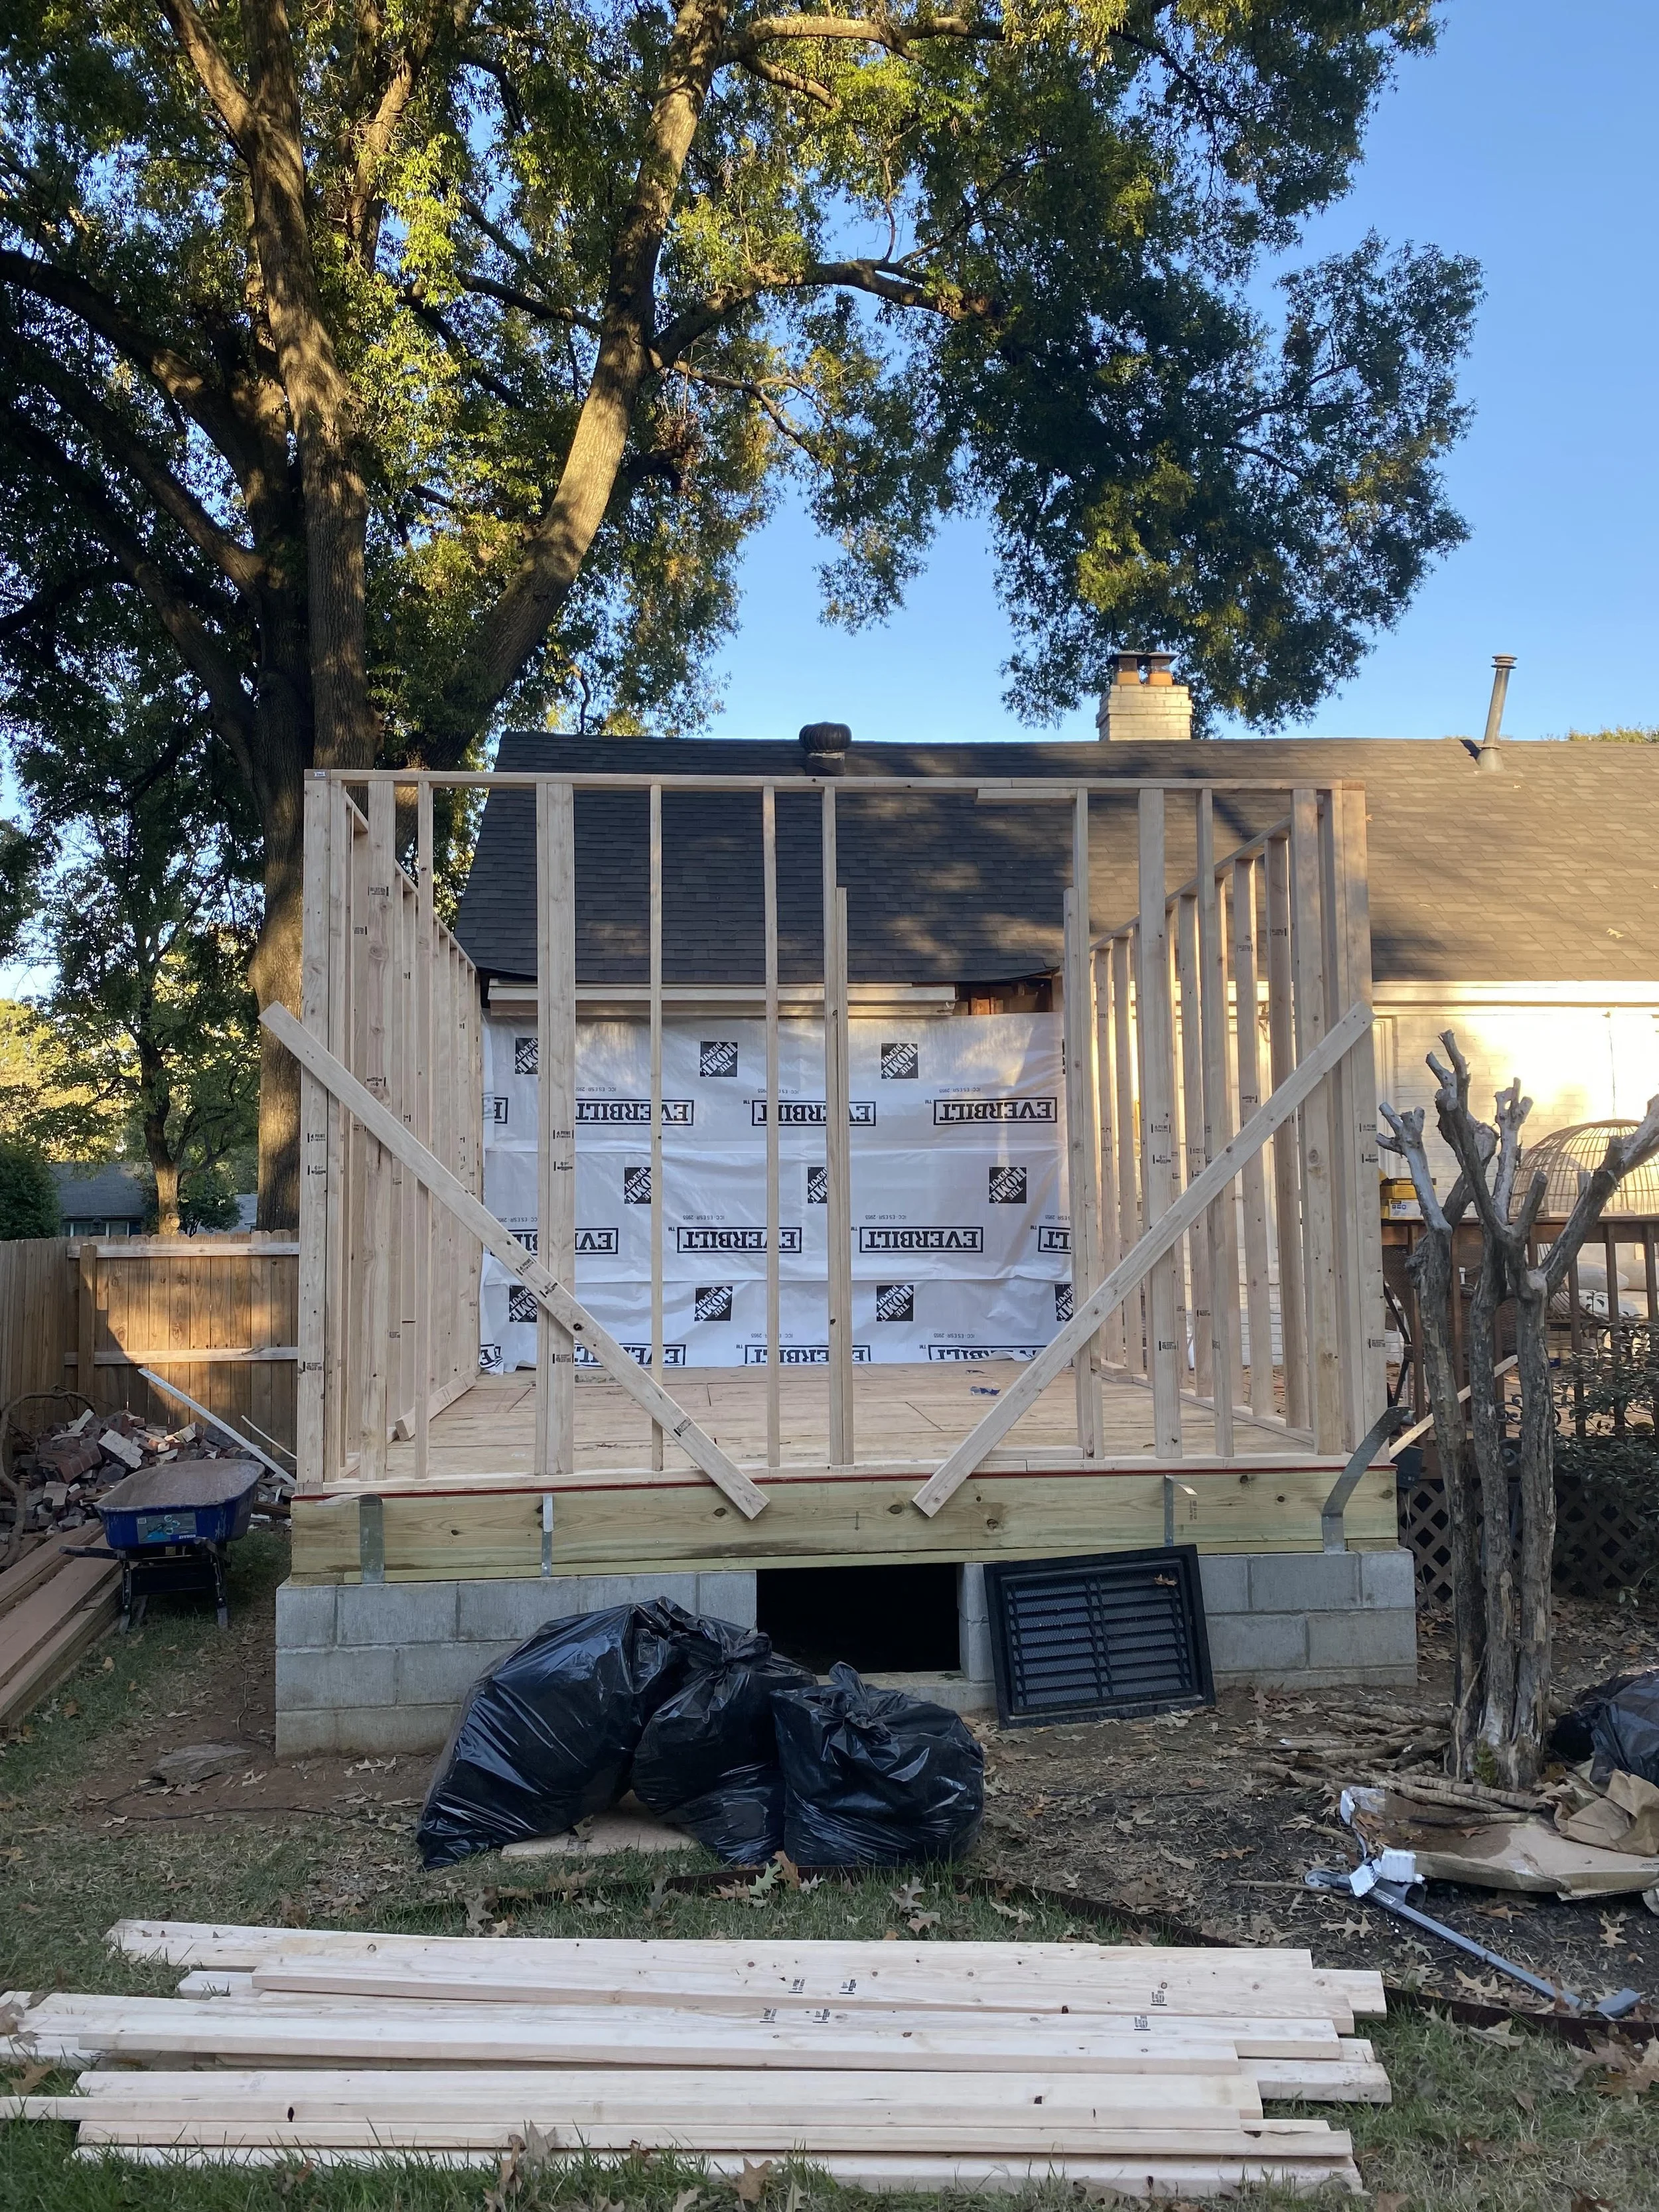
Wall framing
-
![]()
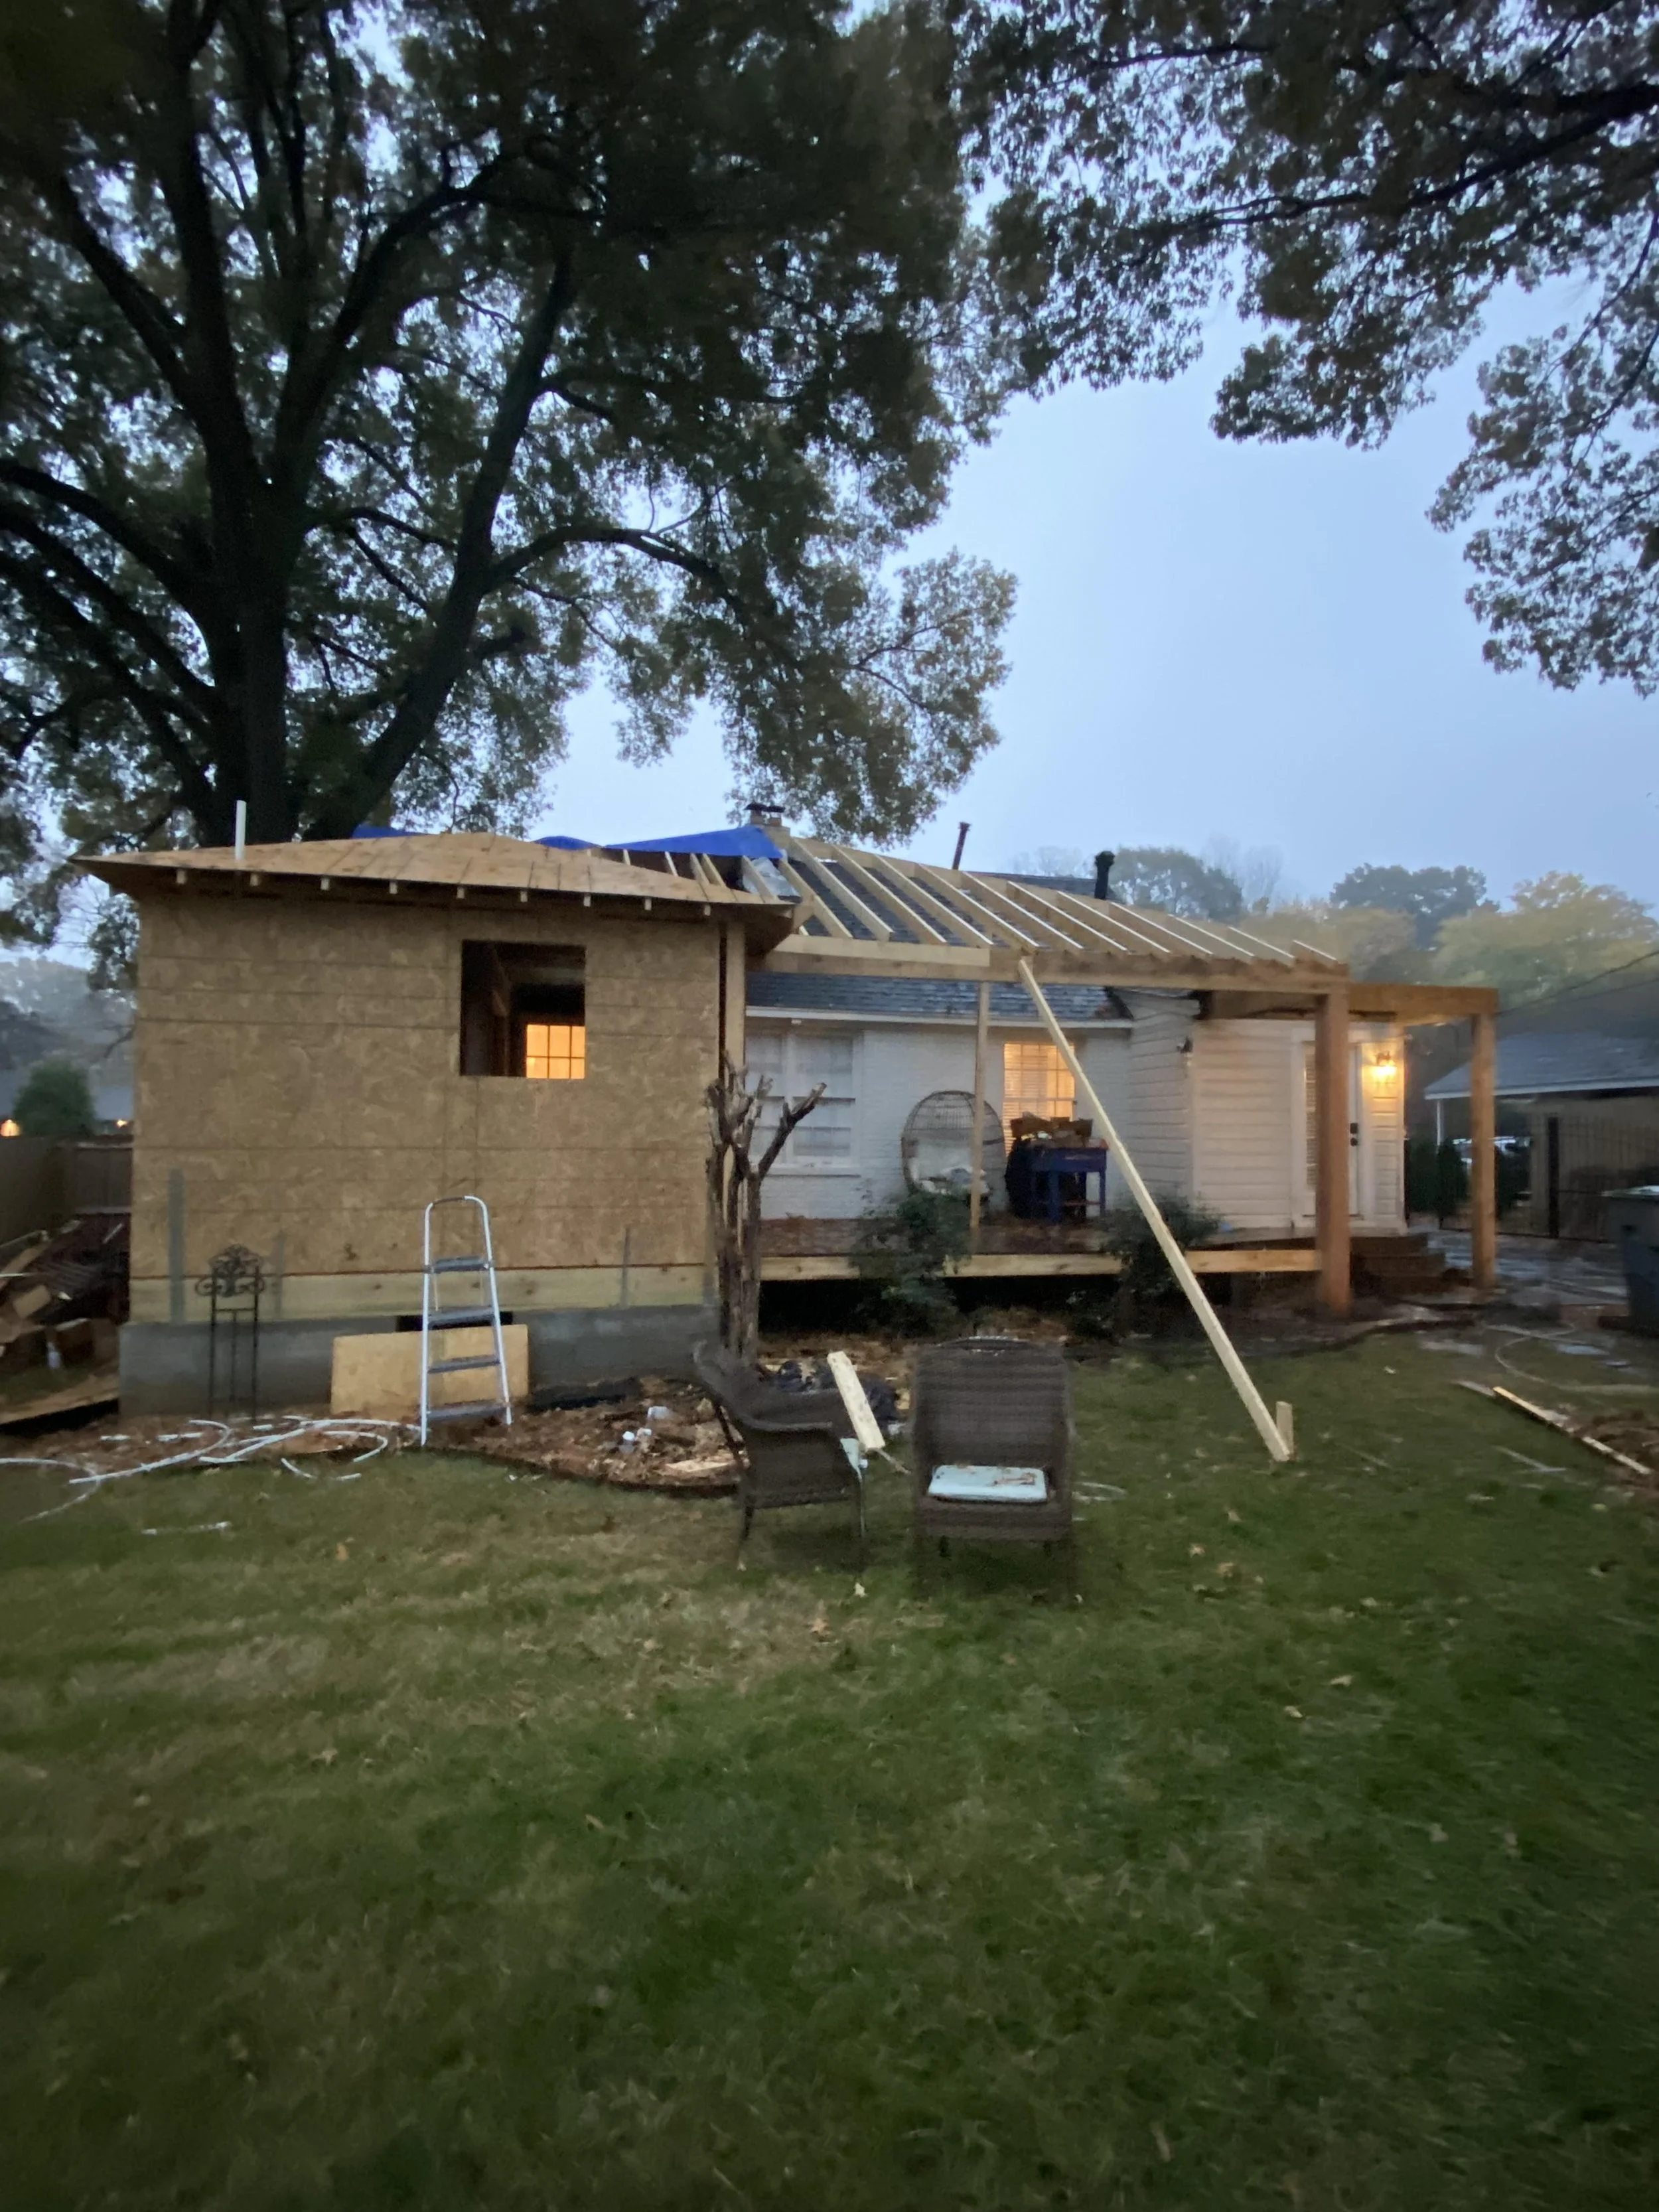
Reframing the porch
-
![]()
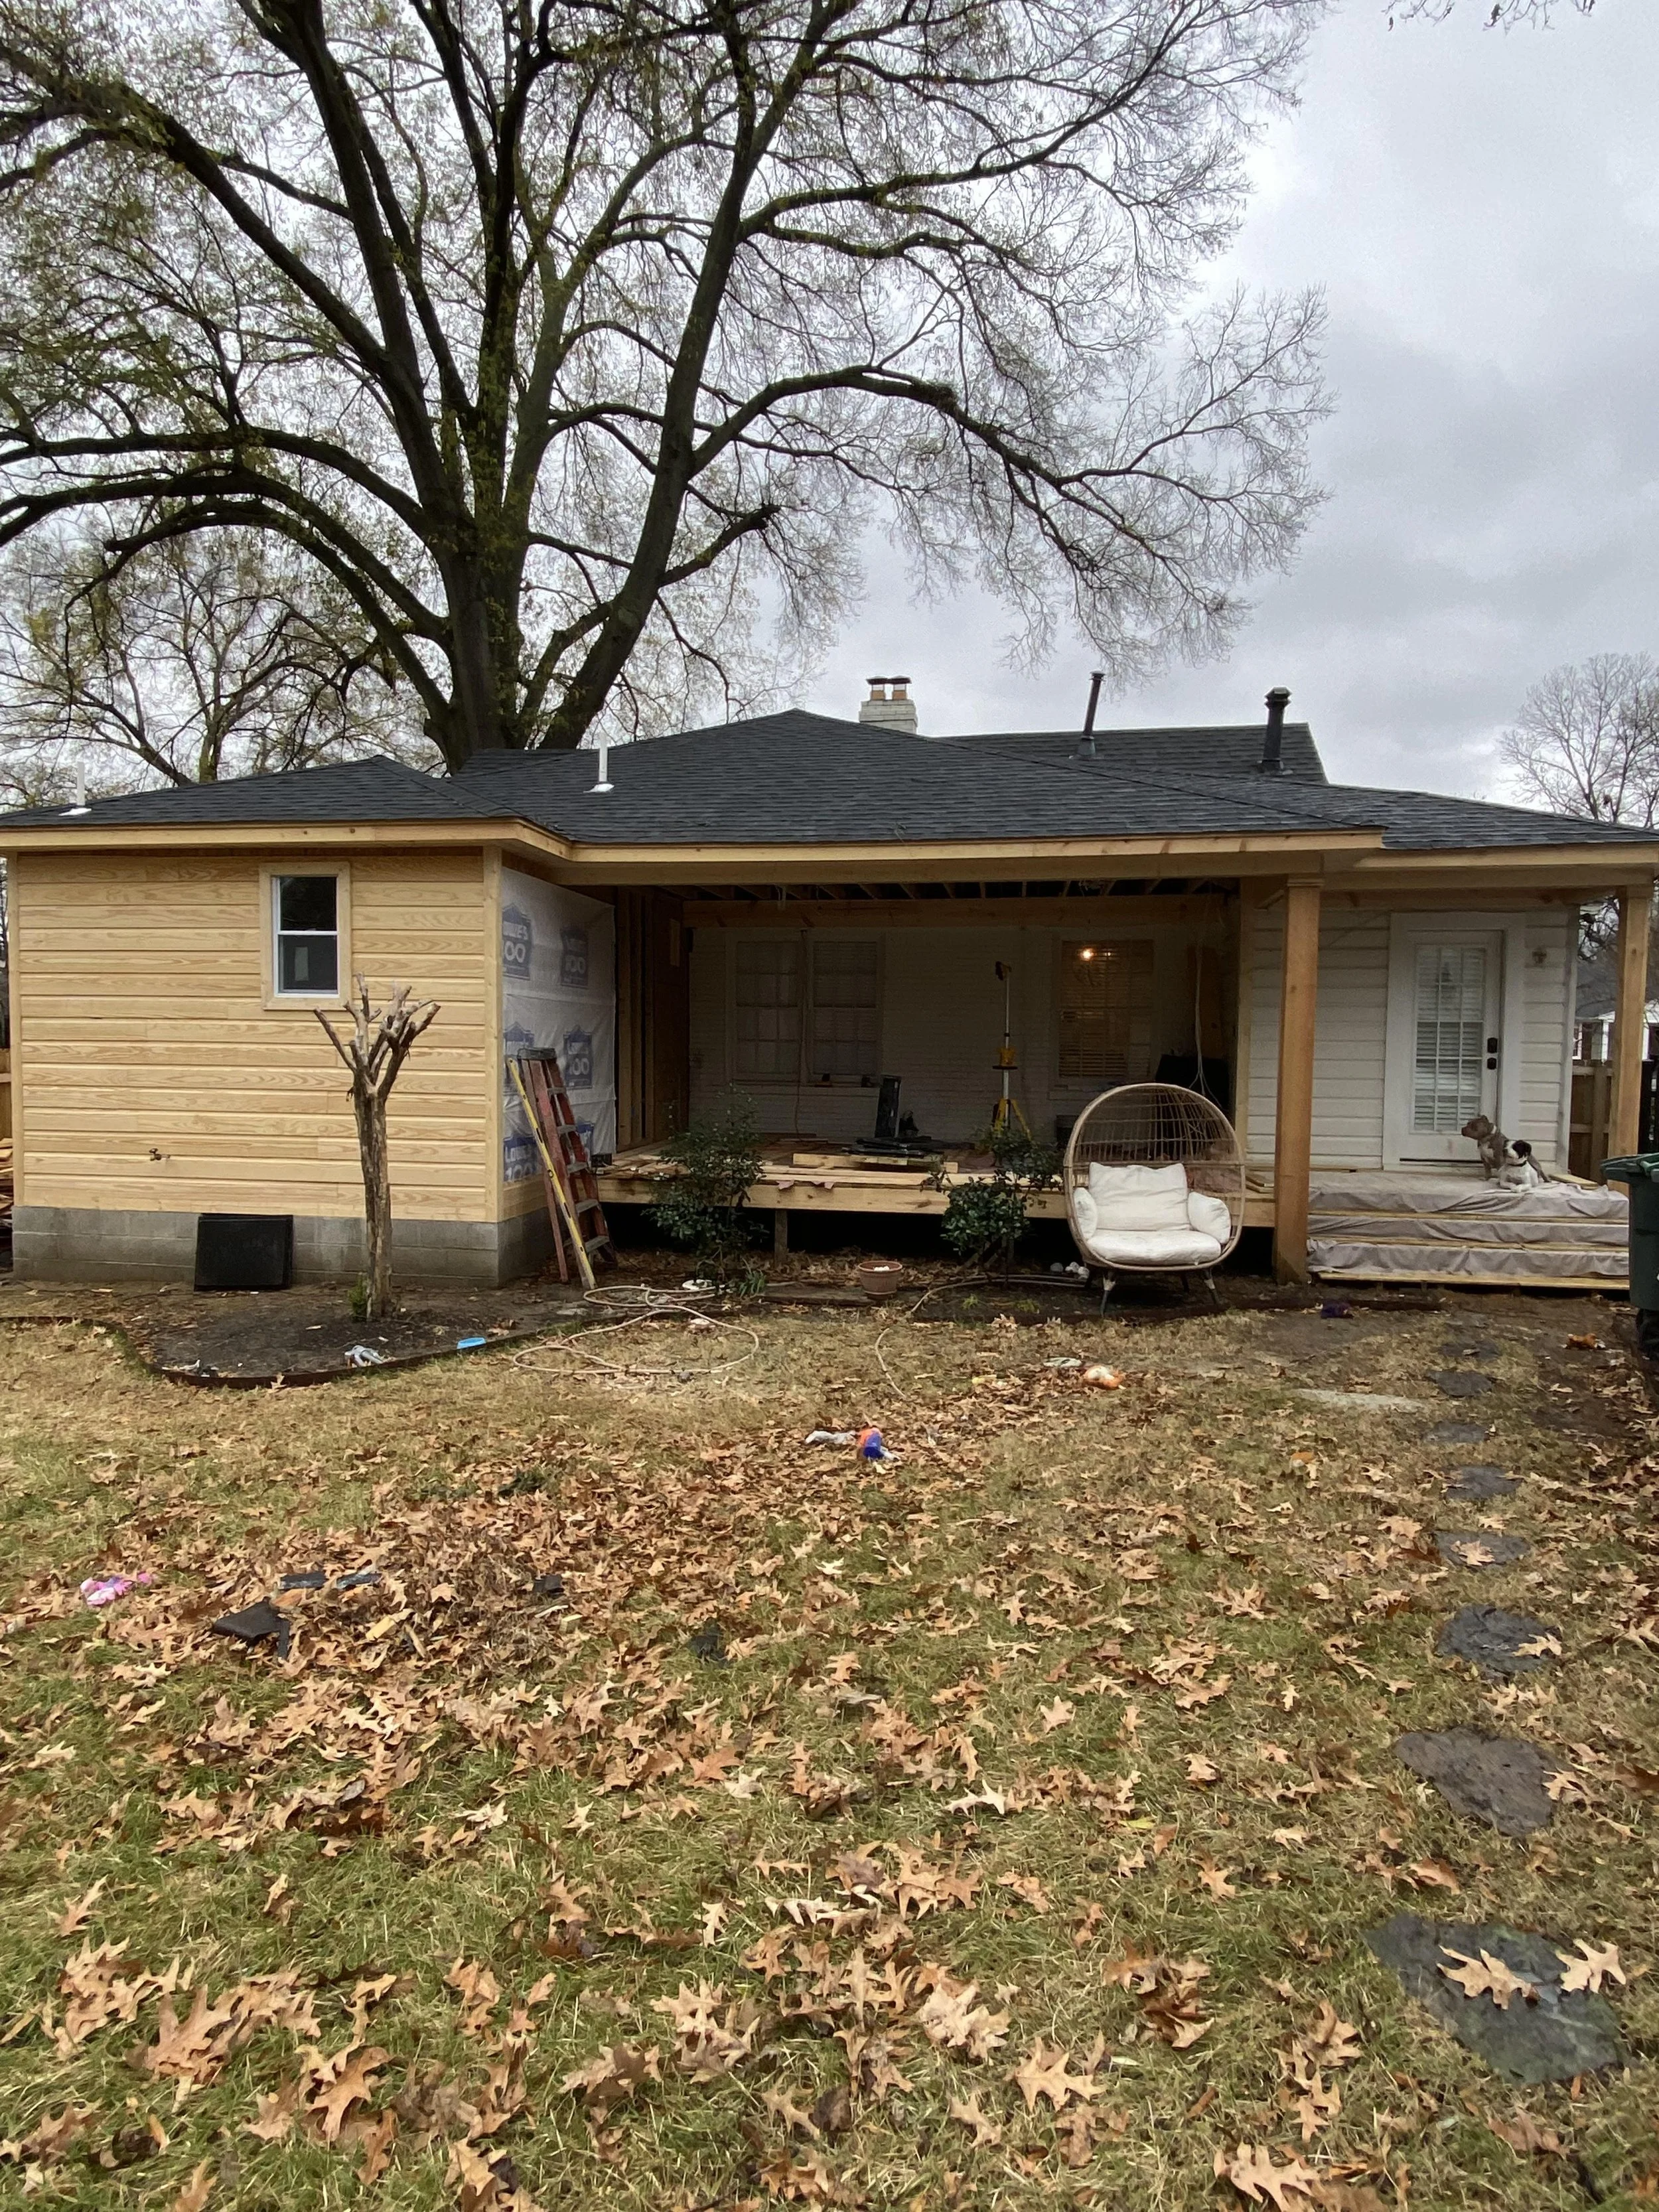
Sheathing and house wrap
-
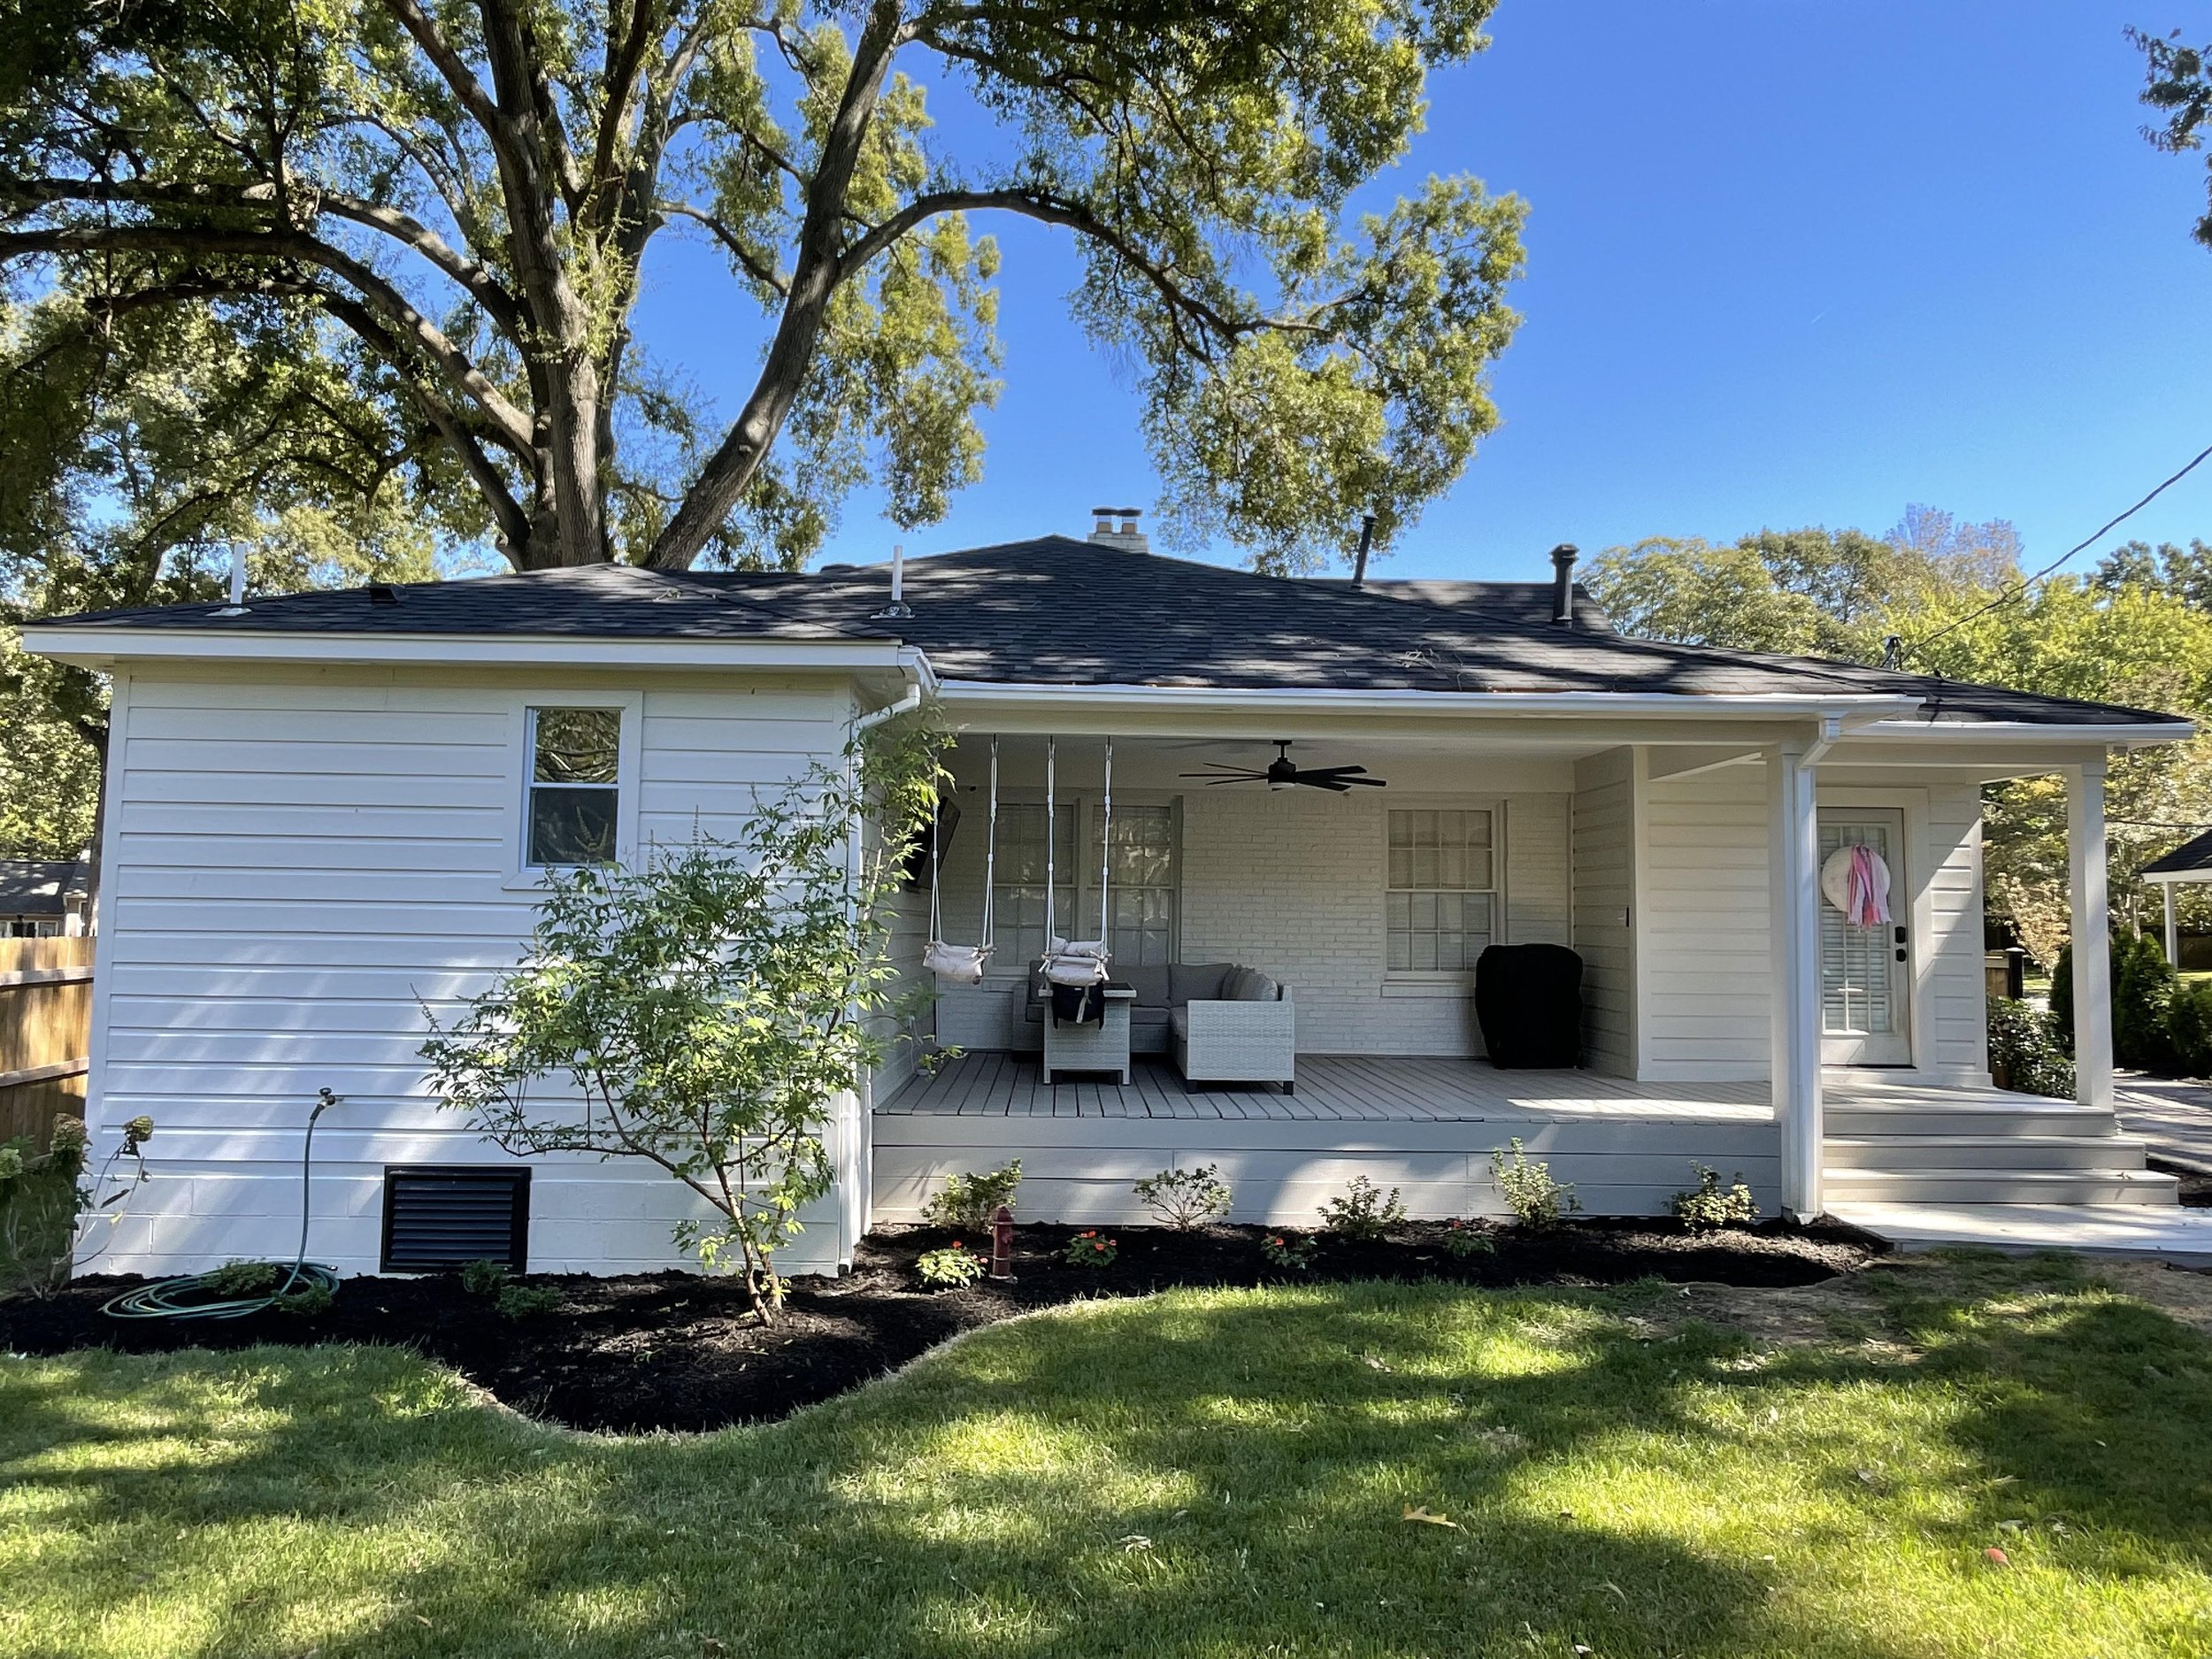
![]()
Final product

Vollintine Evergreen Rebuild
-
![]()
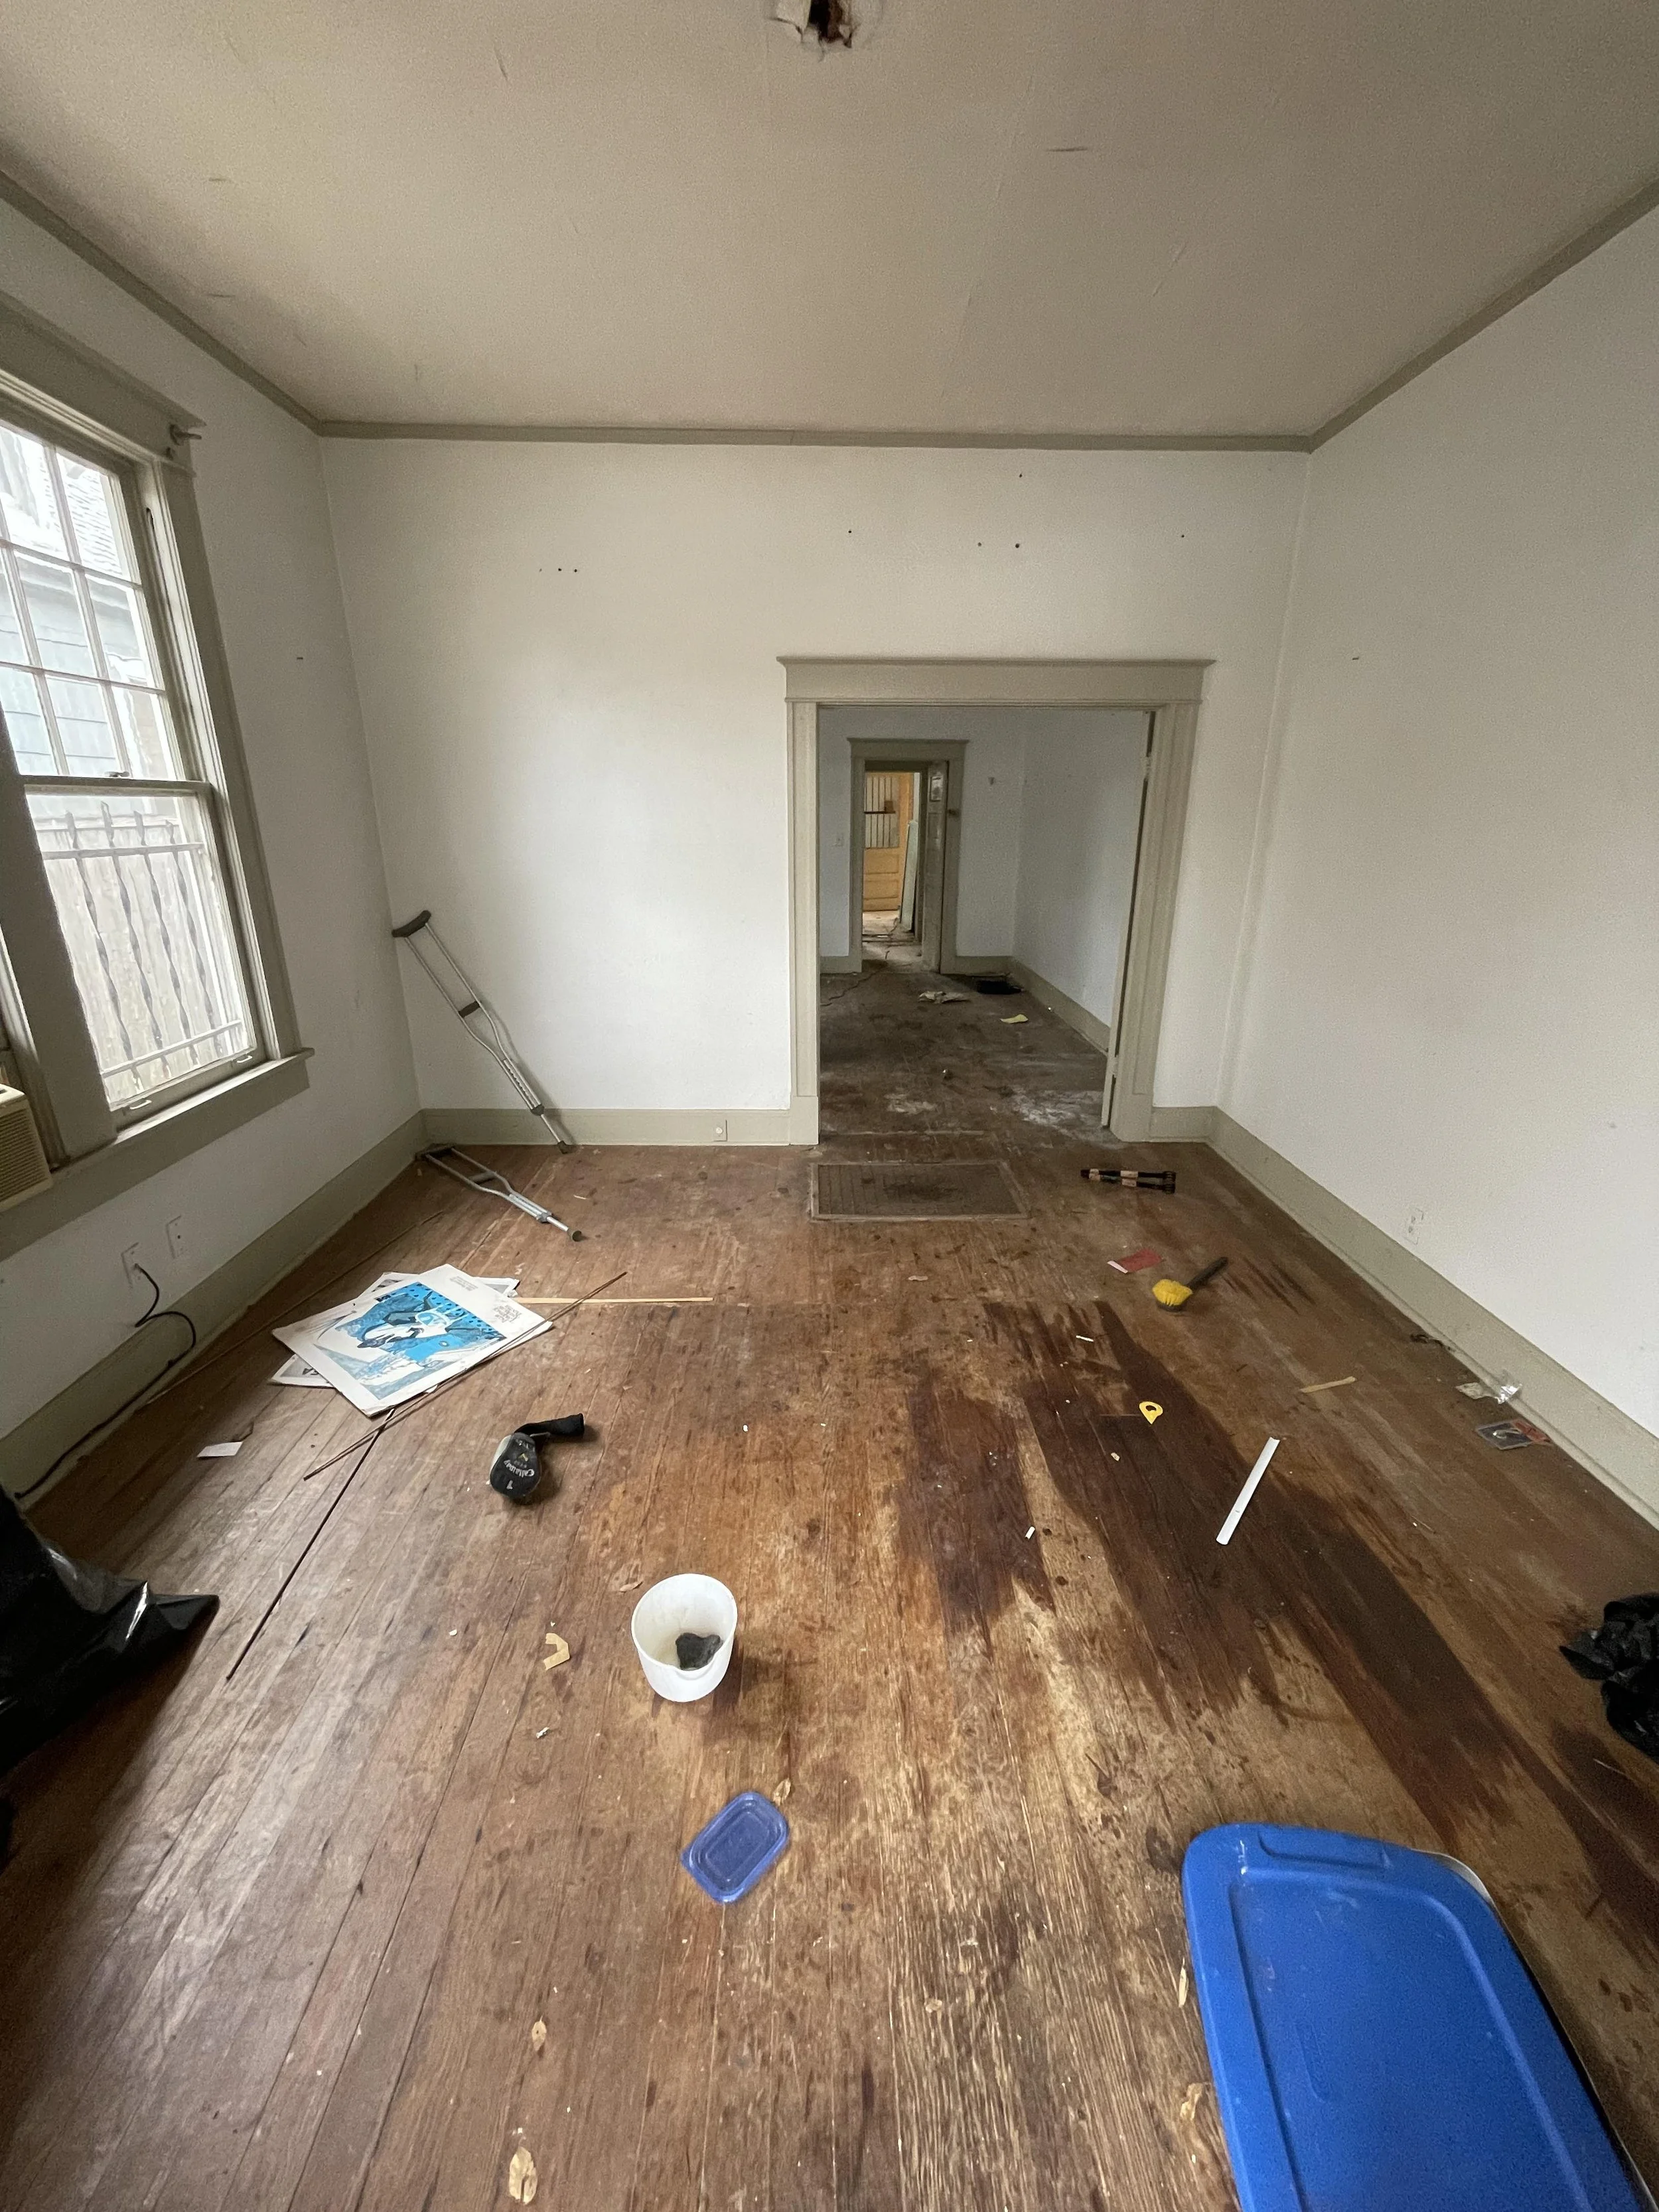
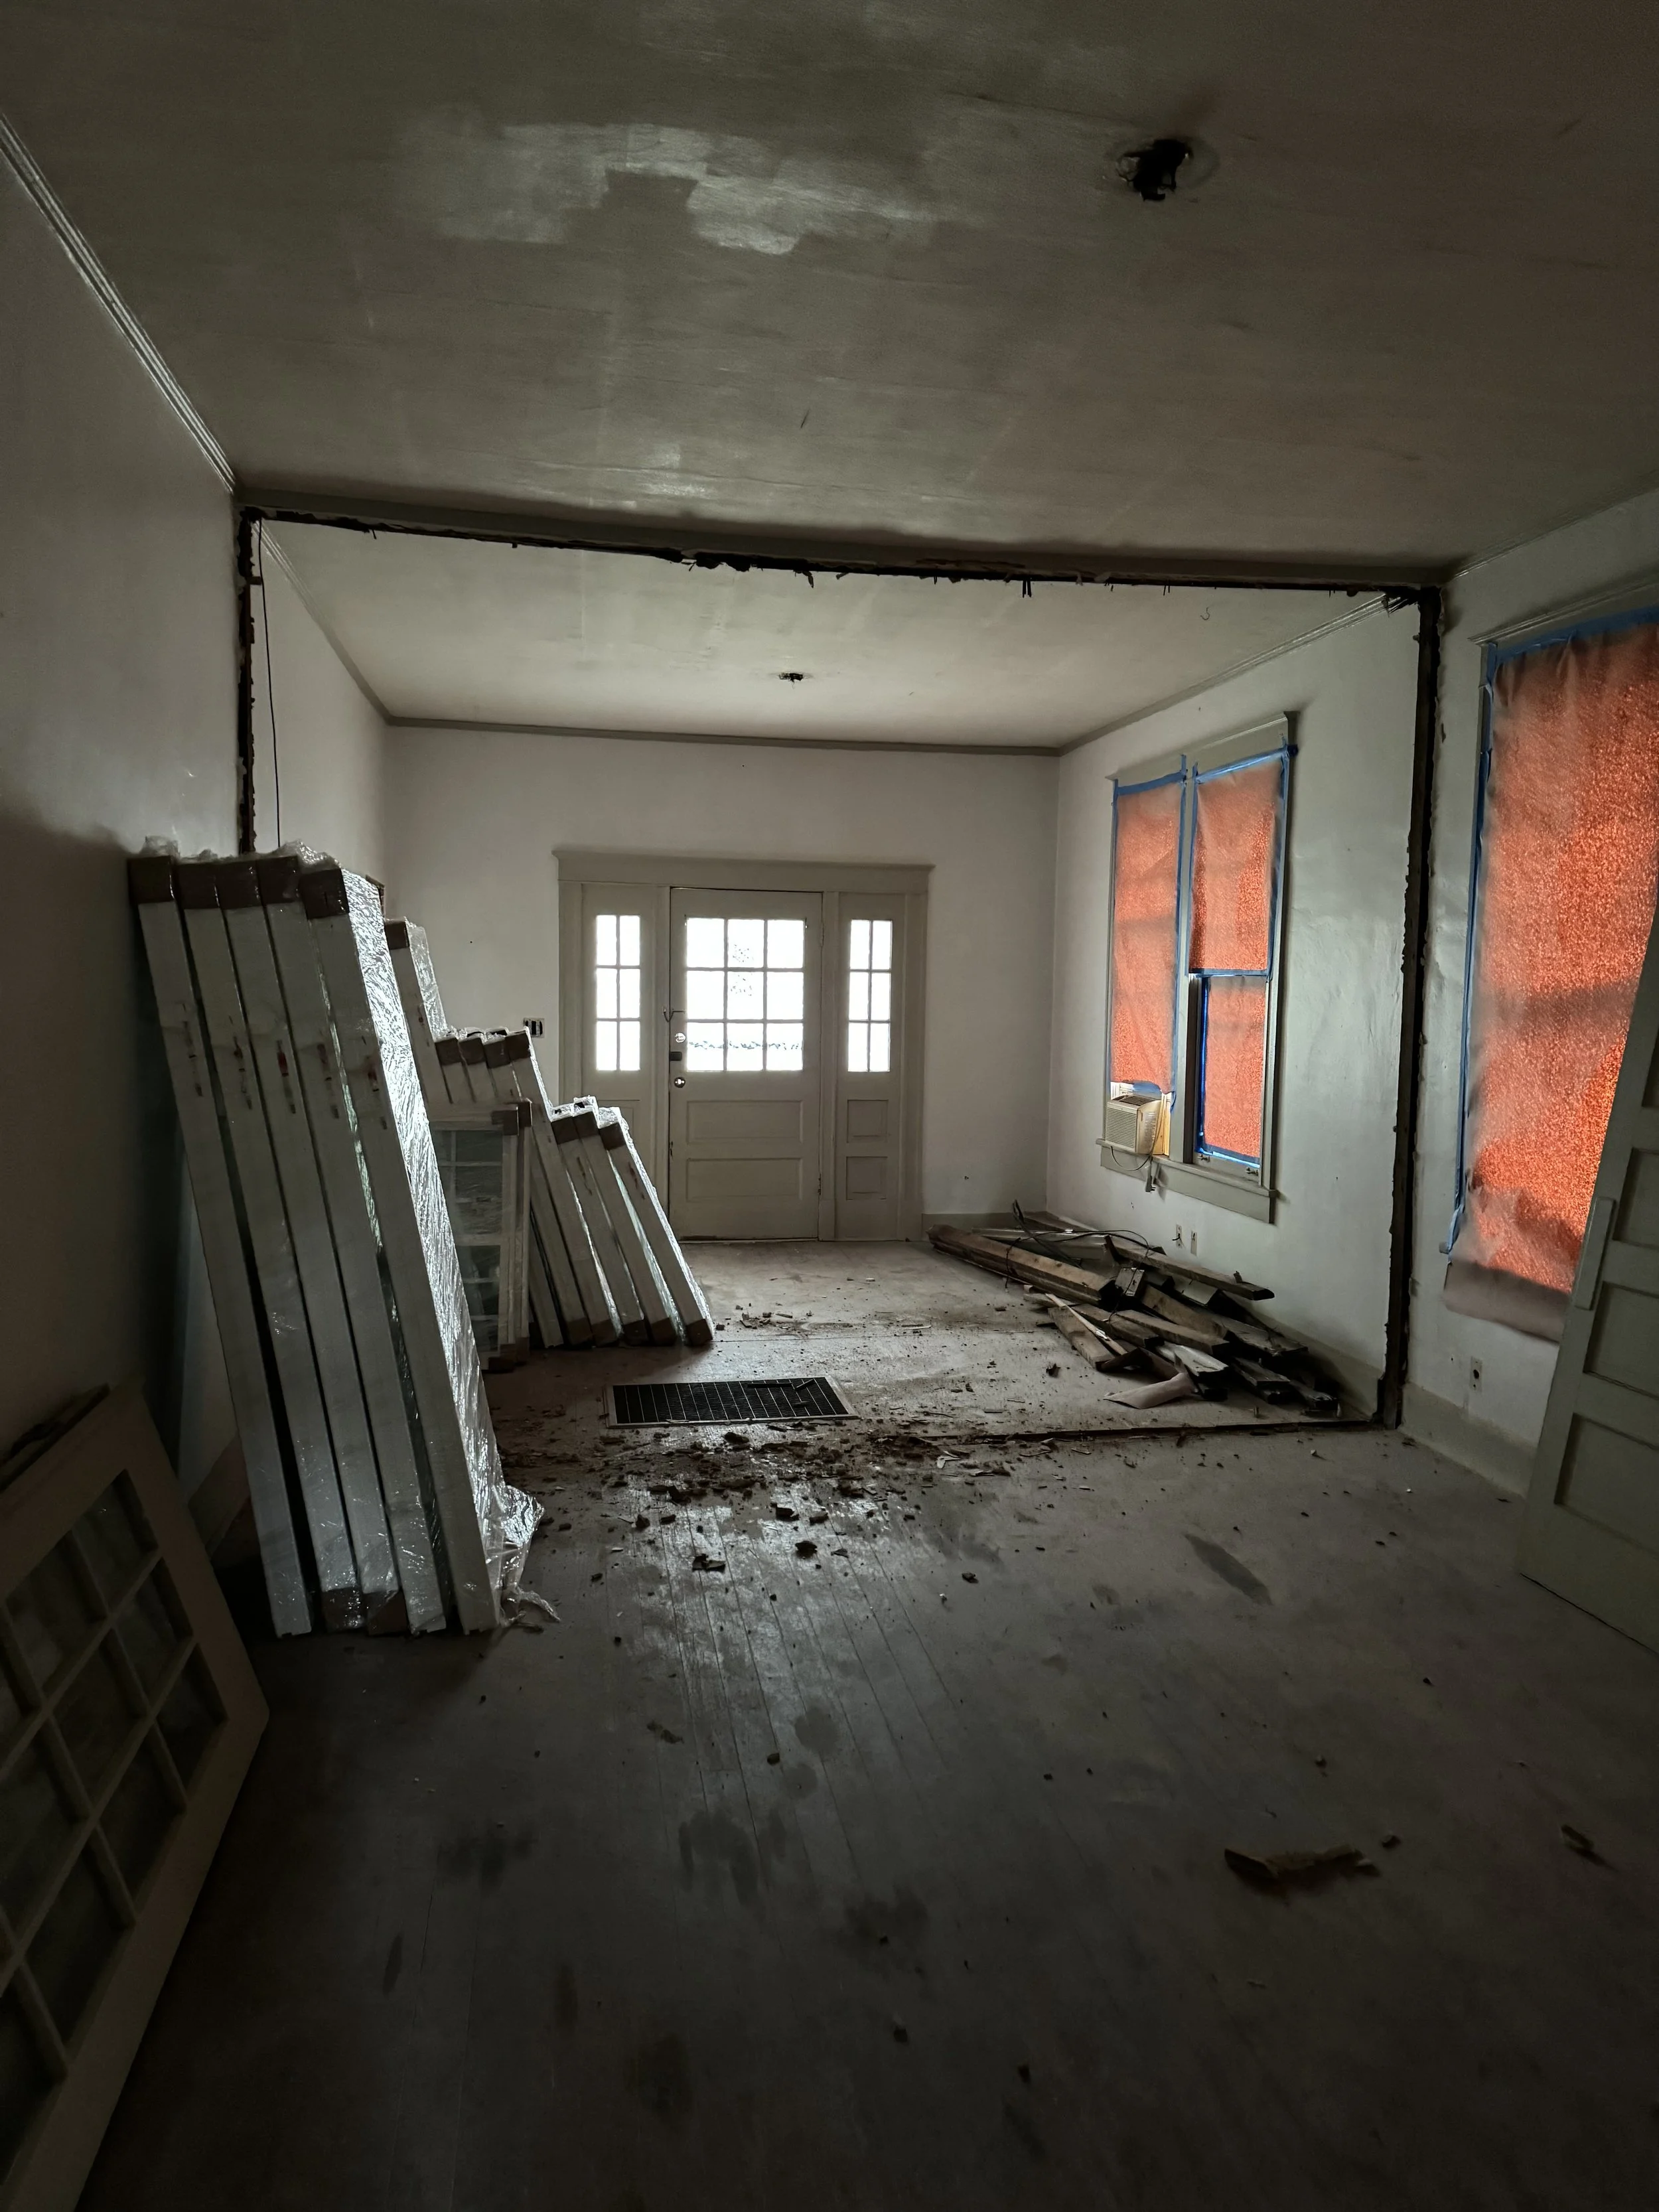
Original living room. The client wanted to open this space into an open living/dining area.
-
![]()
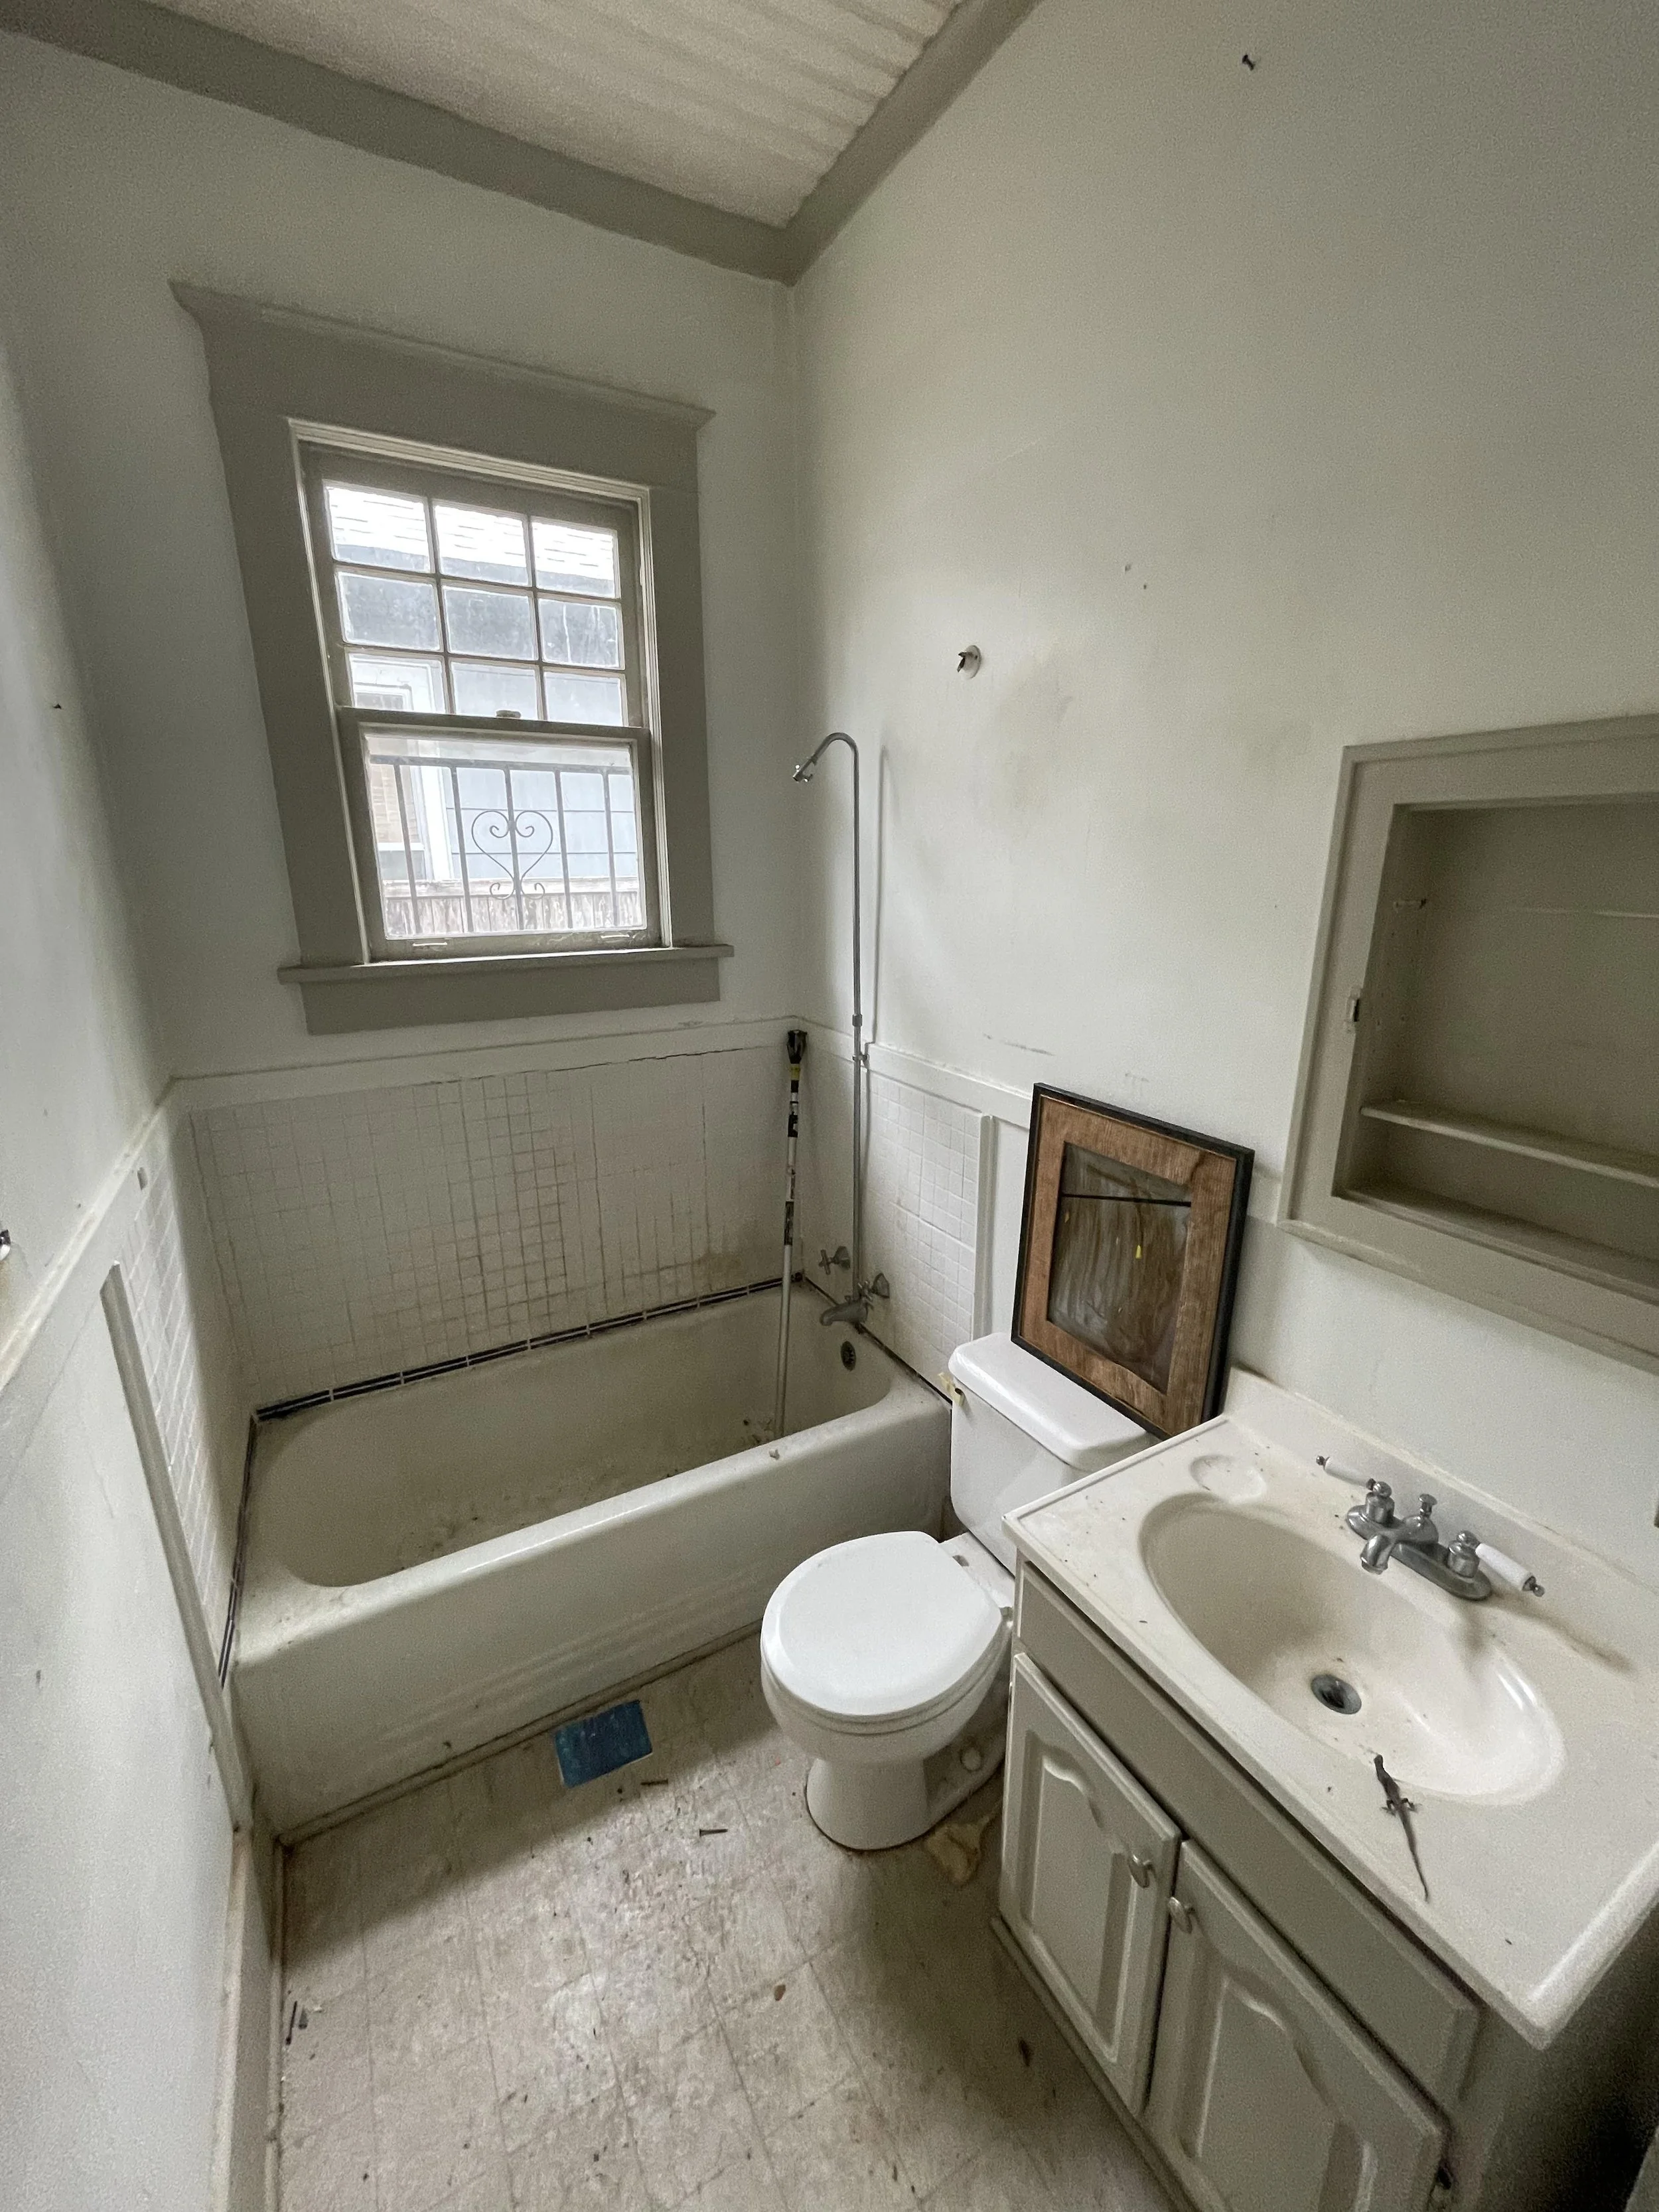
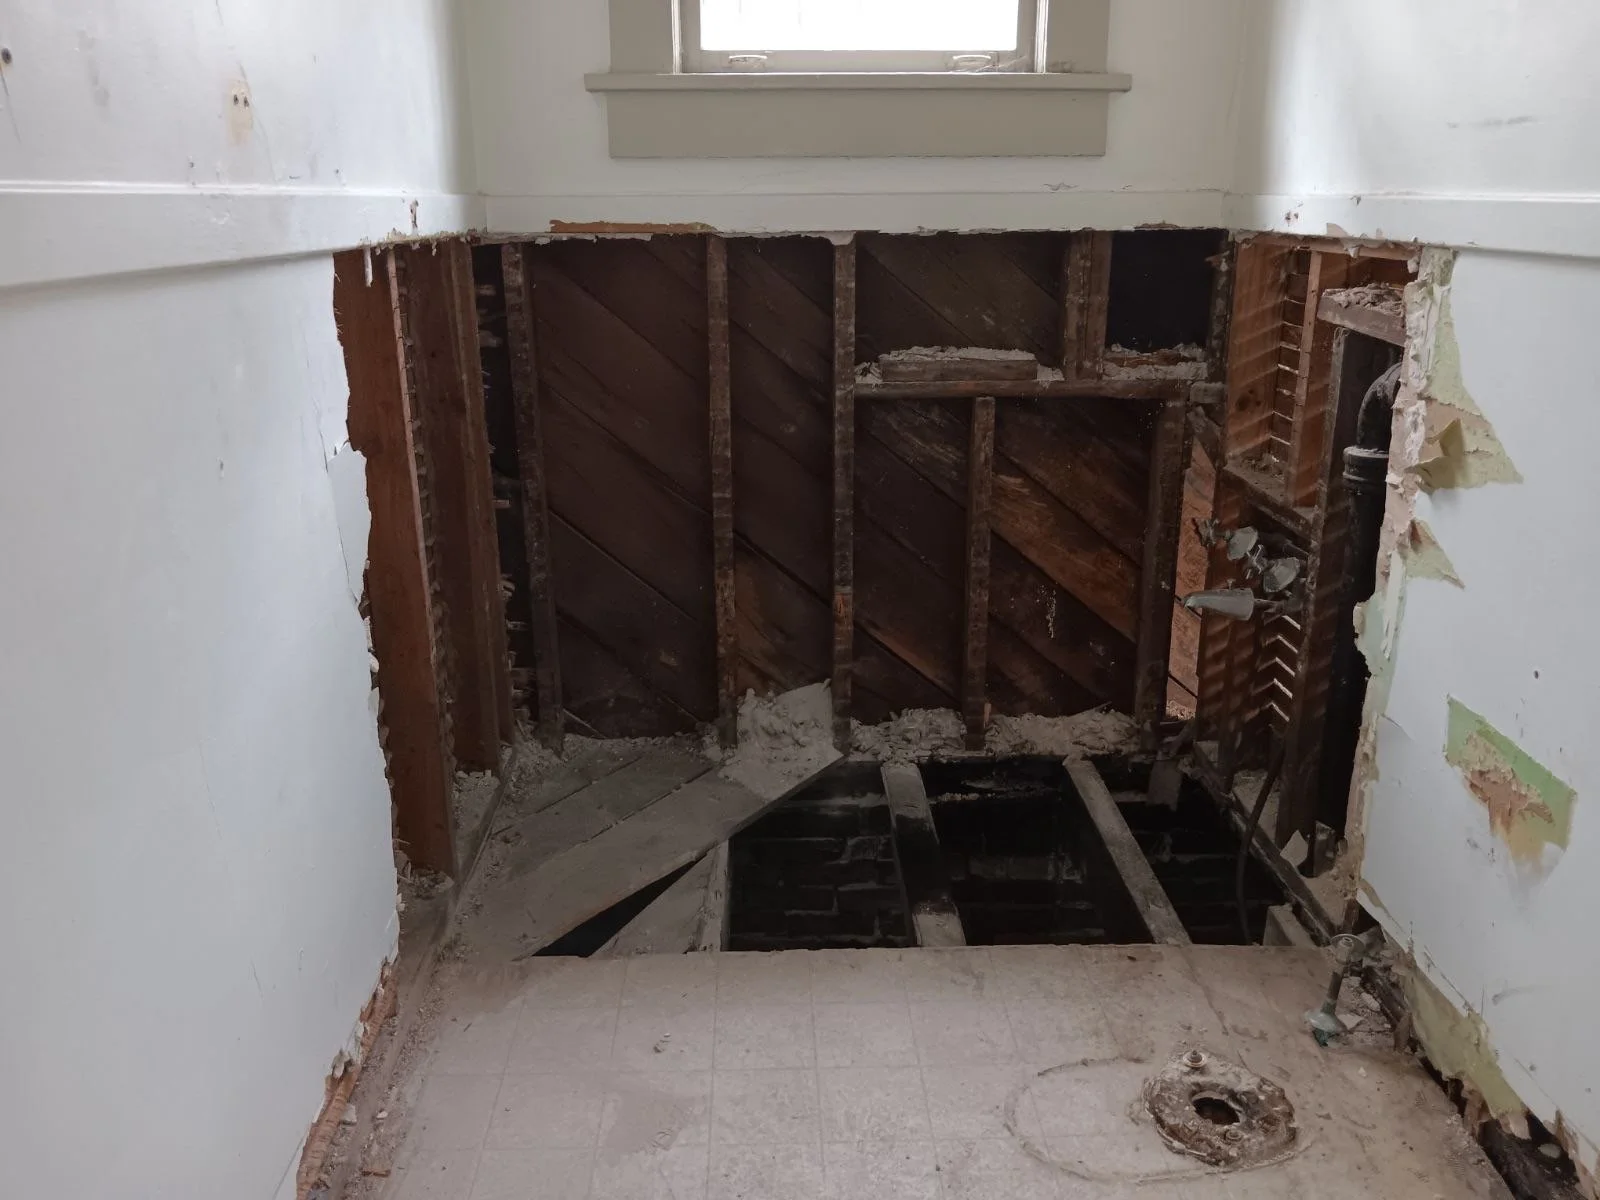
Original hallway bathrooom that was severely dated. Leaks in the plumbing had caused the flooring structure in this area to completely rot out.
-
![]()
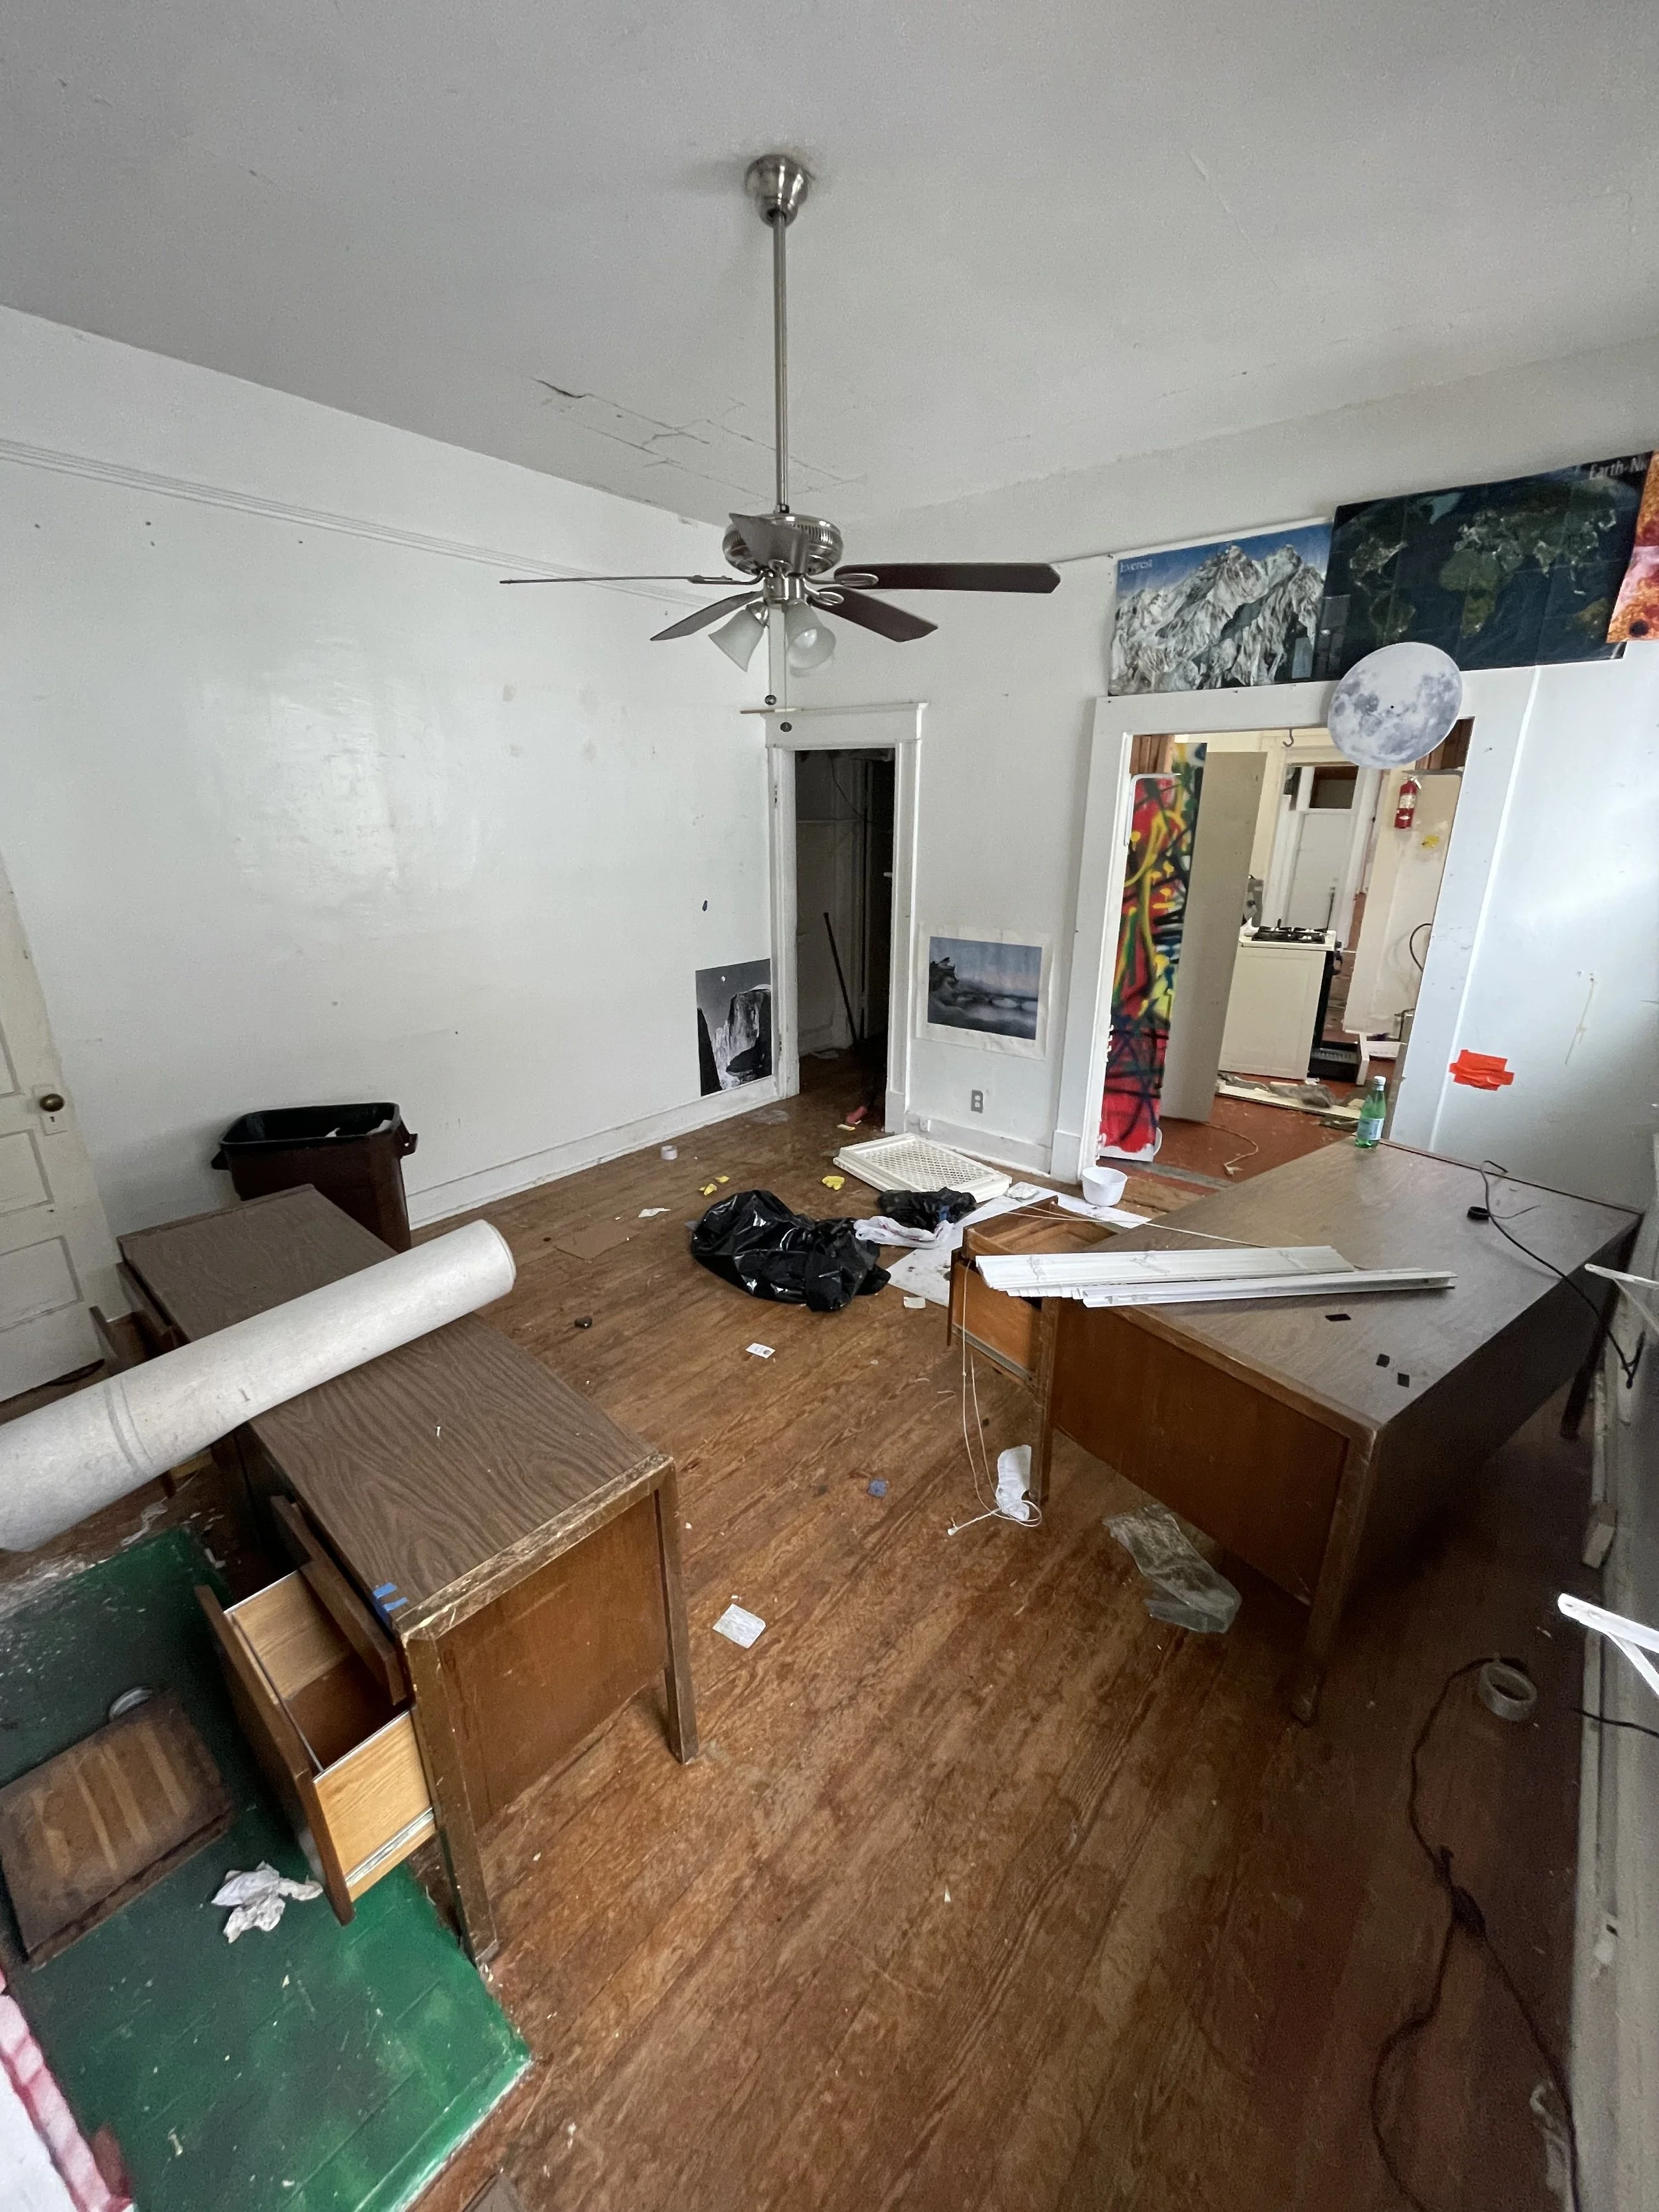
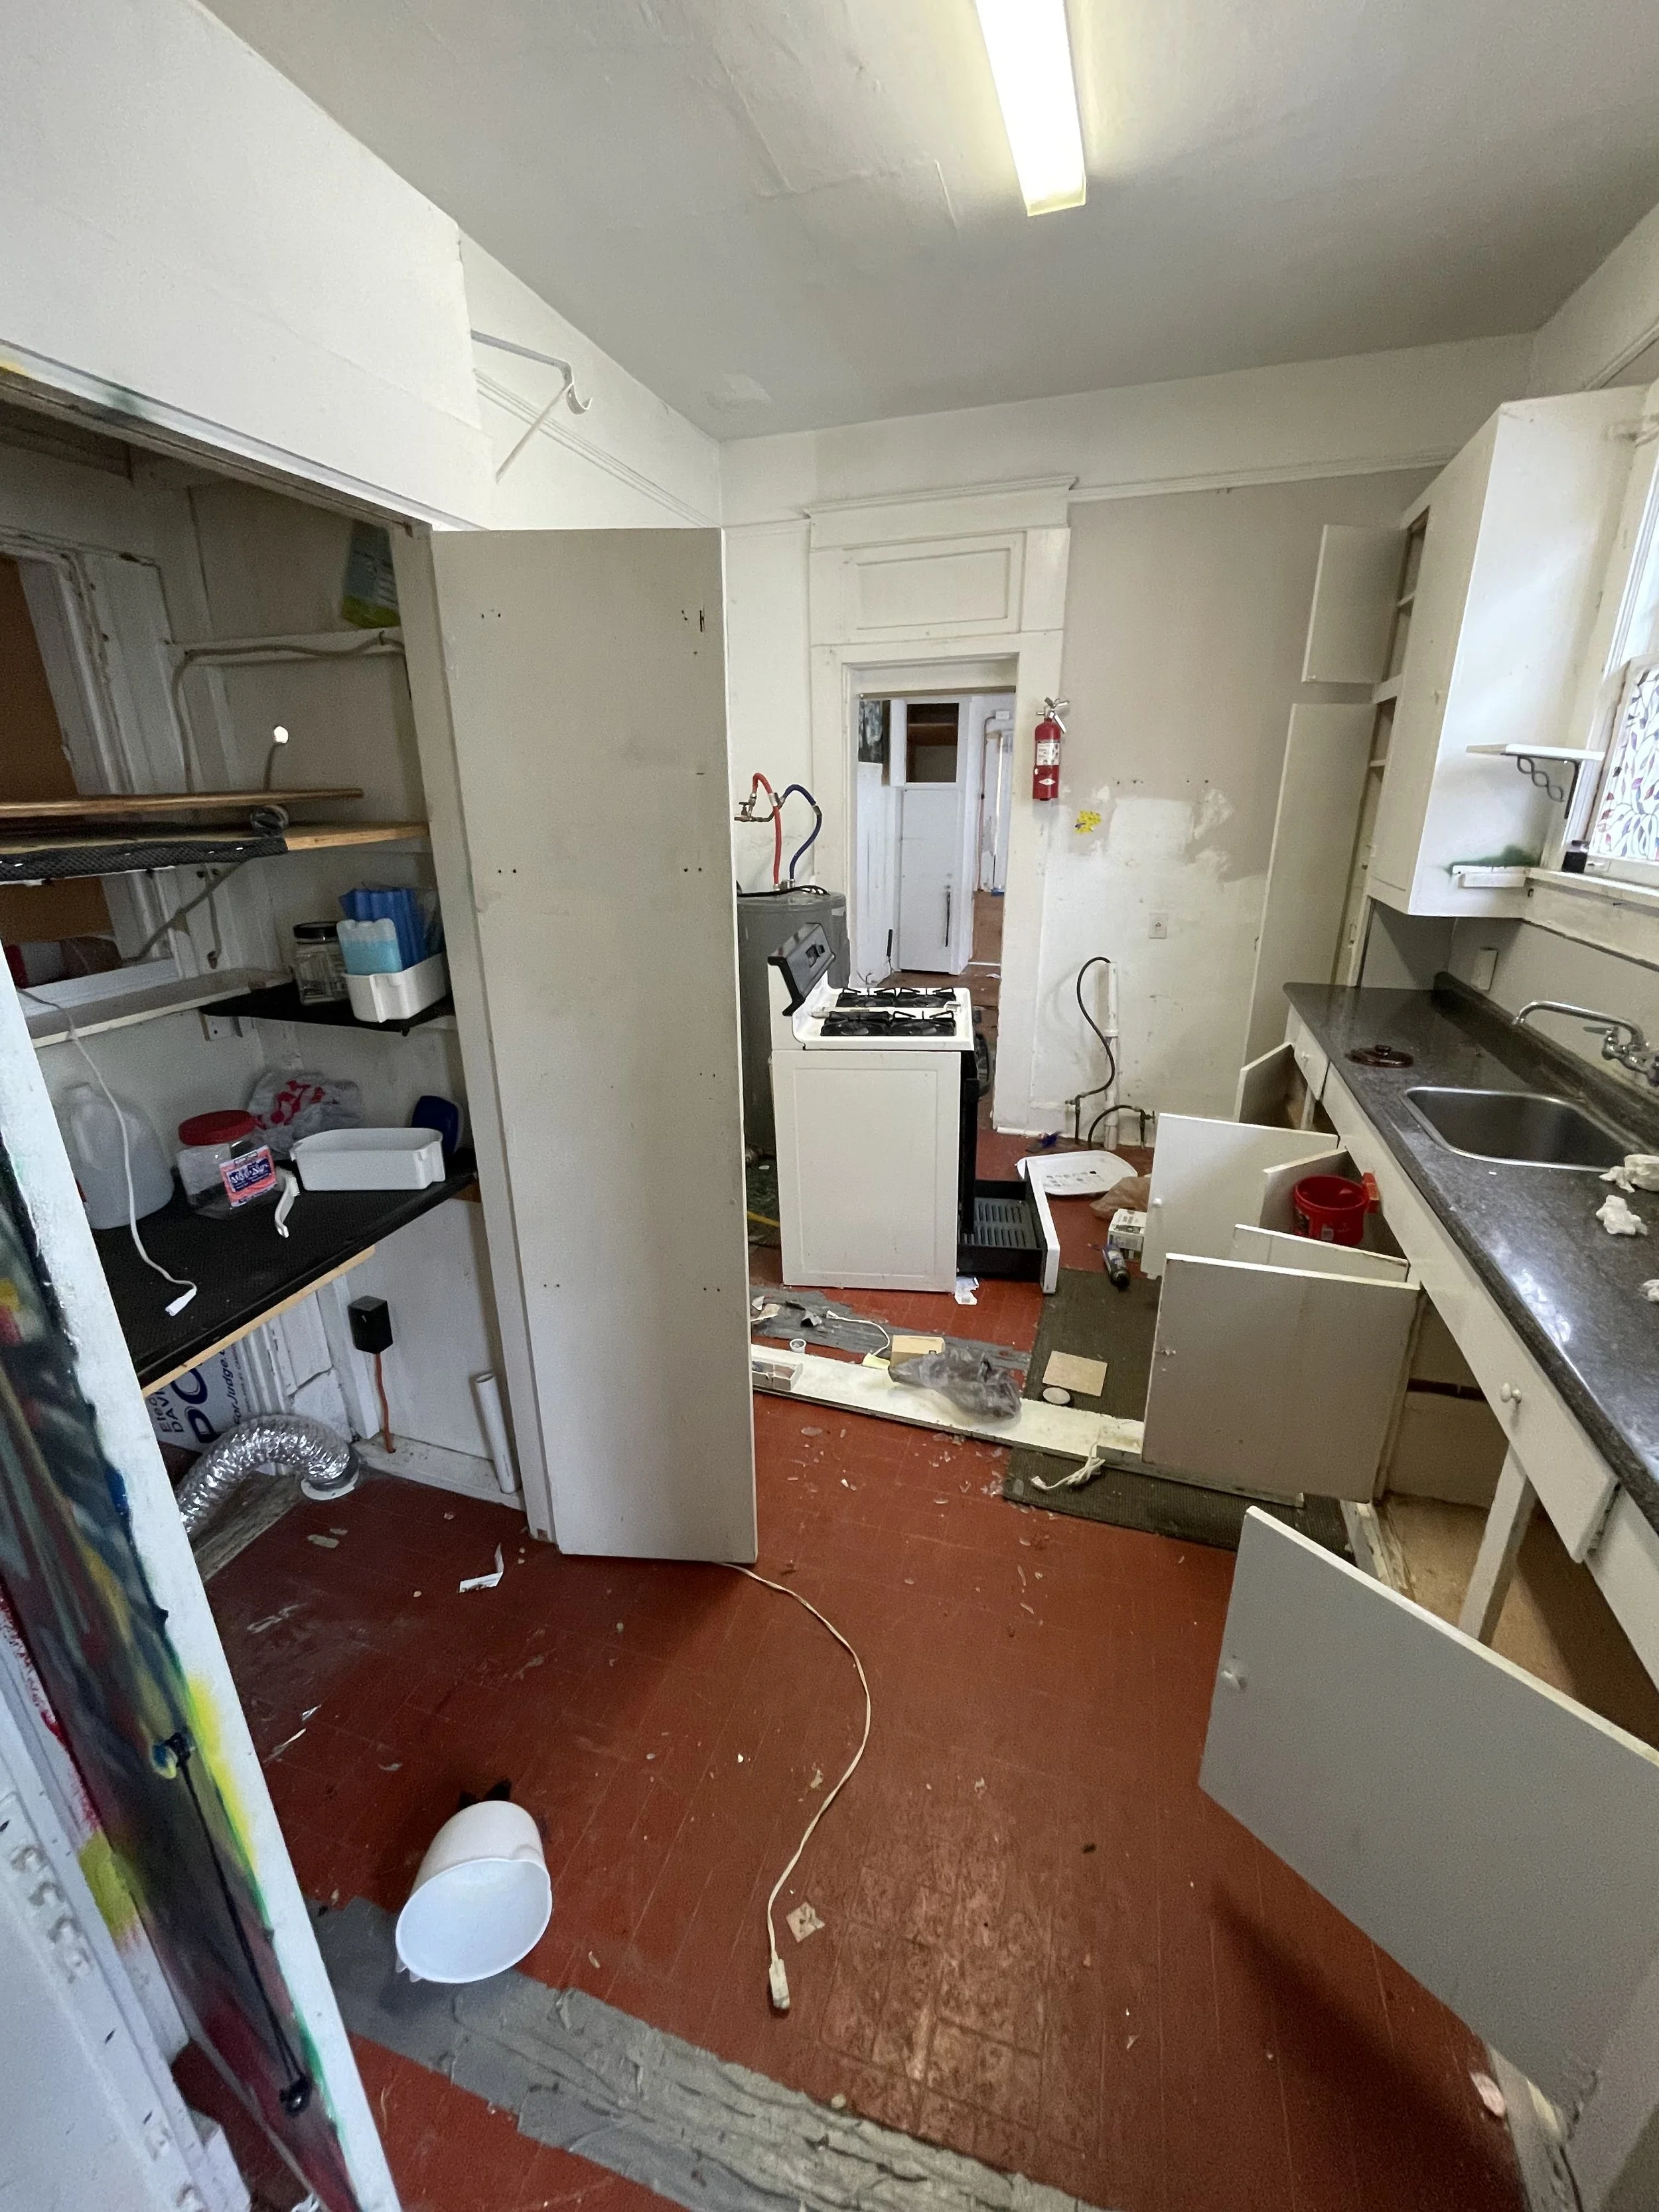
Original Living/Kitchen Area
-
![]()
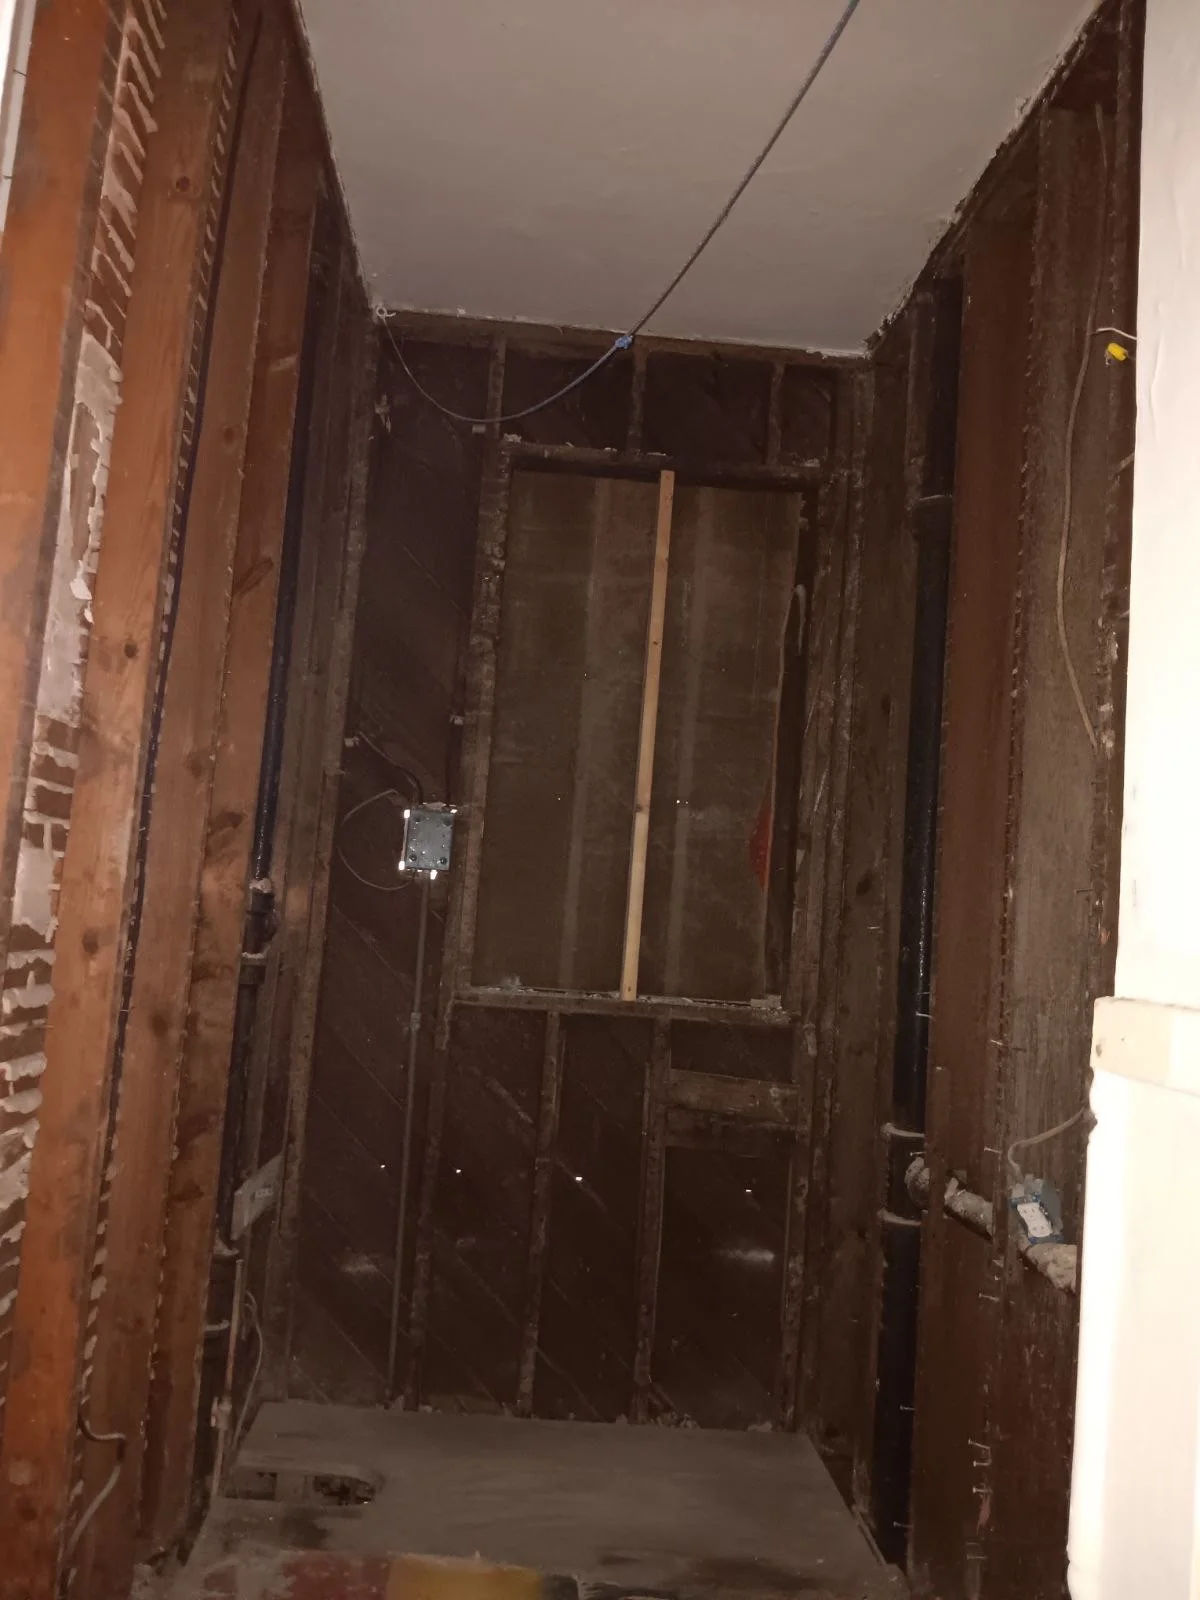
Original bathroom #2. This was located inconveniently in the center of a hallway. We completely removed the bathroom here, and relocated it to a different area of the house to create an open, central hallway to access the bedrooms and new bathrooms/laundry area.
-
![]()
Original kitchen that was, also, in very poor condition due to water damage.
-
![]()
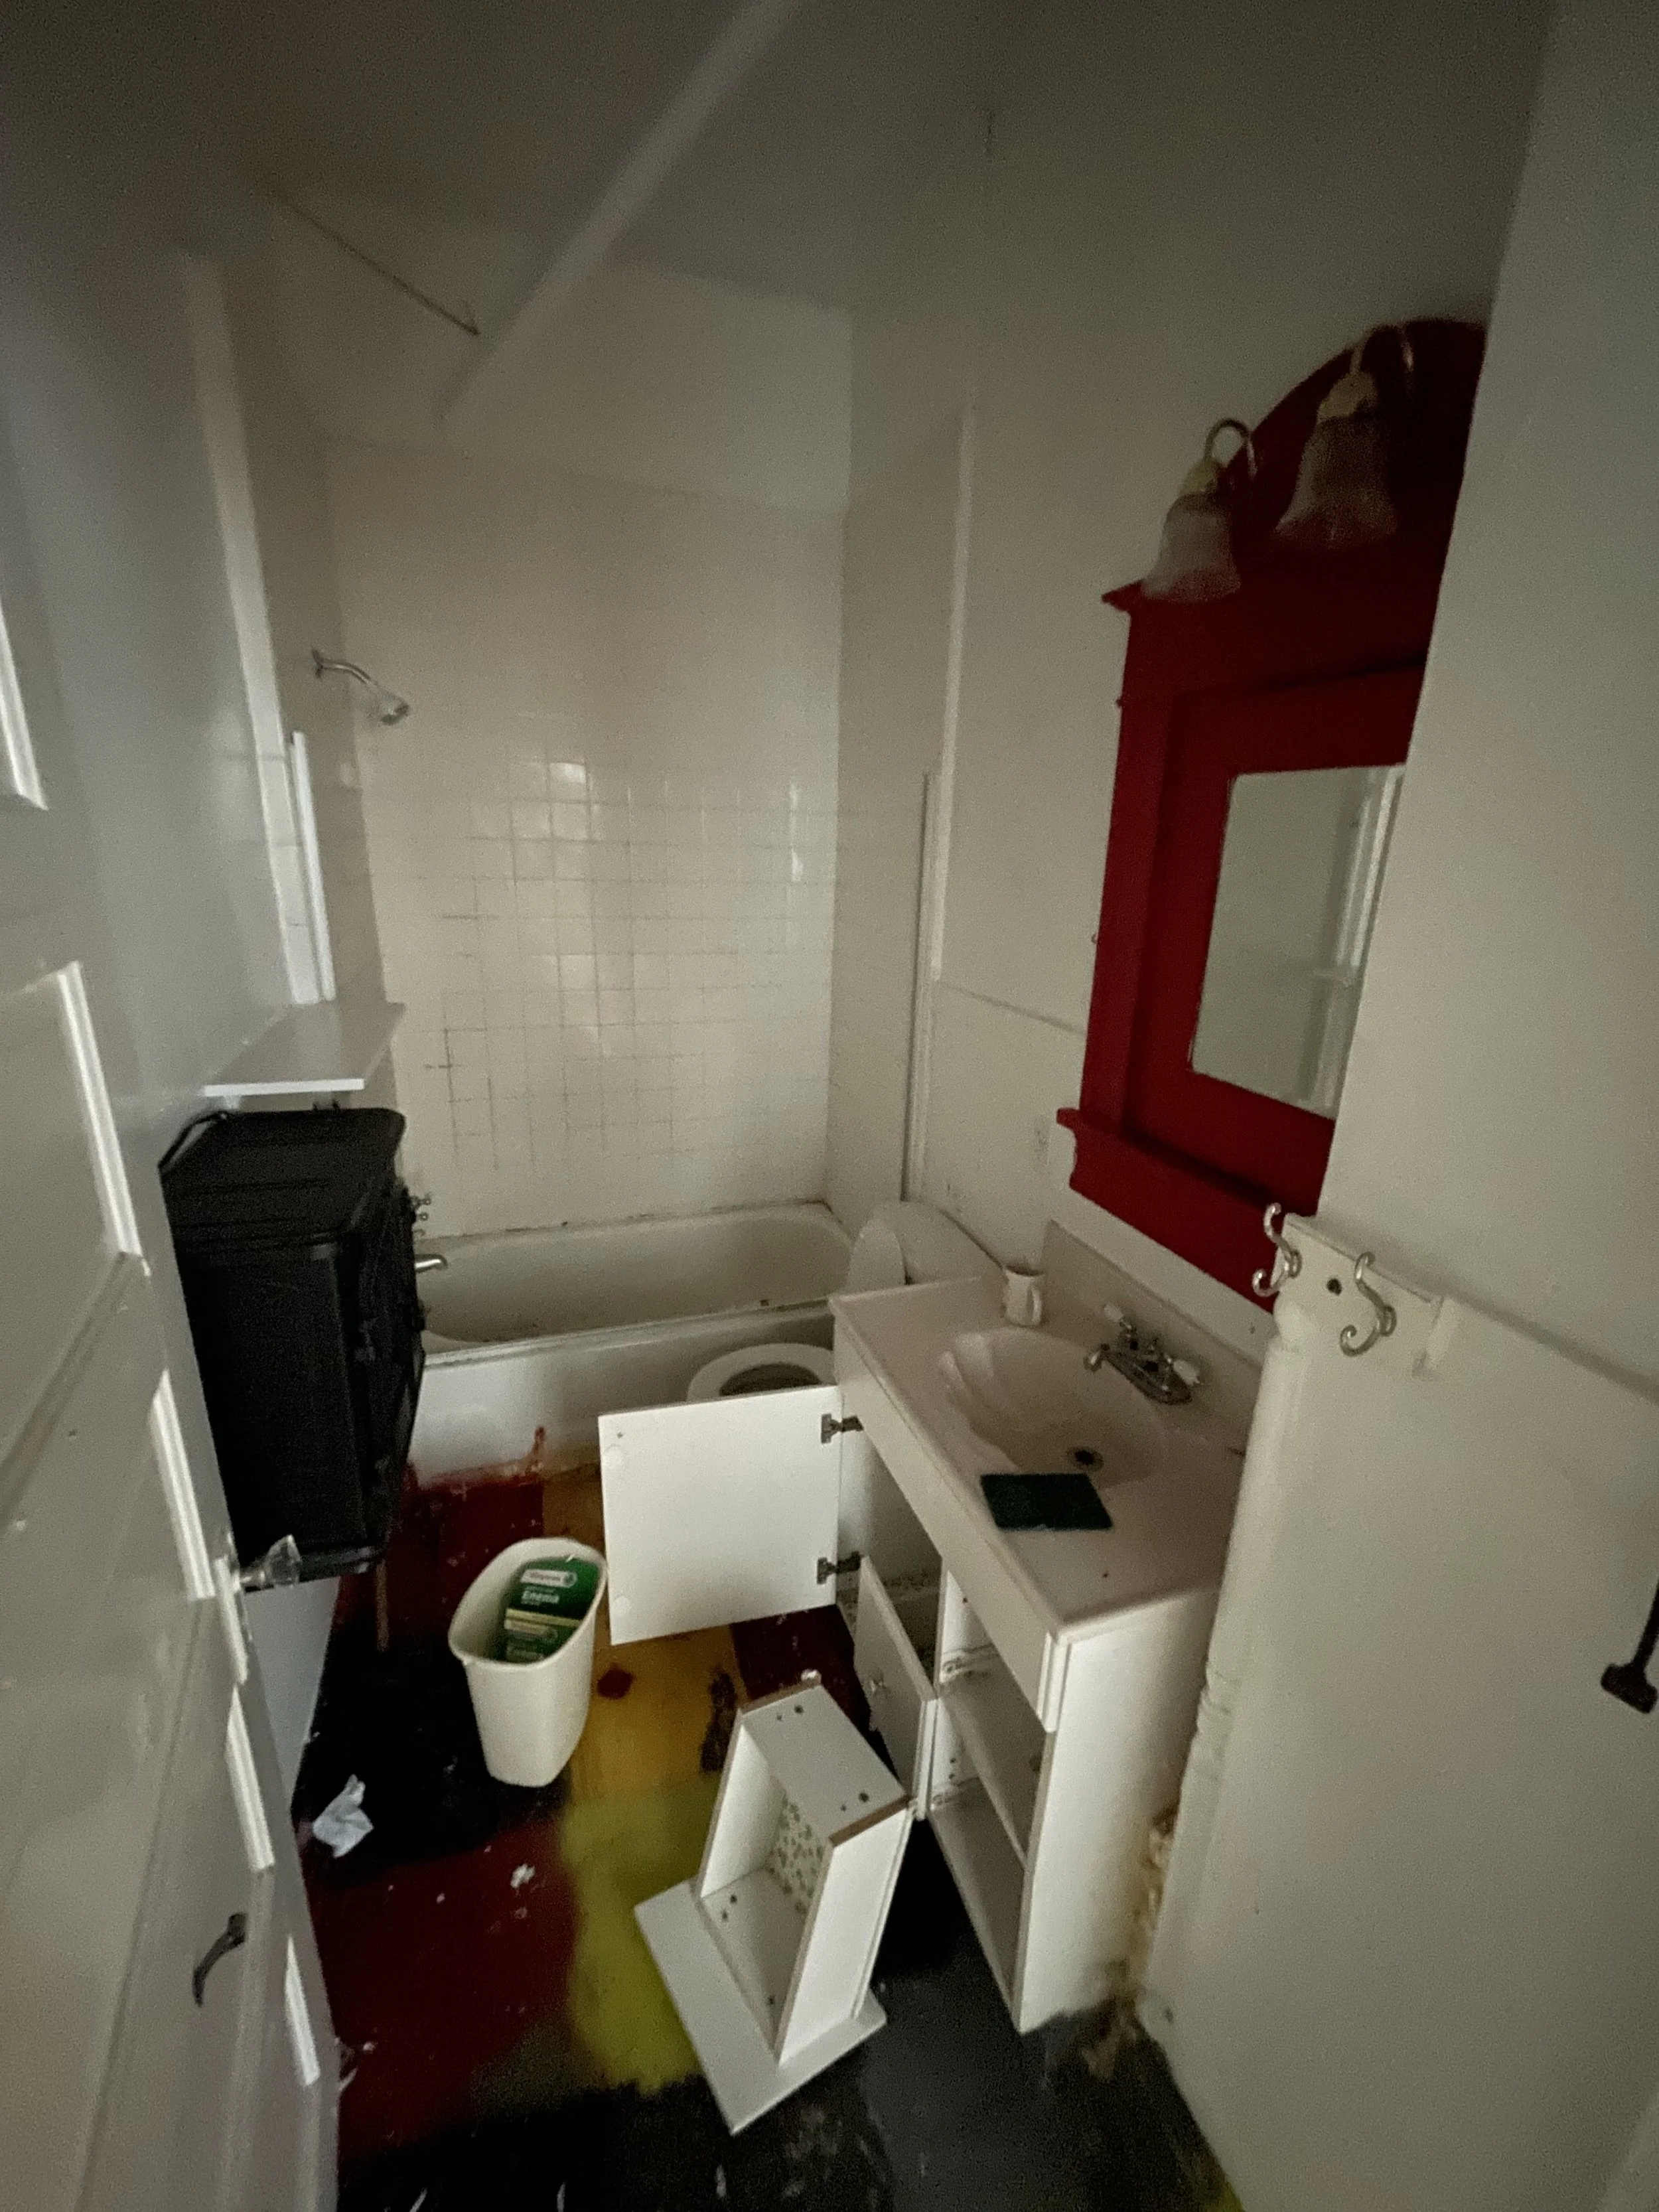
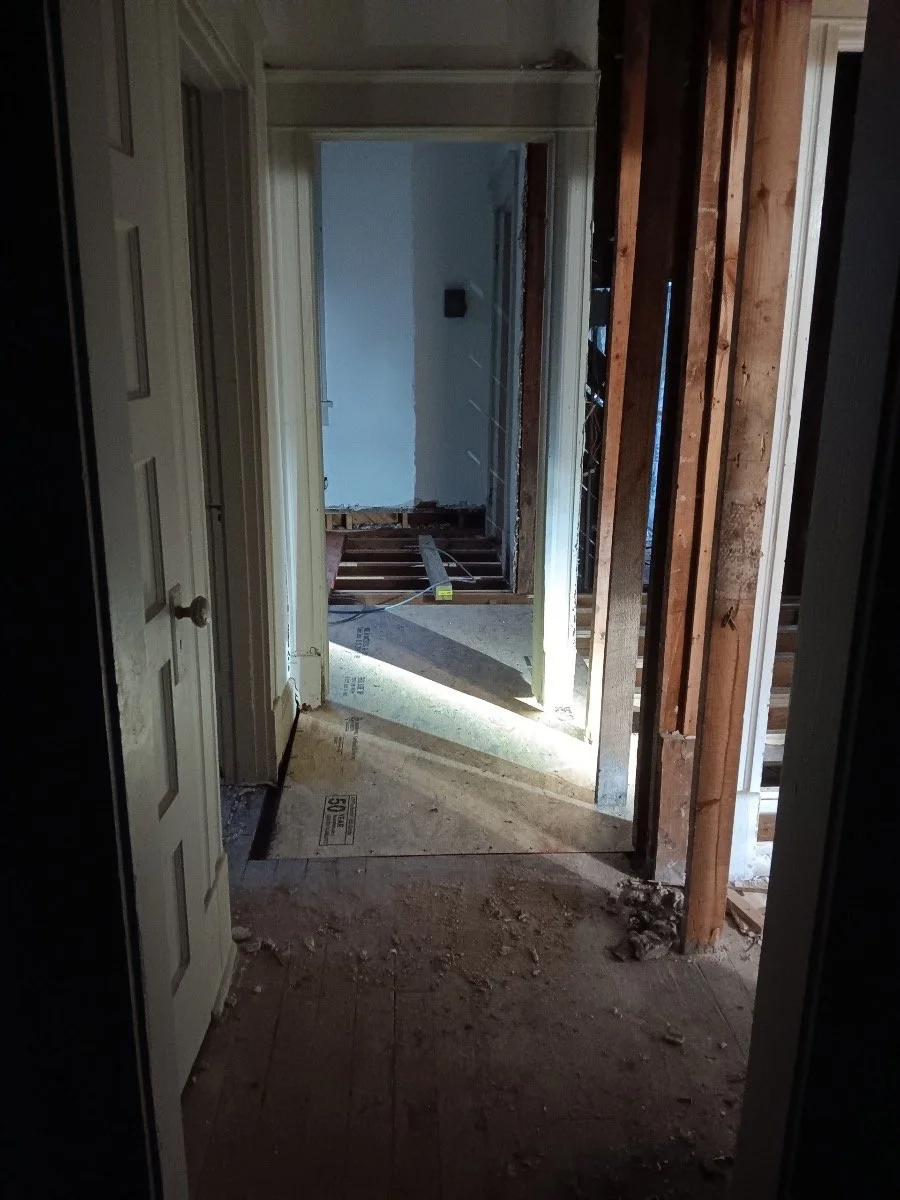
We demo'ed Bathroom #2 in prepration for re-framing.
-
![]()
We demoed the original kitchen with plans to convert this space into the new Bathroom #2 and laundry area.
-
![]()
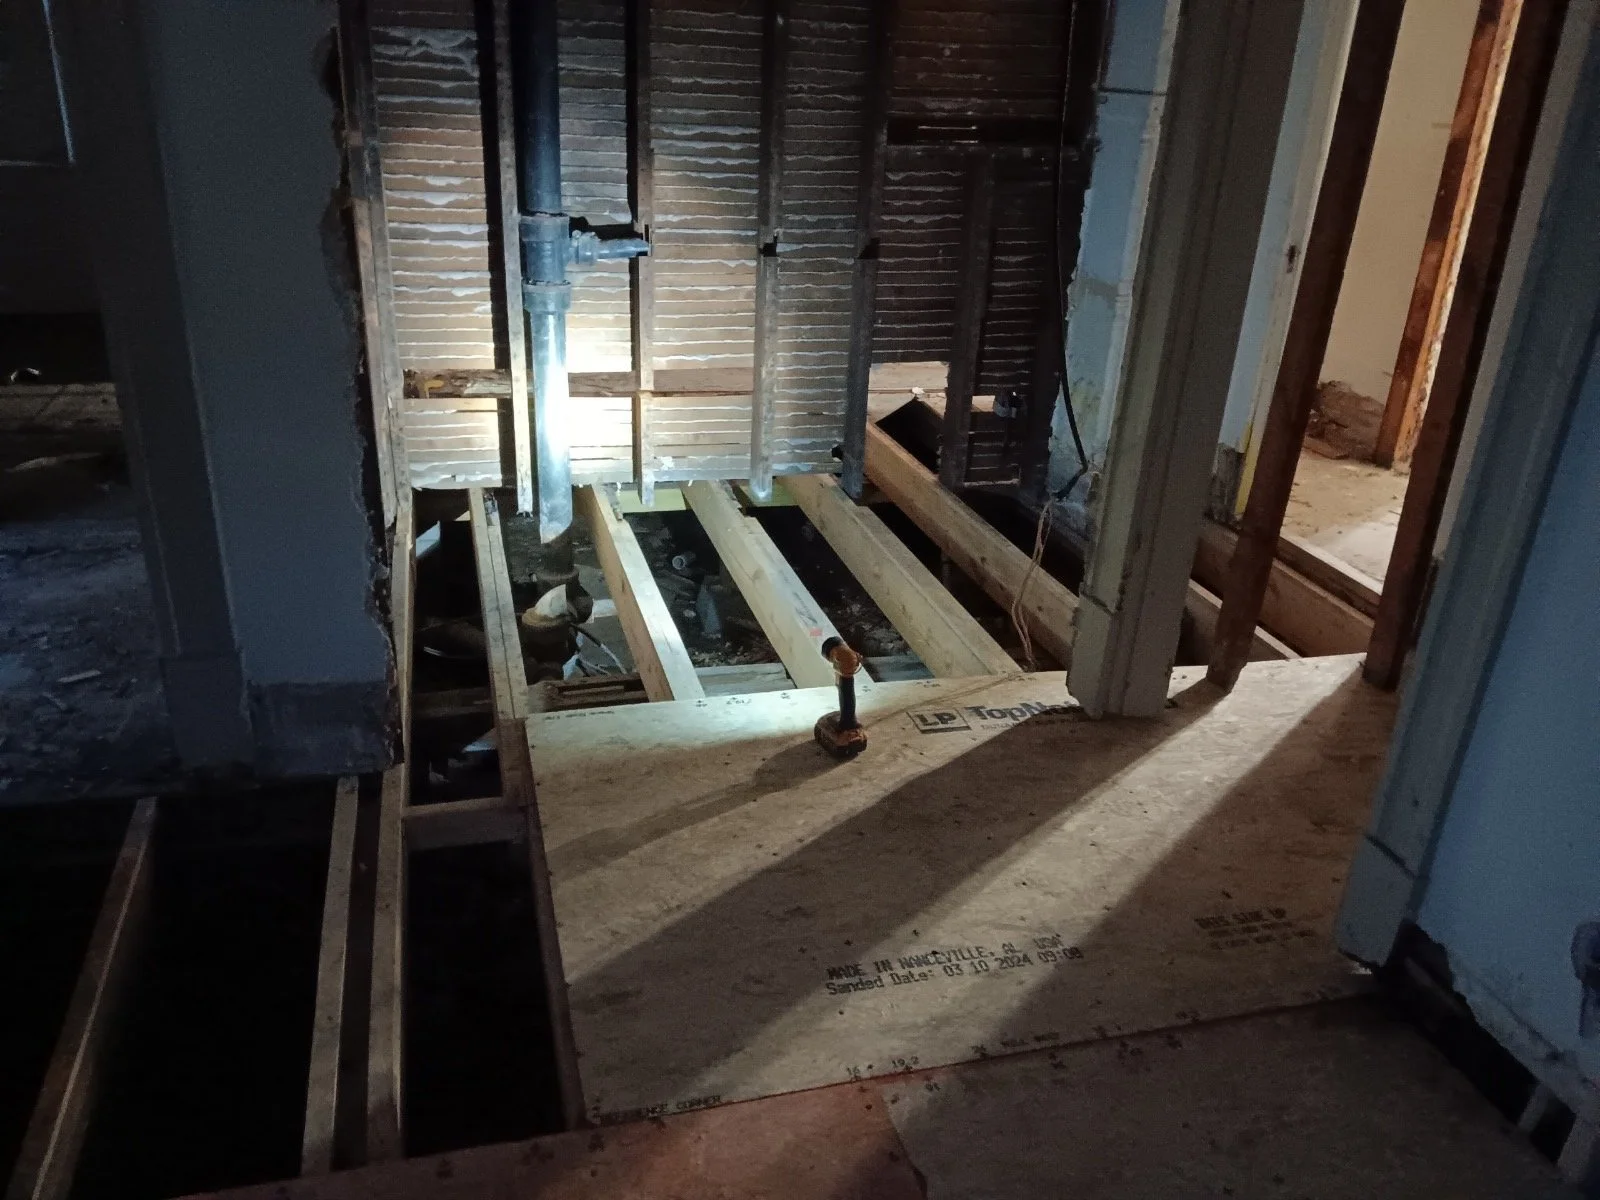
After demoing Bathrom #2, we discovered the flooring structure in this area of the house would need to be rebuilt.
-
![]()
We removed the drywall in prepration to open the living/kitchen area up.
-
![]()
There were multiple late nights involved here to keep the project on schedule in light of the issues we uncovered.
-
![]()
After the flooring structure was repaired, we began reframing the central hallway.
-
![]()
At this point, the dividing wall had been removed between the kitchen/living area and new windows had arrived.
-
![]()
New central corridor had been framed with new linen closets and access to the back yard.
-
![]()
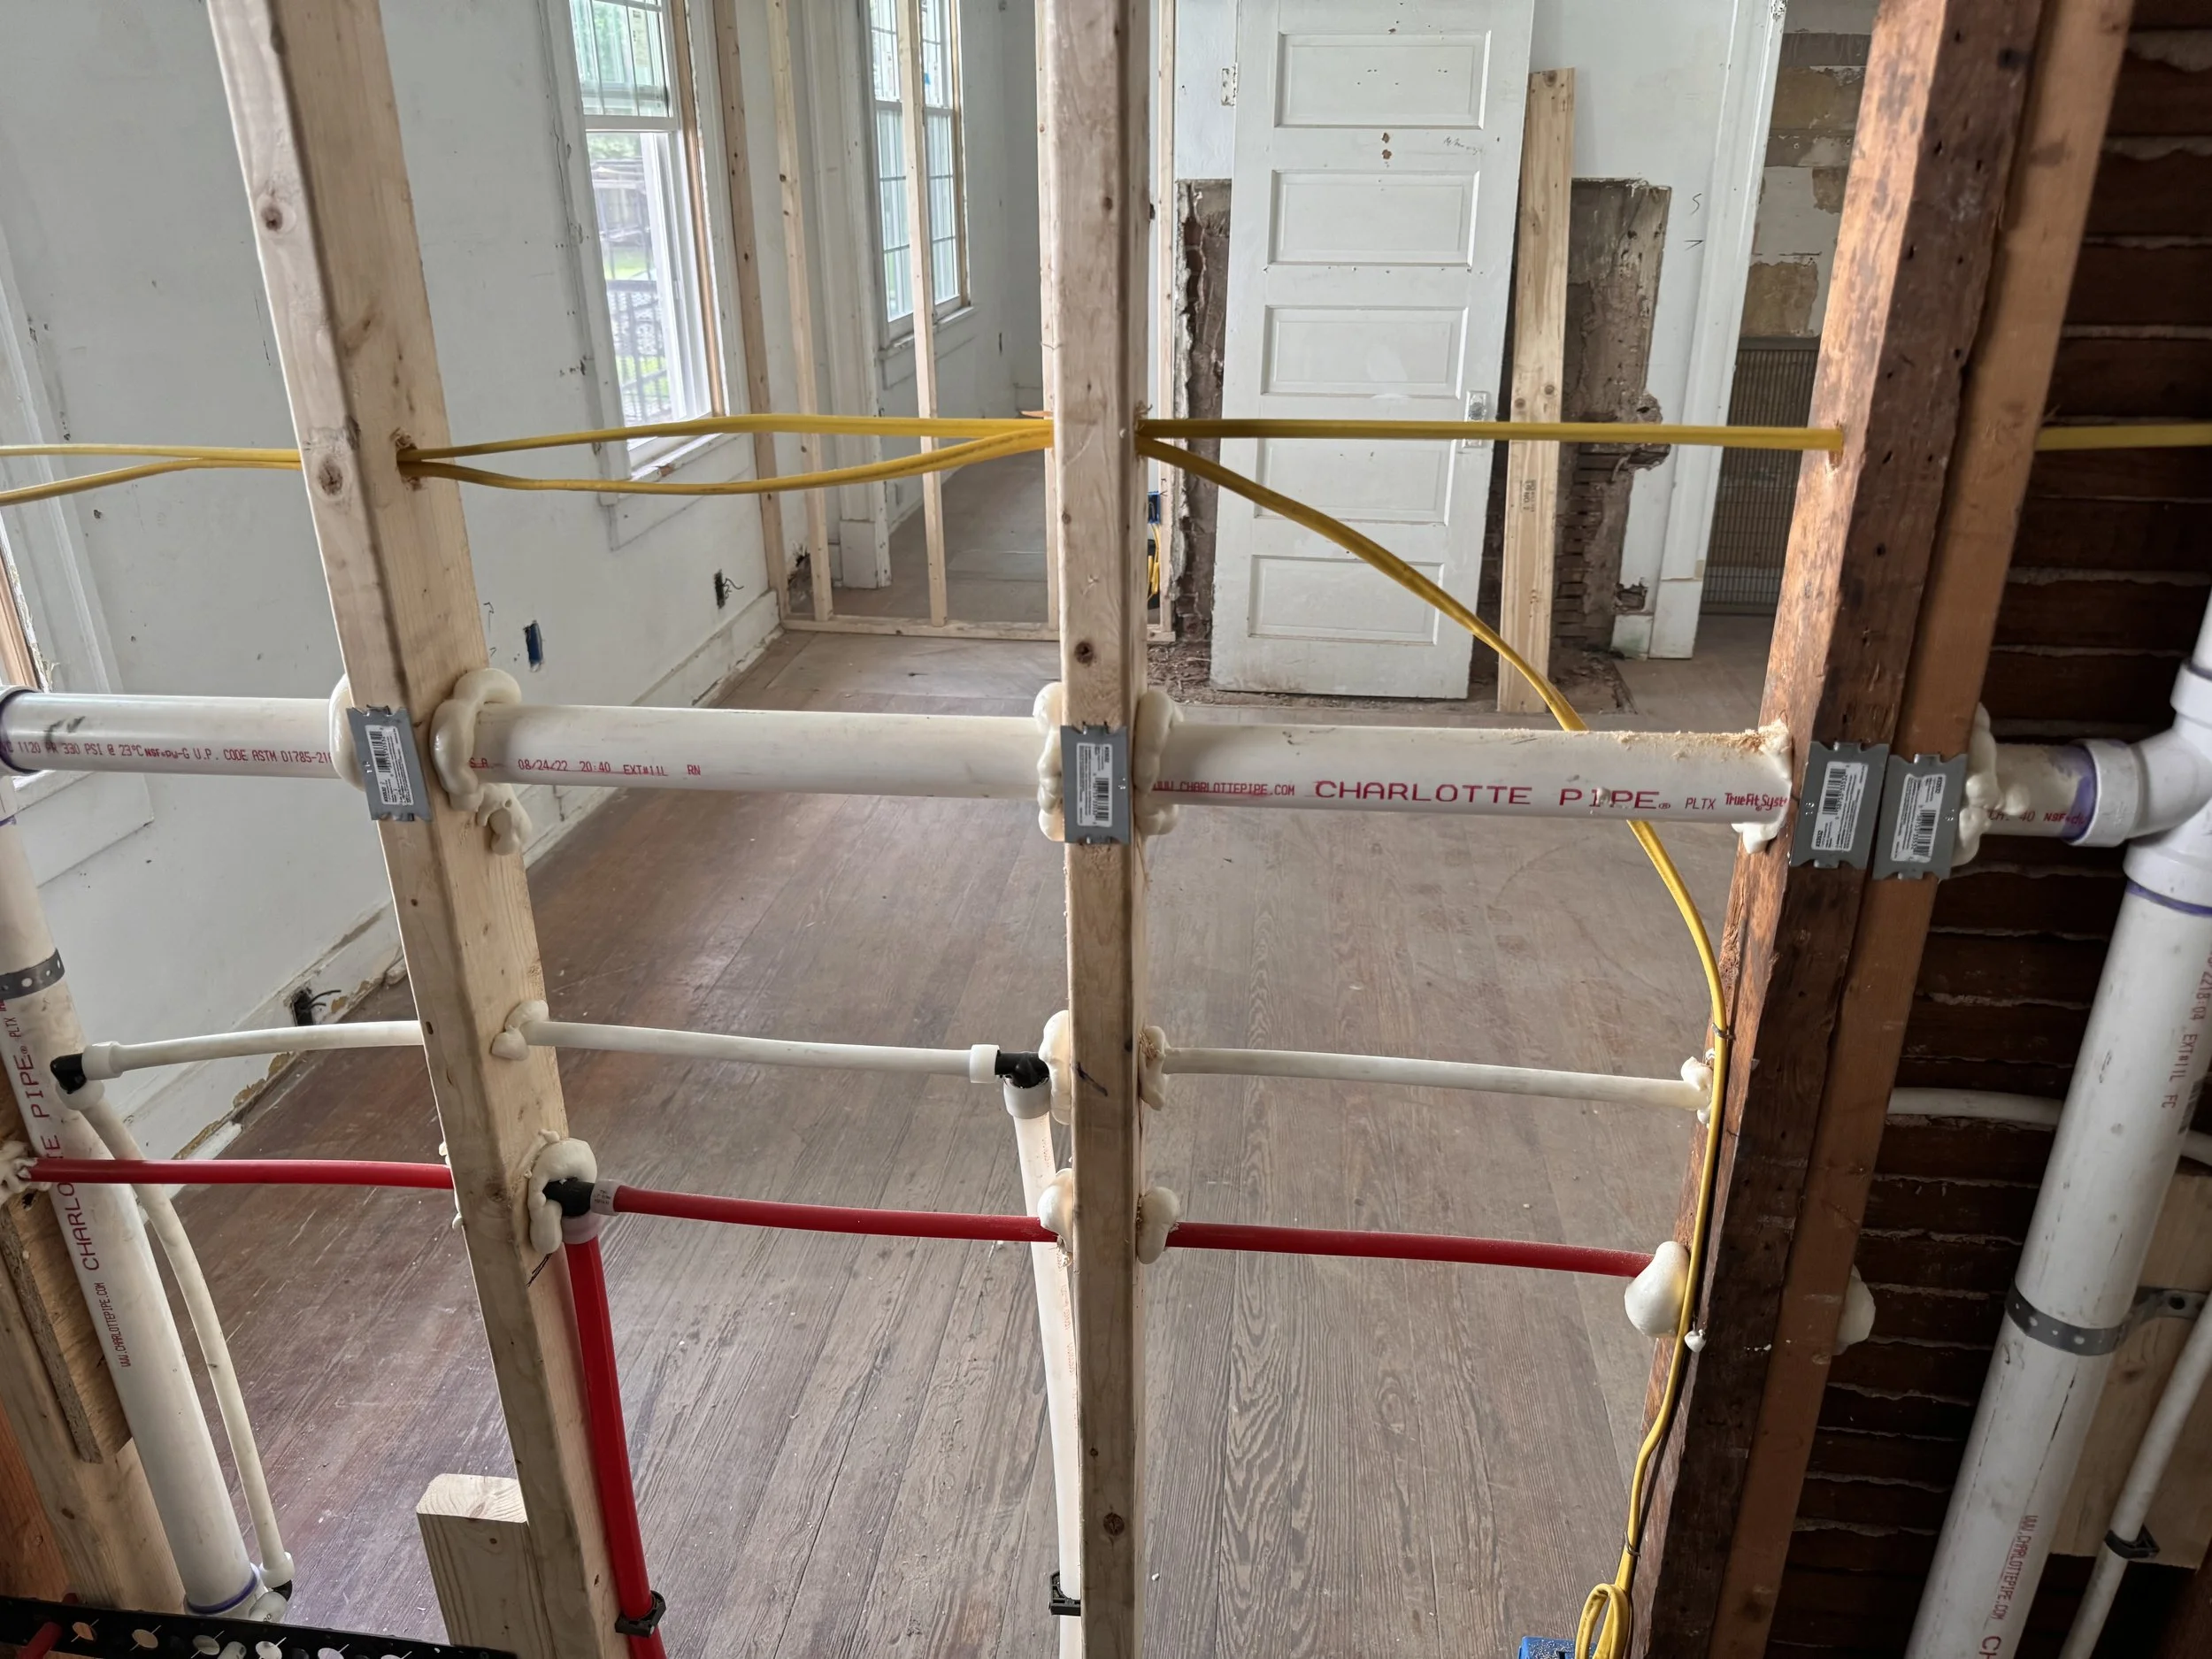
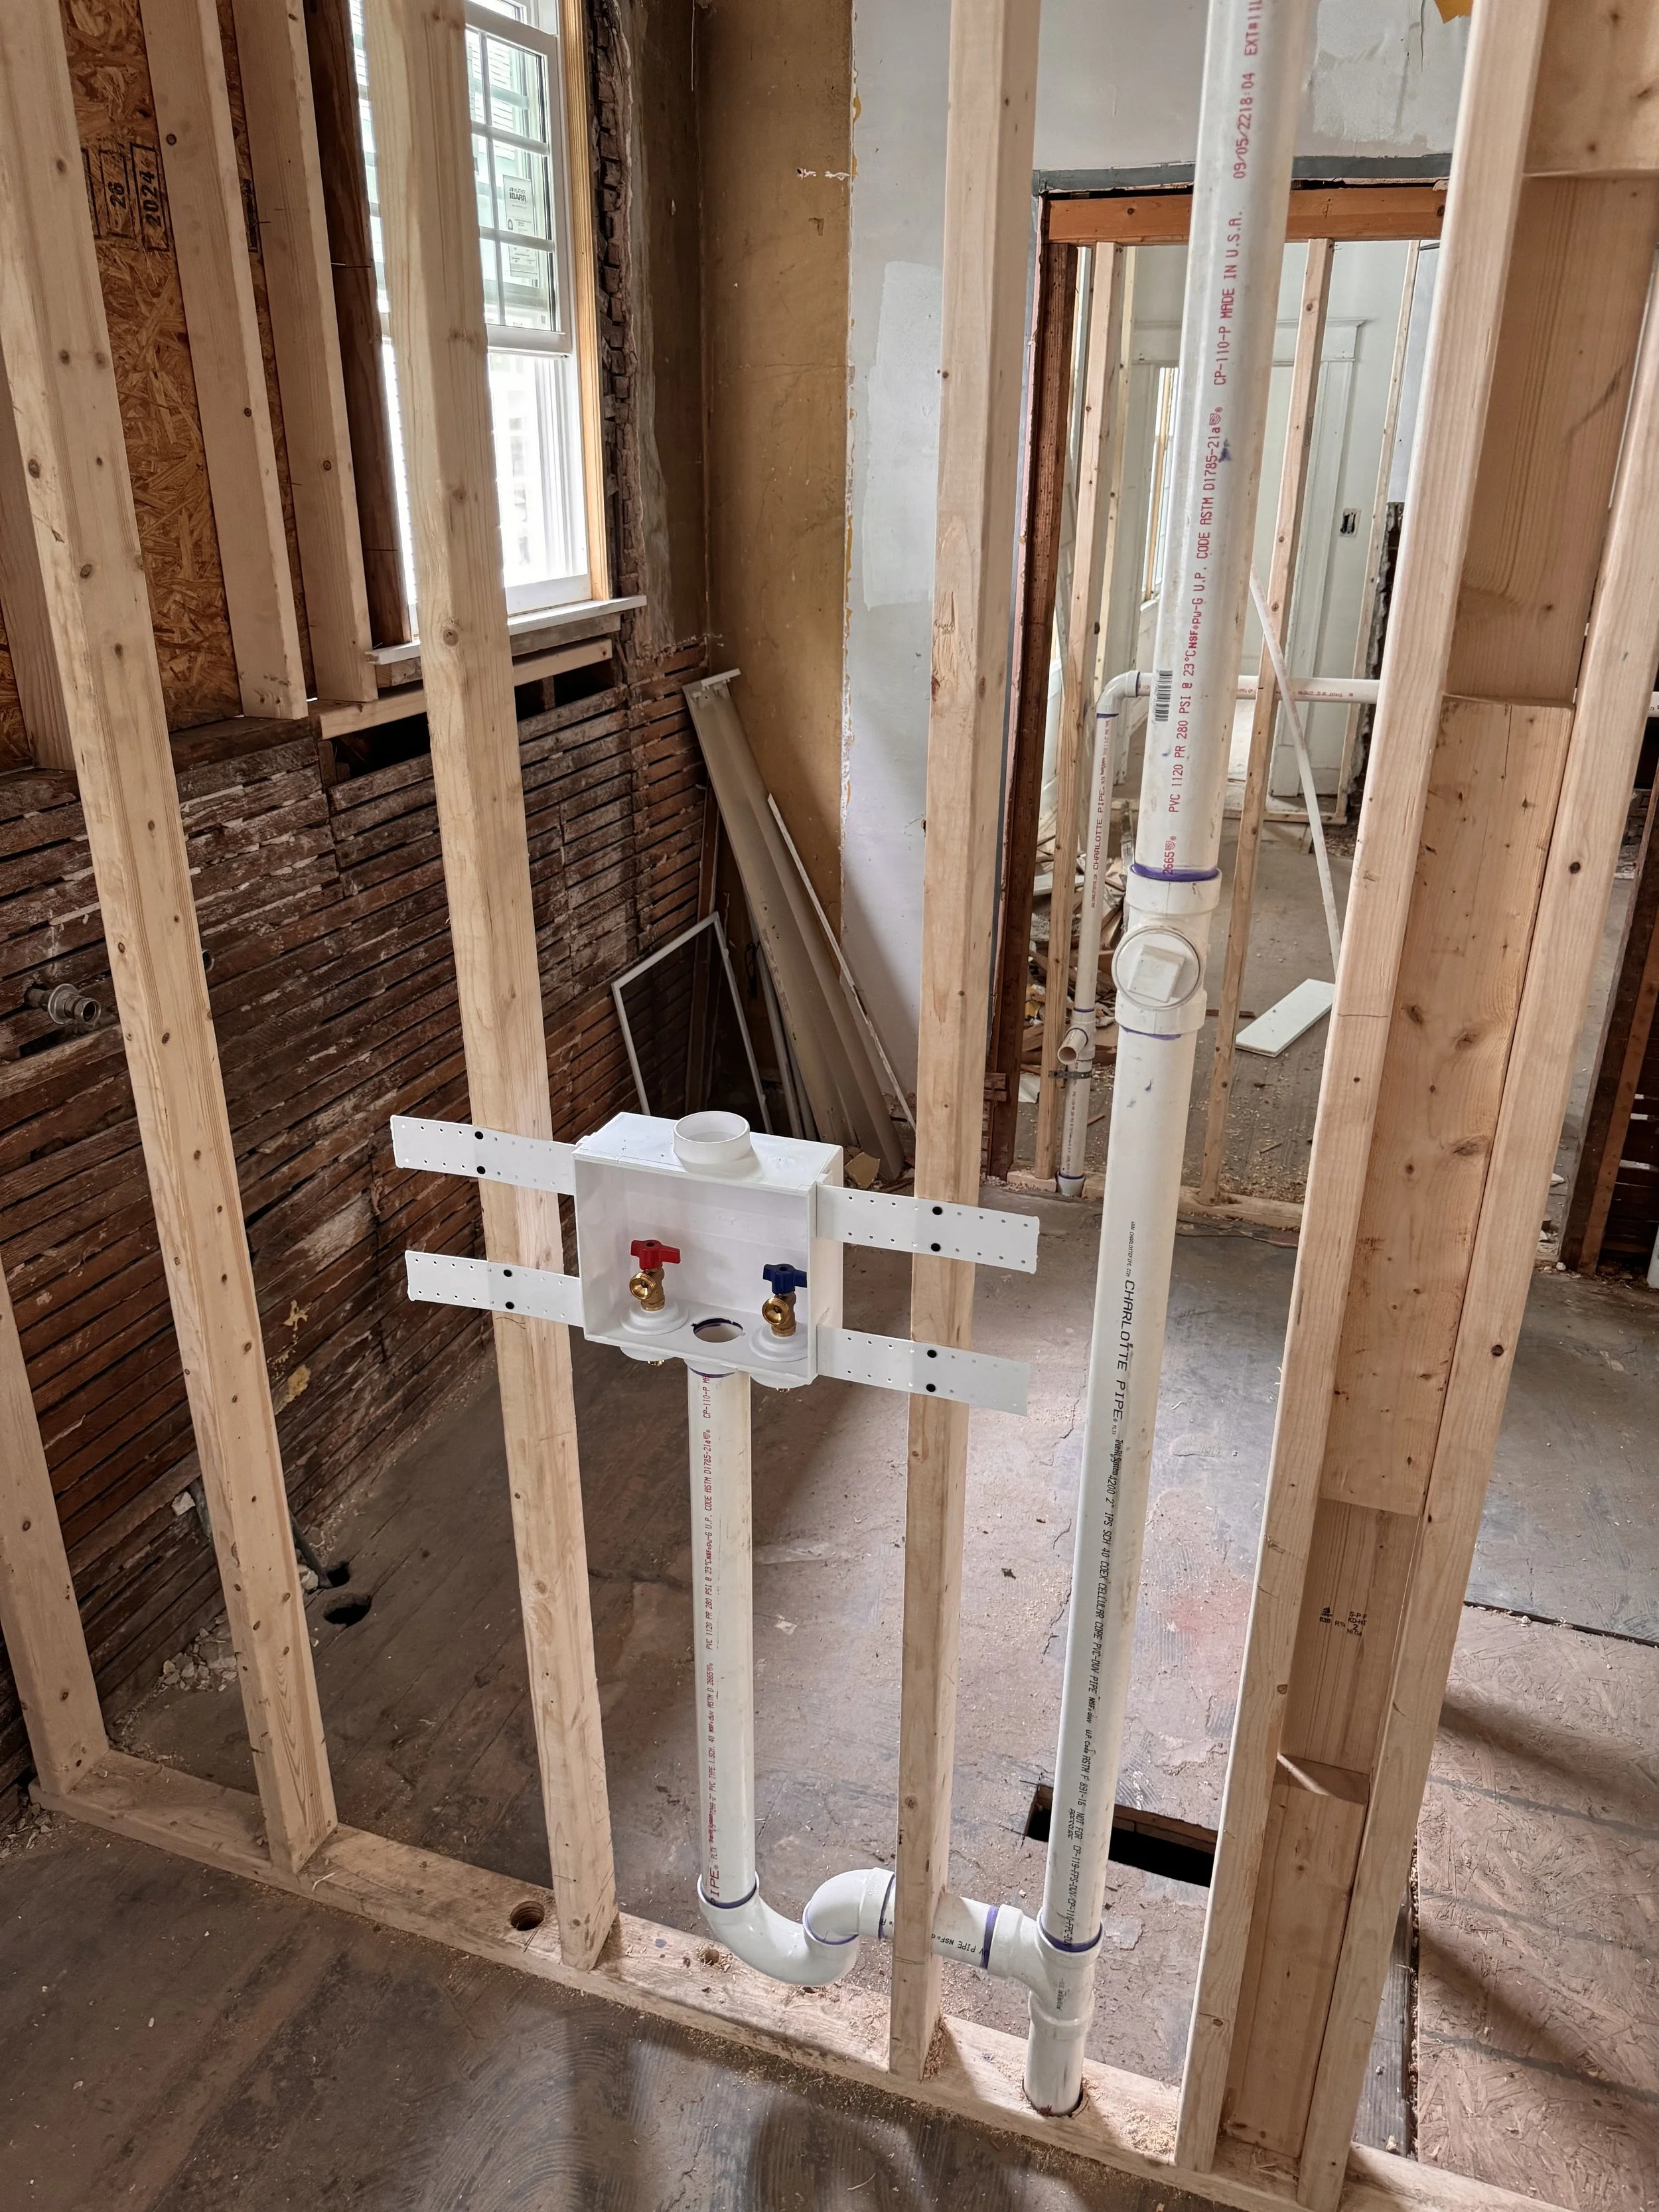
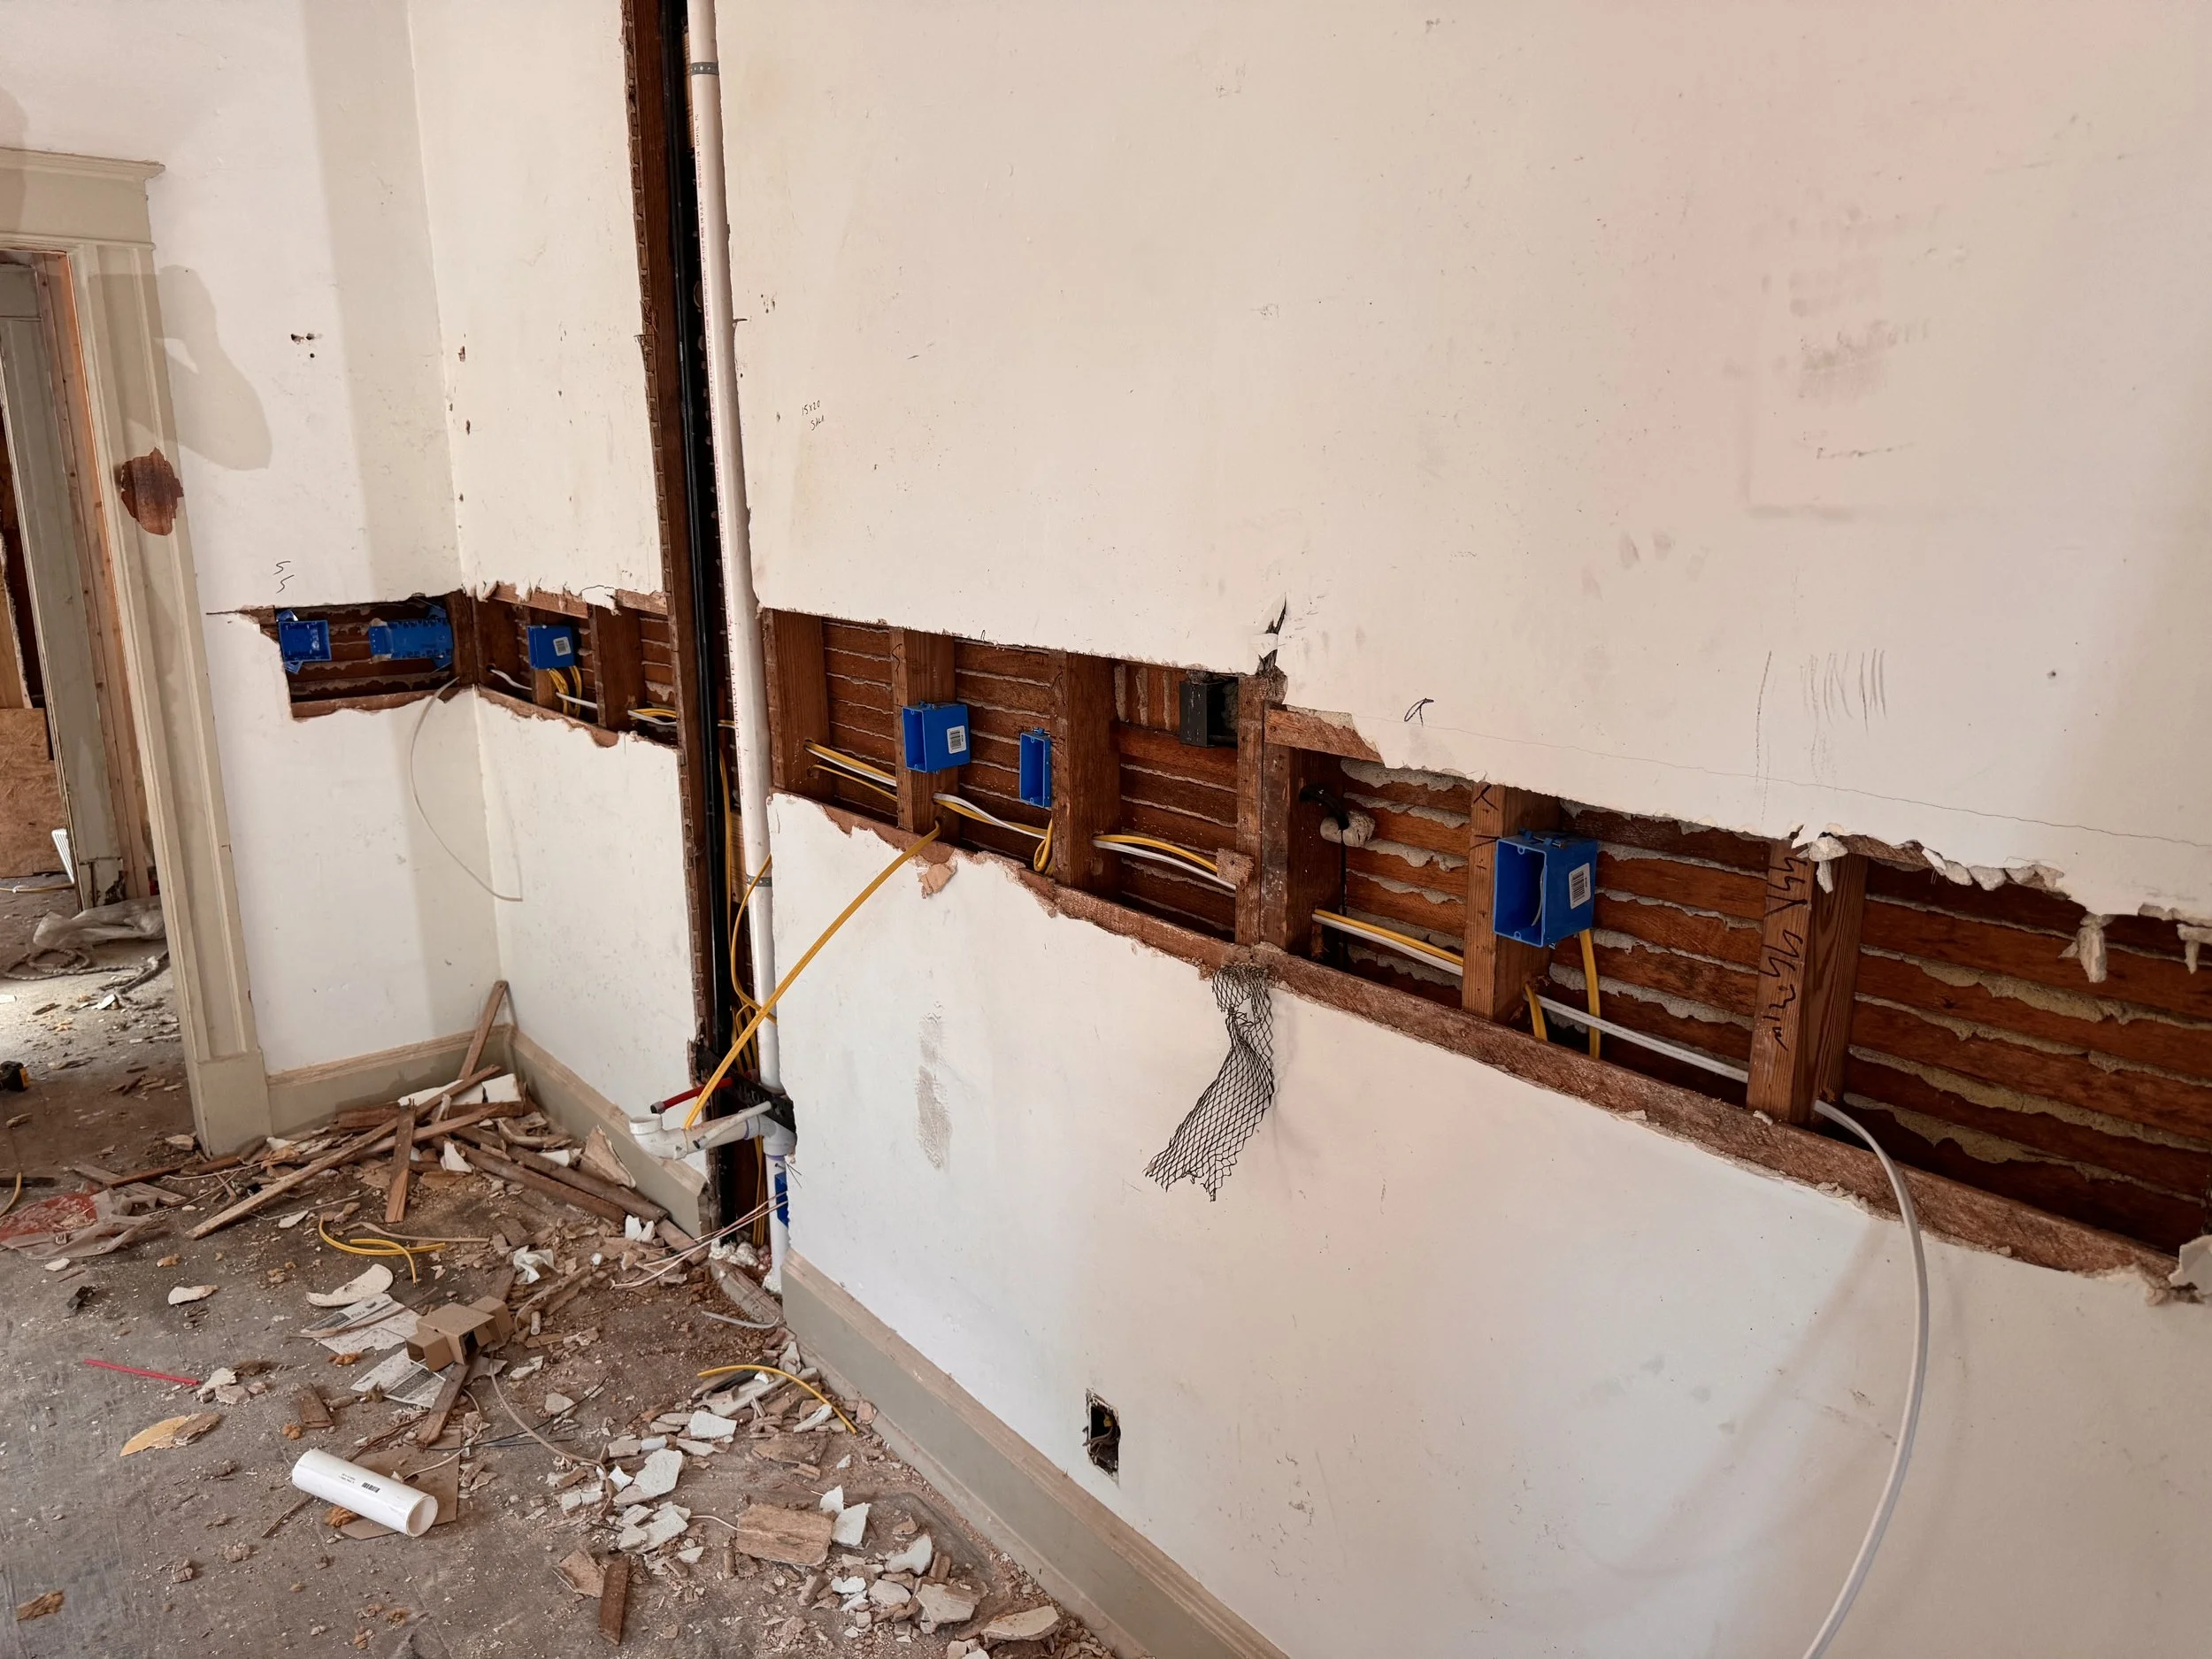
We completely re-wired and re-plumbed the house to accomodate the new floor plan.
-
![]()
We wired and plumbed in for the new laundry area, which would provide a designated laundry room rather than having a washer and dryer in the kitchen. This space is where the original kitchen was.
-
![]()
We re-wired for the new kitchen.
-
![]()
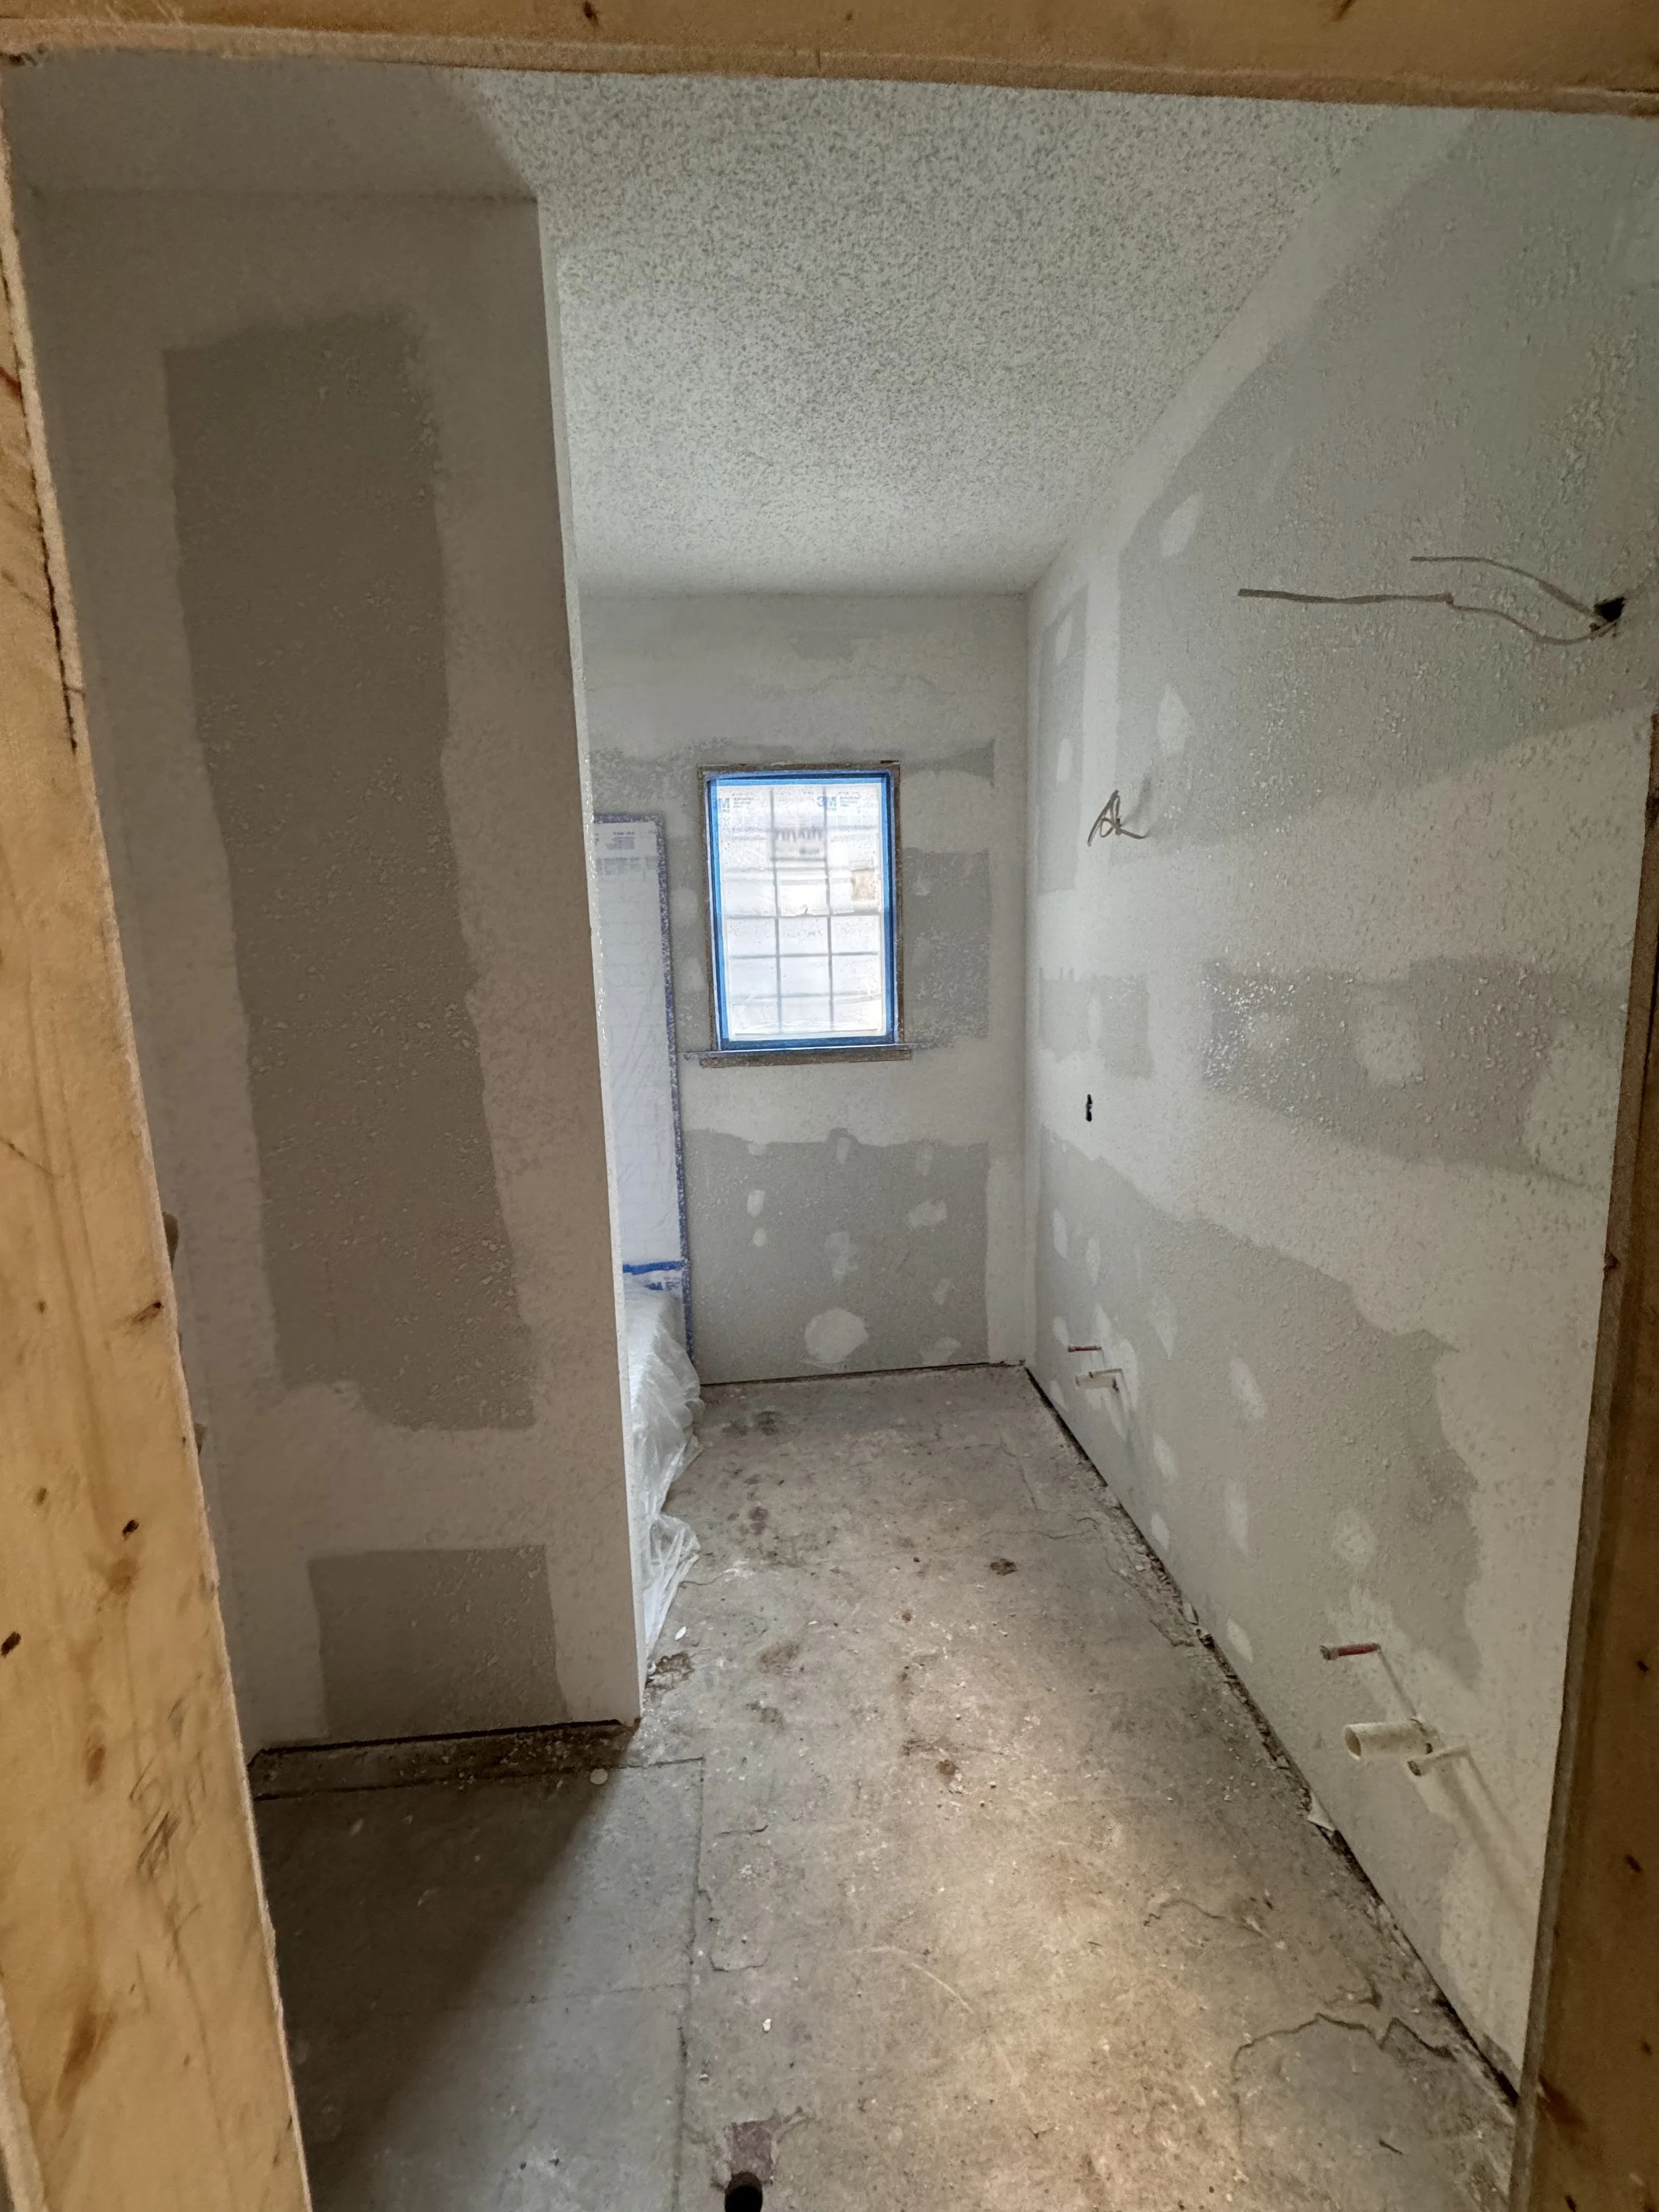
Now, we could begin to start adding drywall to the new walls. This is the new Bathroom #2 where the original kitchen was.
-
![]()
New central corridor in the rear of the house. On the left is a bedroom, and on the right is the new Bathroom #2 and laundry room.
-
![]()
We also replaced the trimwork throughout the property to maintain the original historic facade.
-
![]()
With sheetrock installed, we could now begin to tile the new showers.
-
![]()
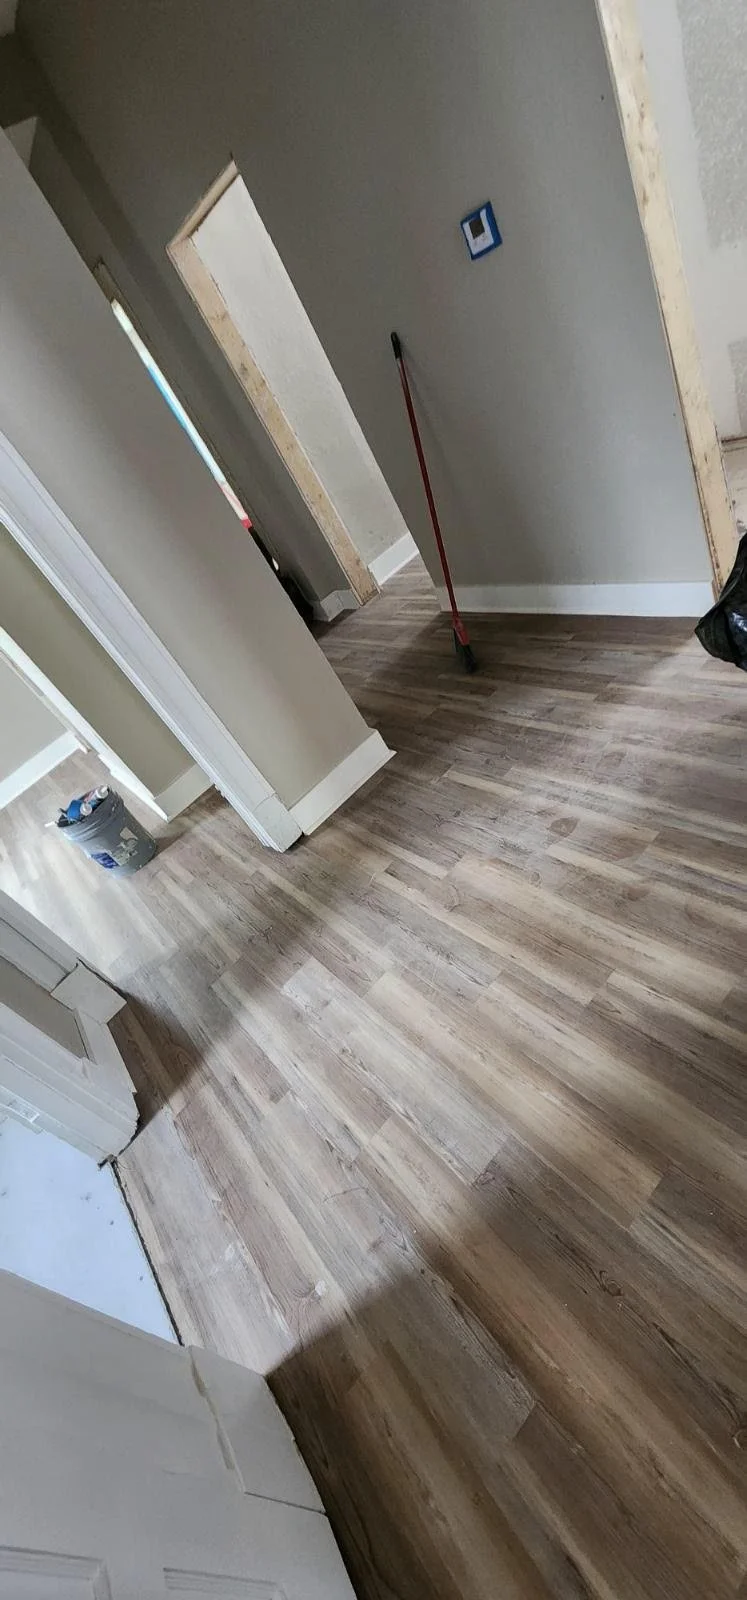
With the showers tiled and the first coat of paint on, we could install the new LVP flooring.
-
![]()
Now that flooring had been installed, we could install new cabinets and granite countertops in the kitchen.
-
![]()
More kitchen.
-
![]()
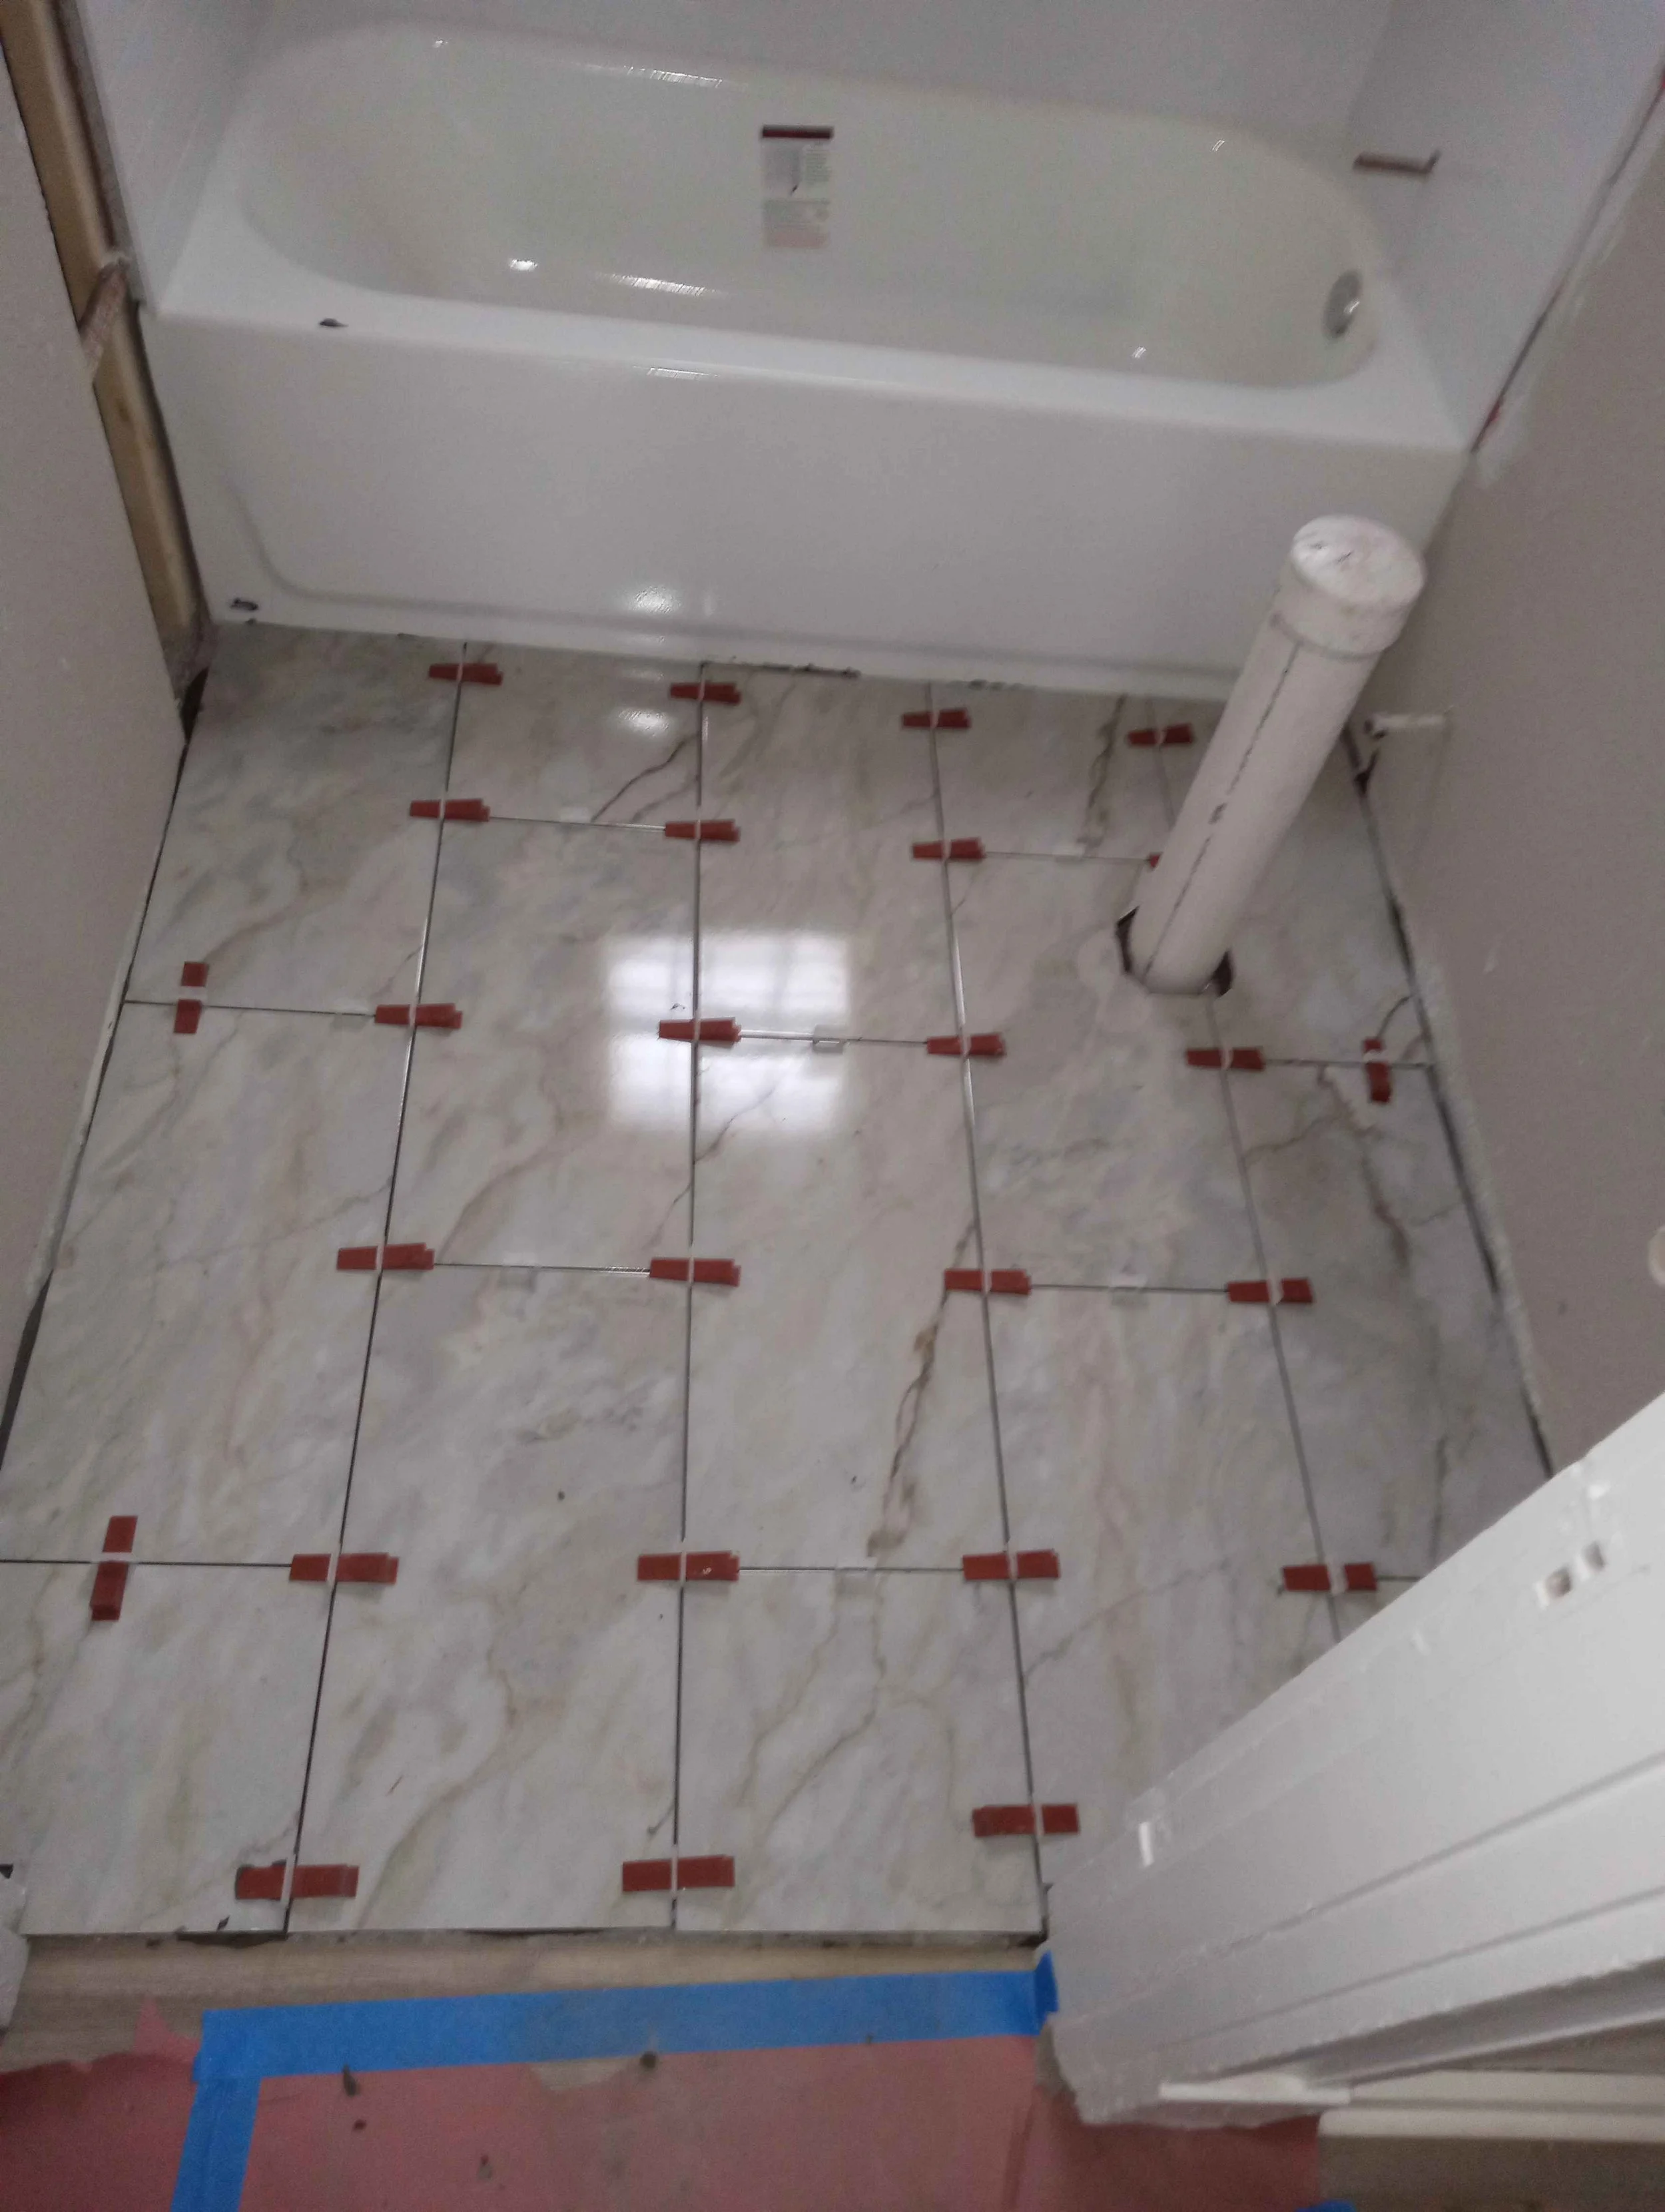
Now that the heavy, dirty work had been completed, we could start the bathroom floor tile.
-
![]()
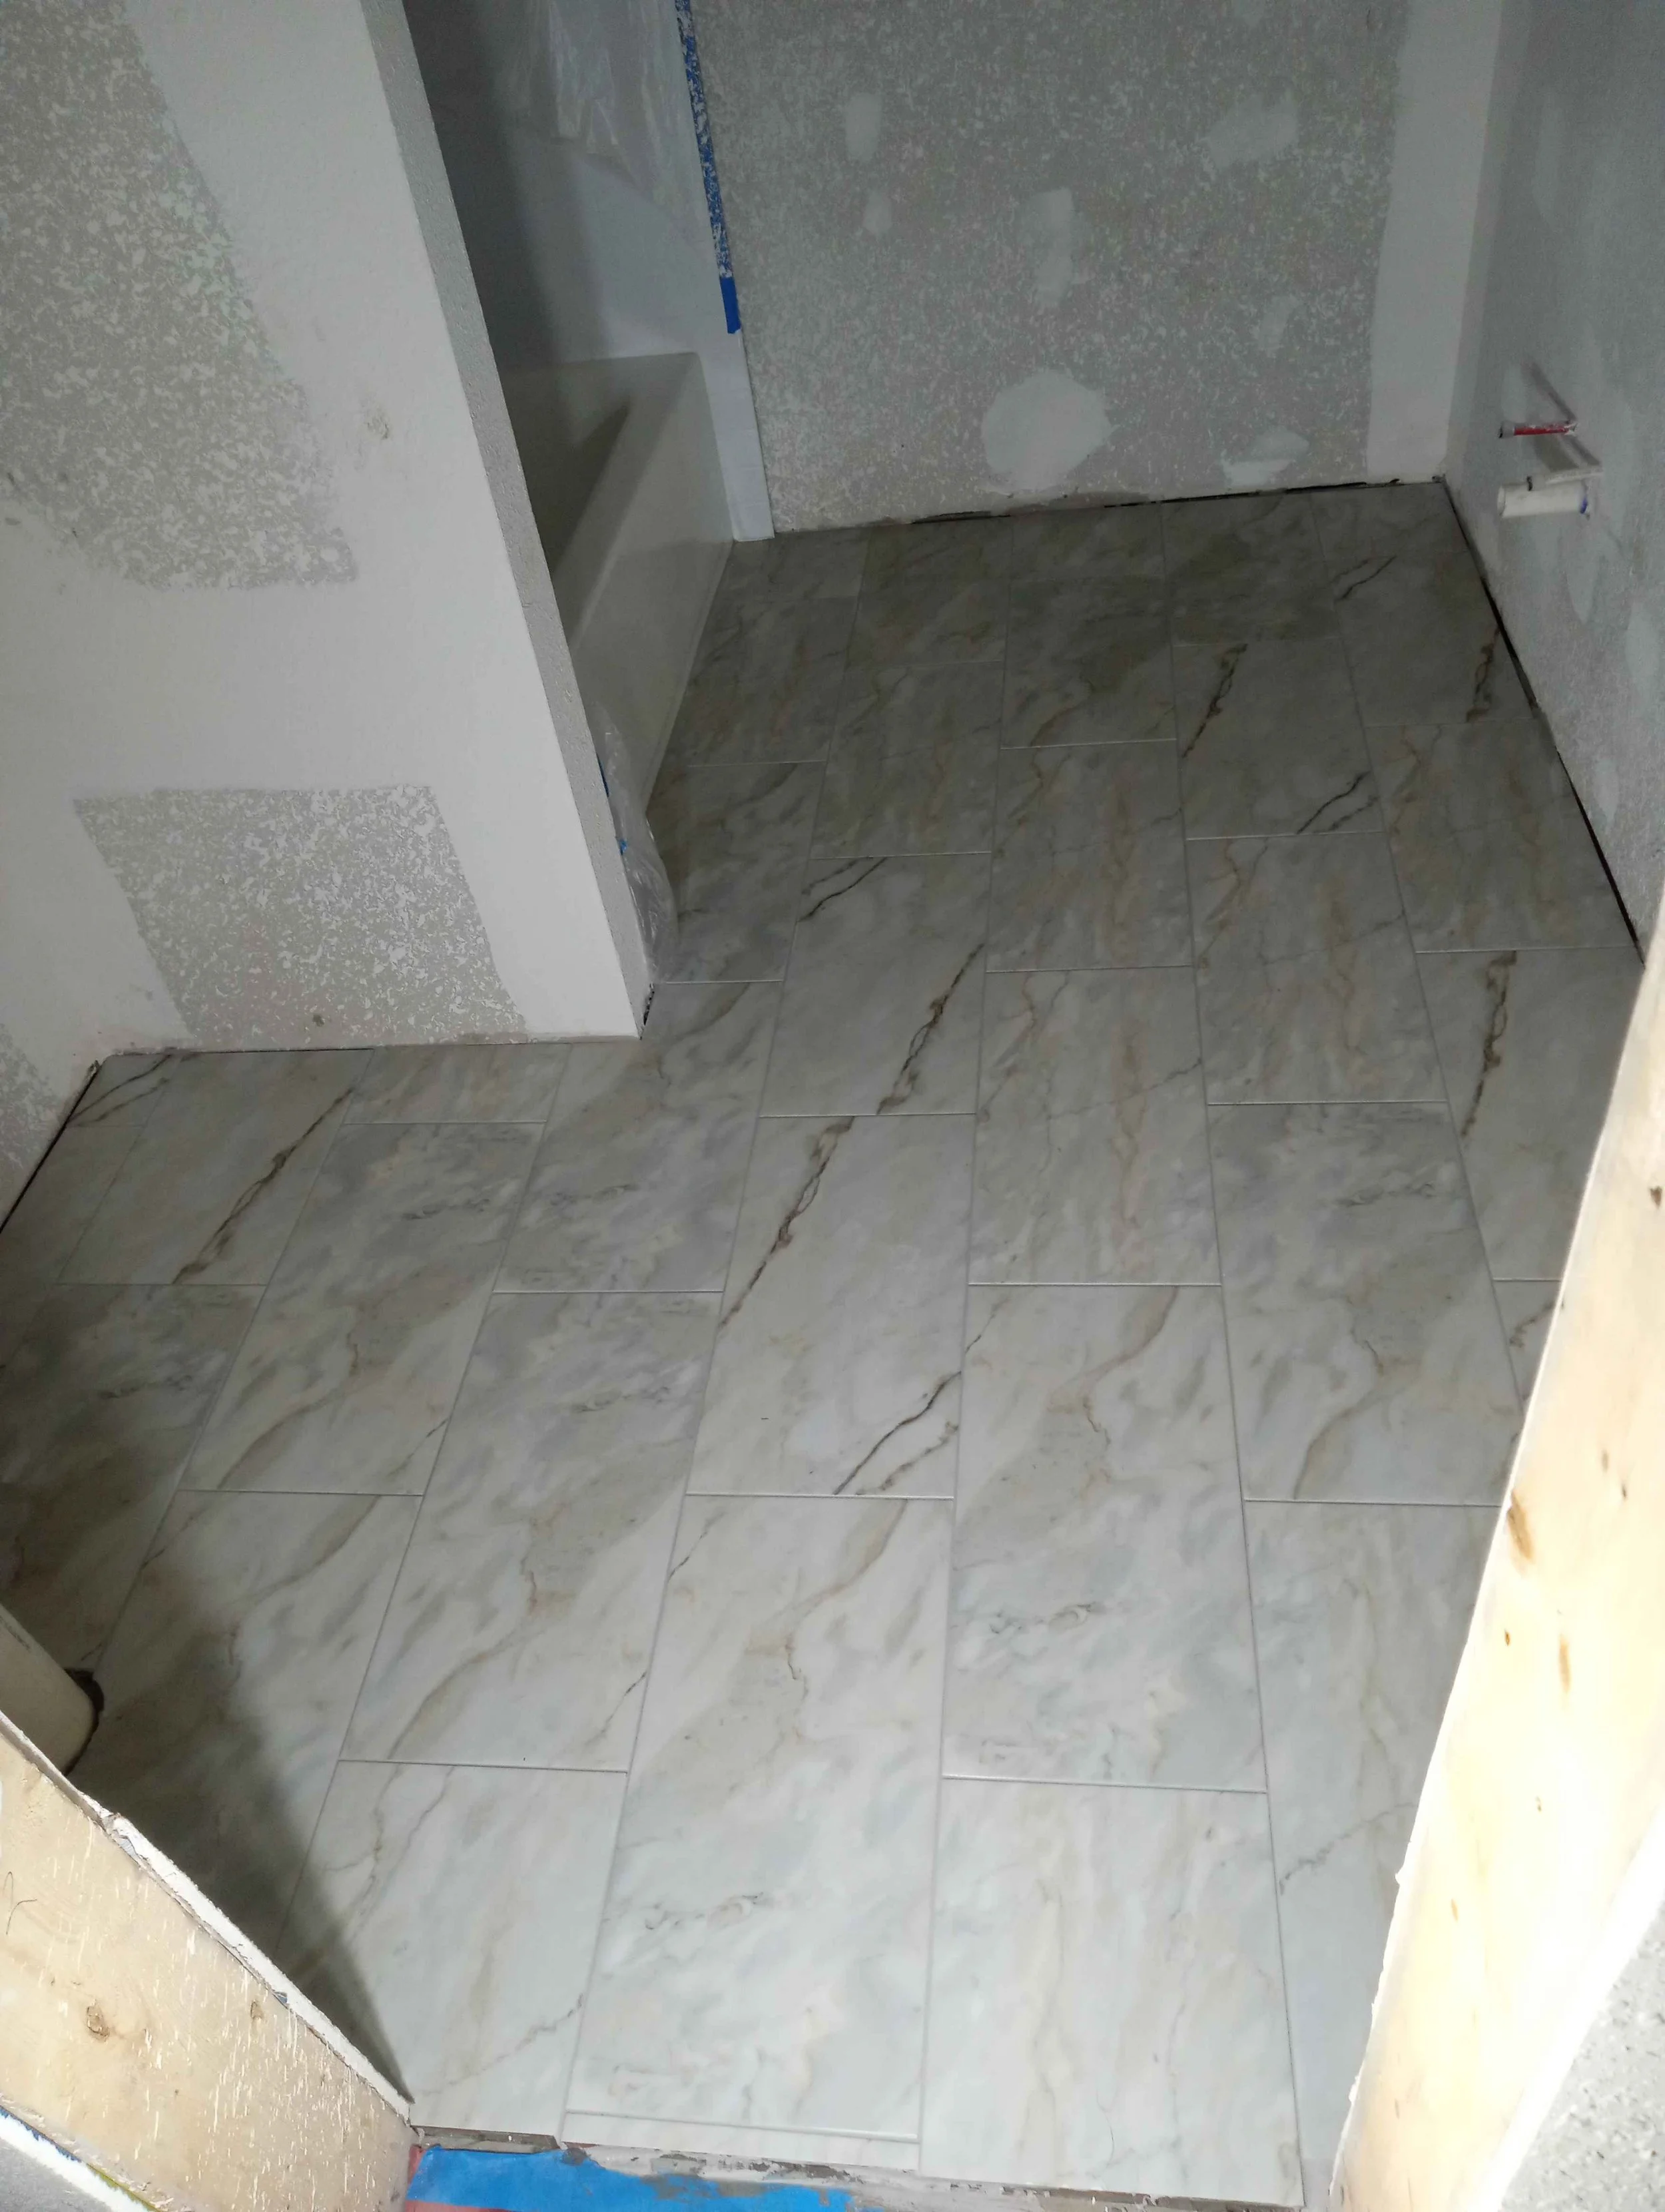
Tile in the new Bathroom #2.
-
![]()
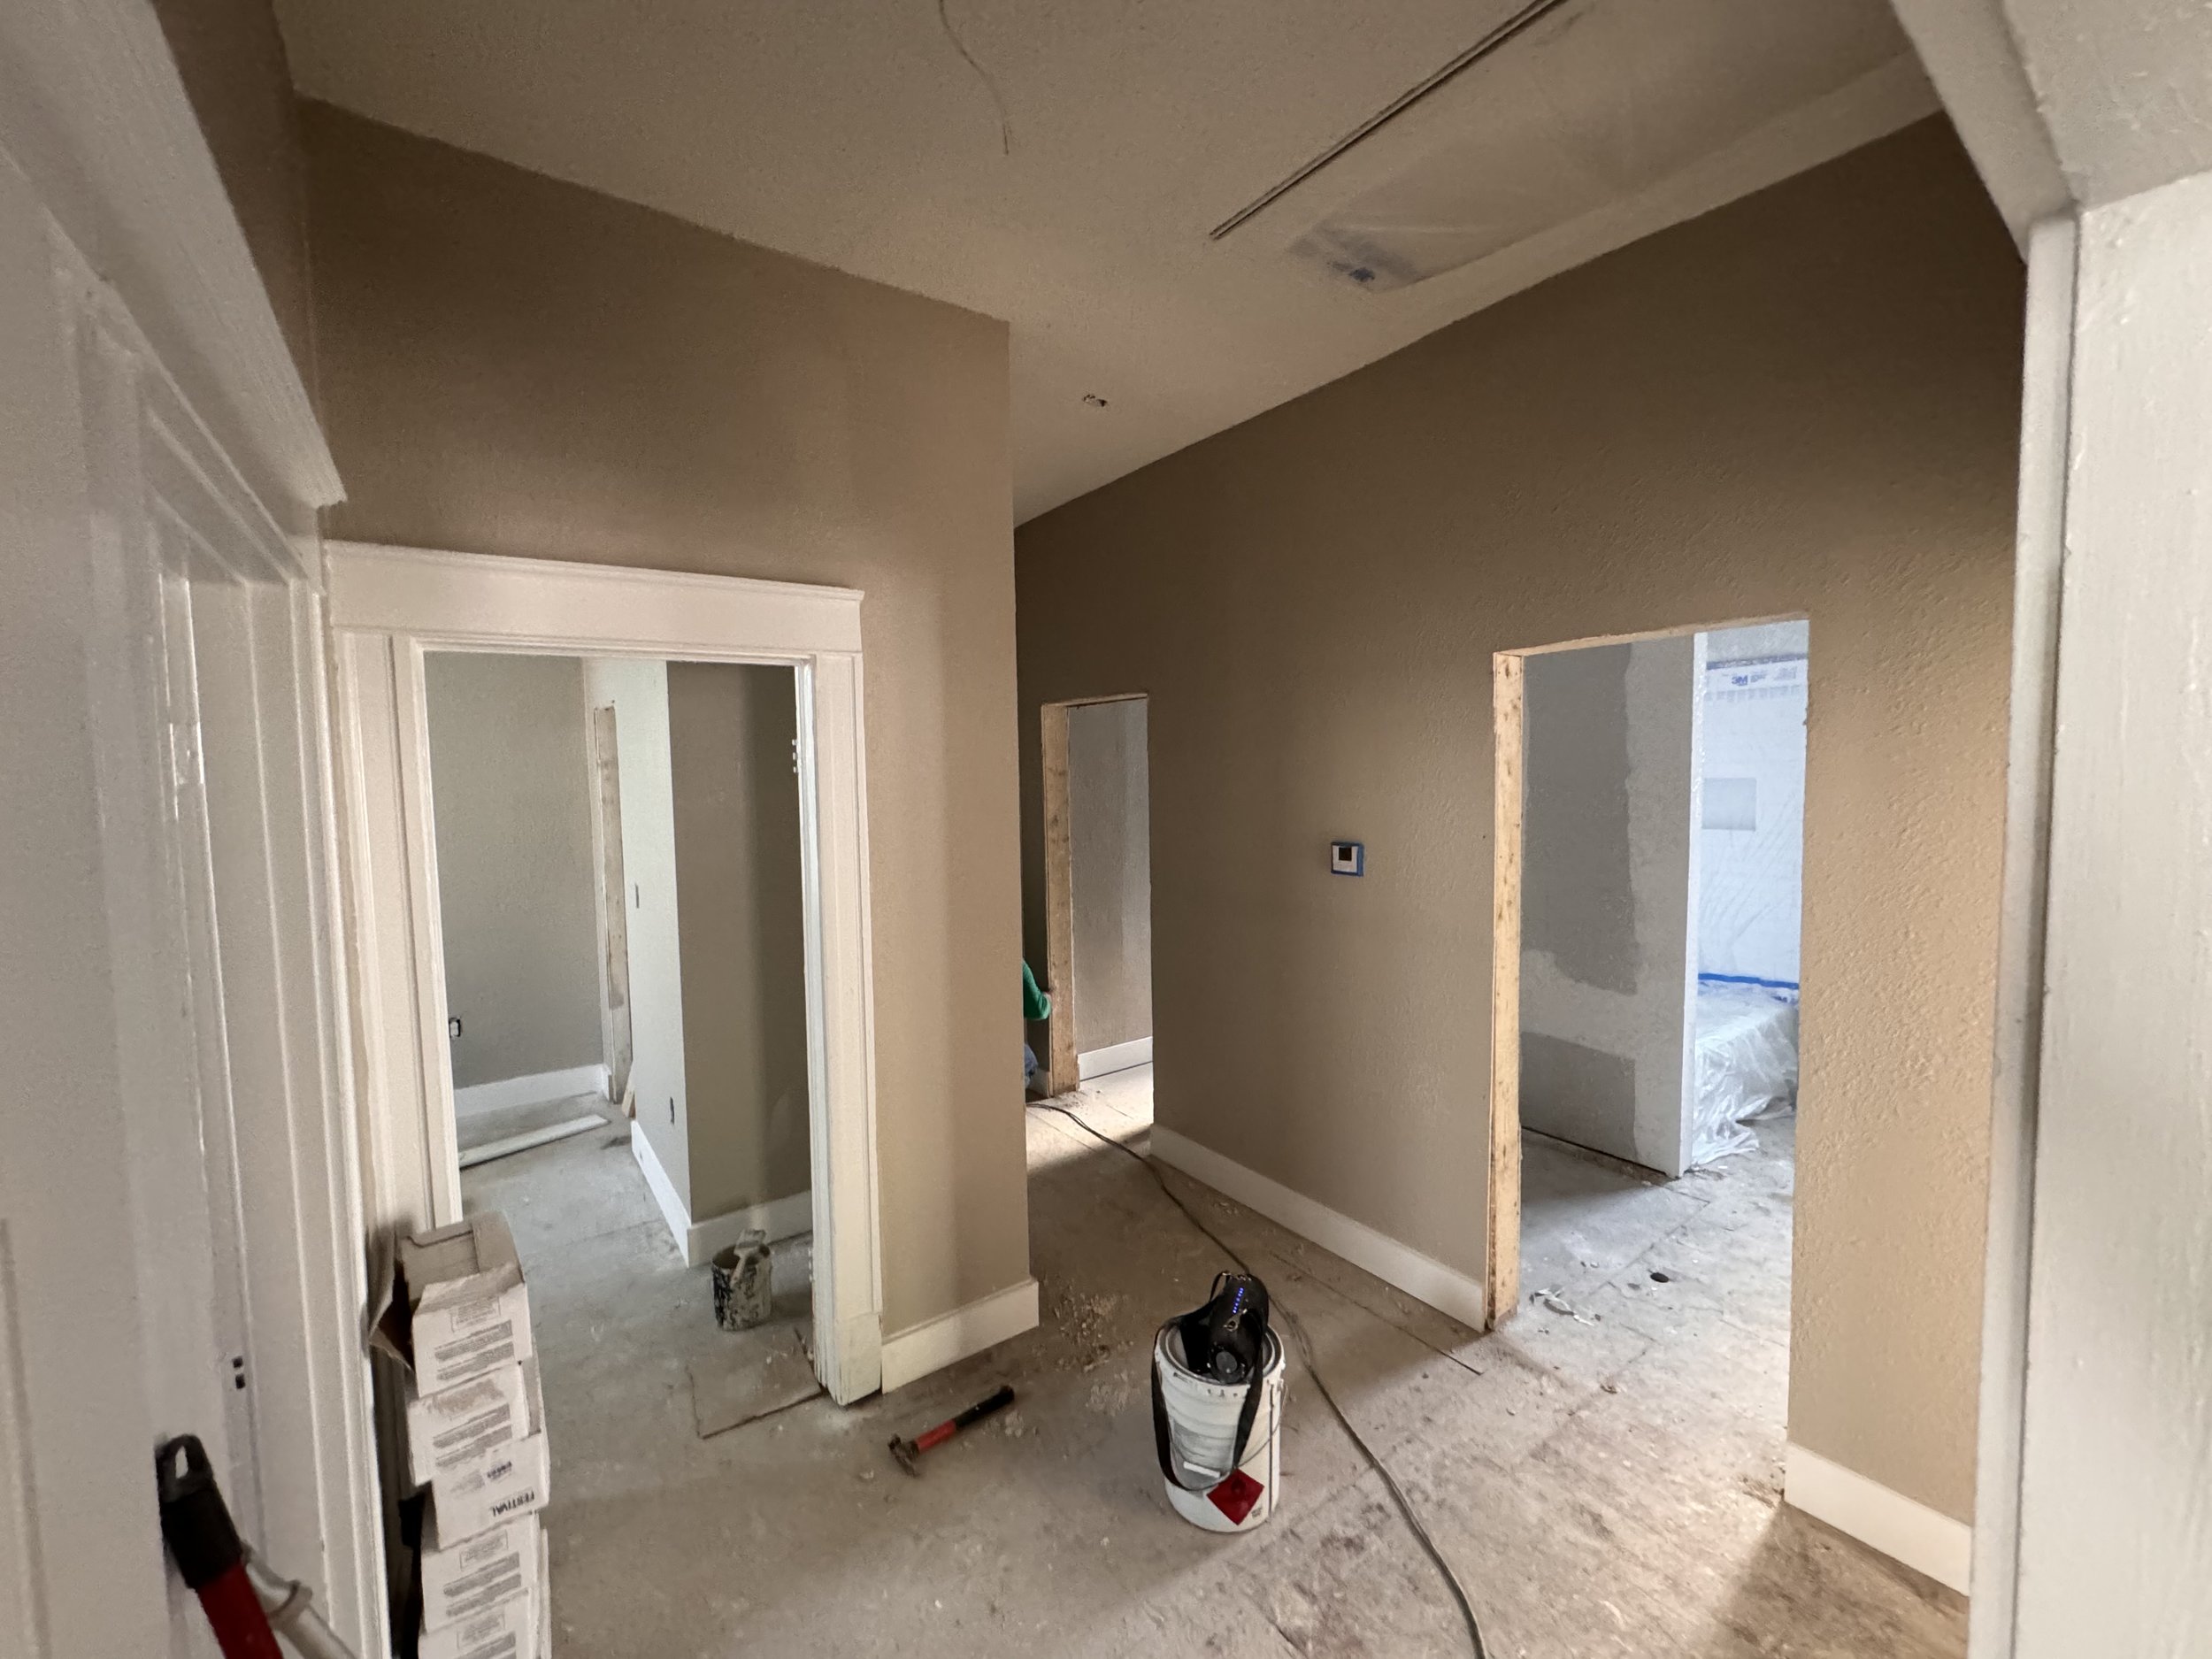
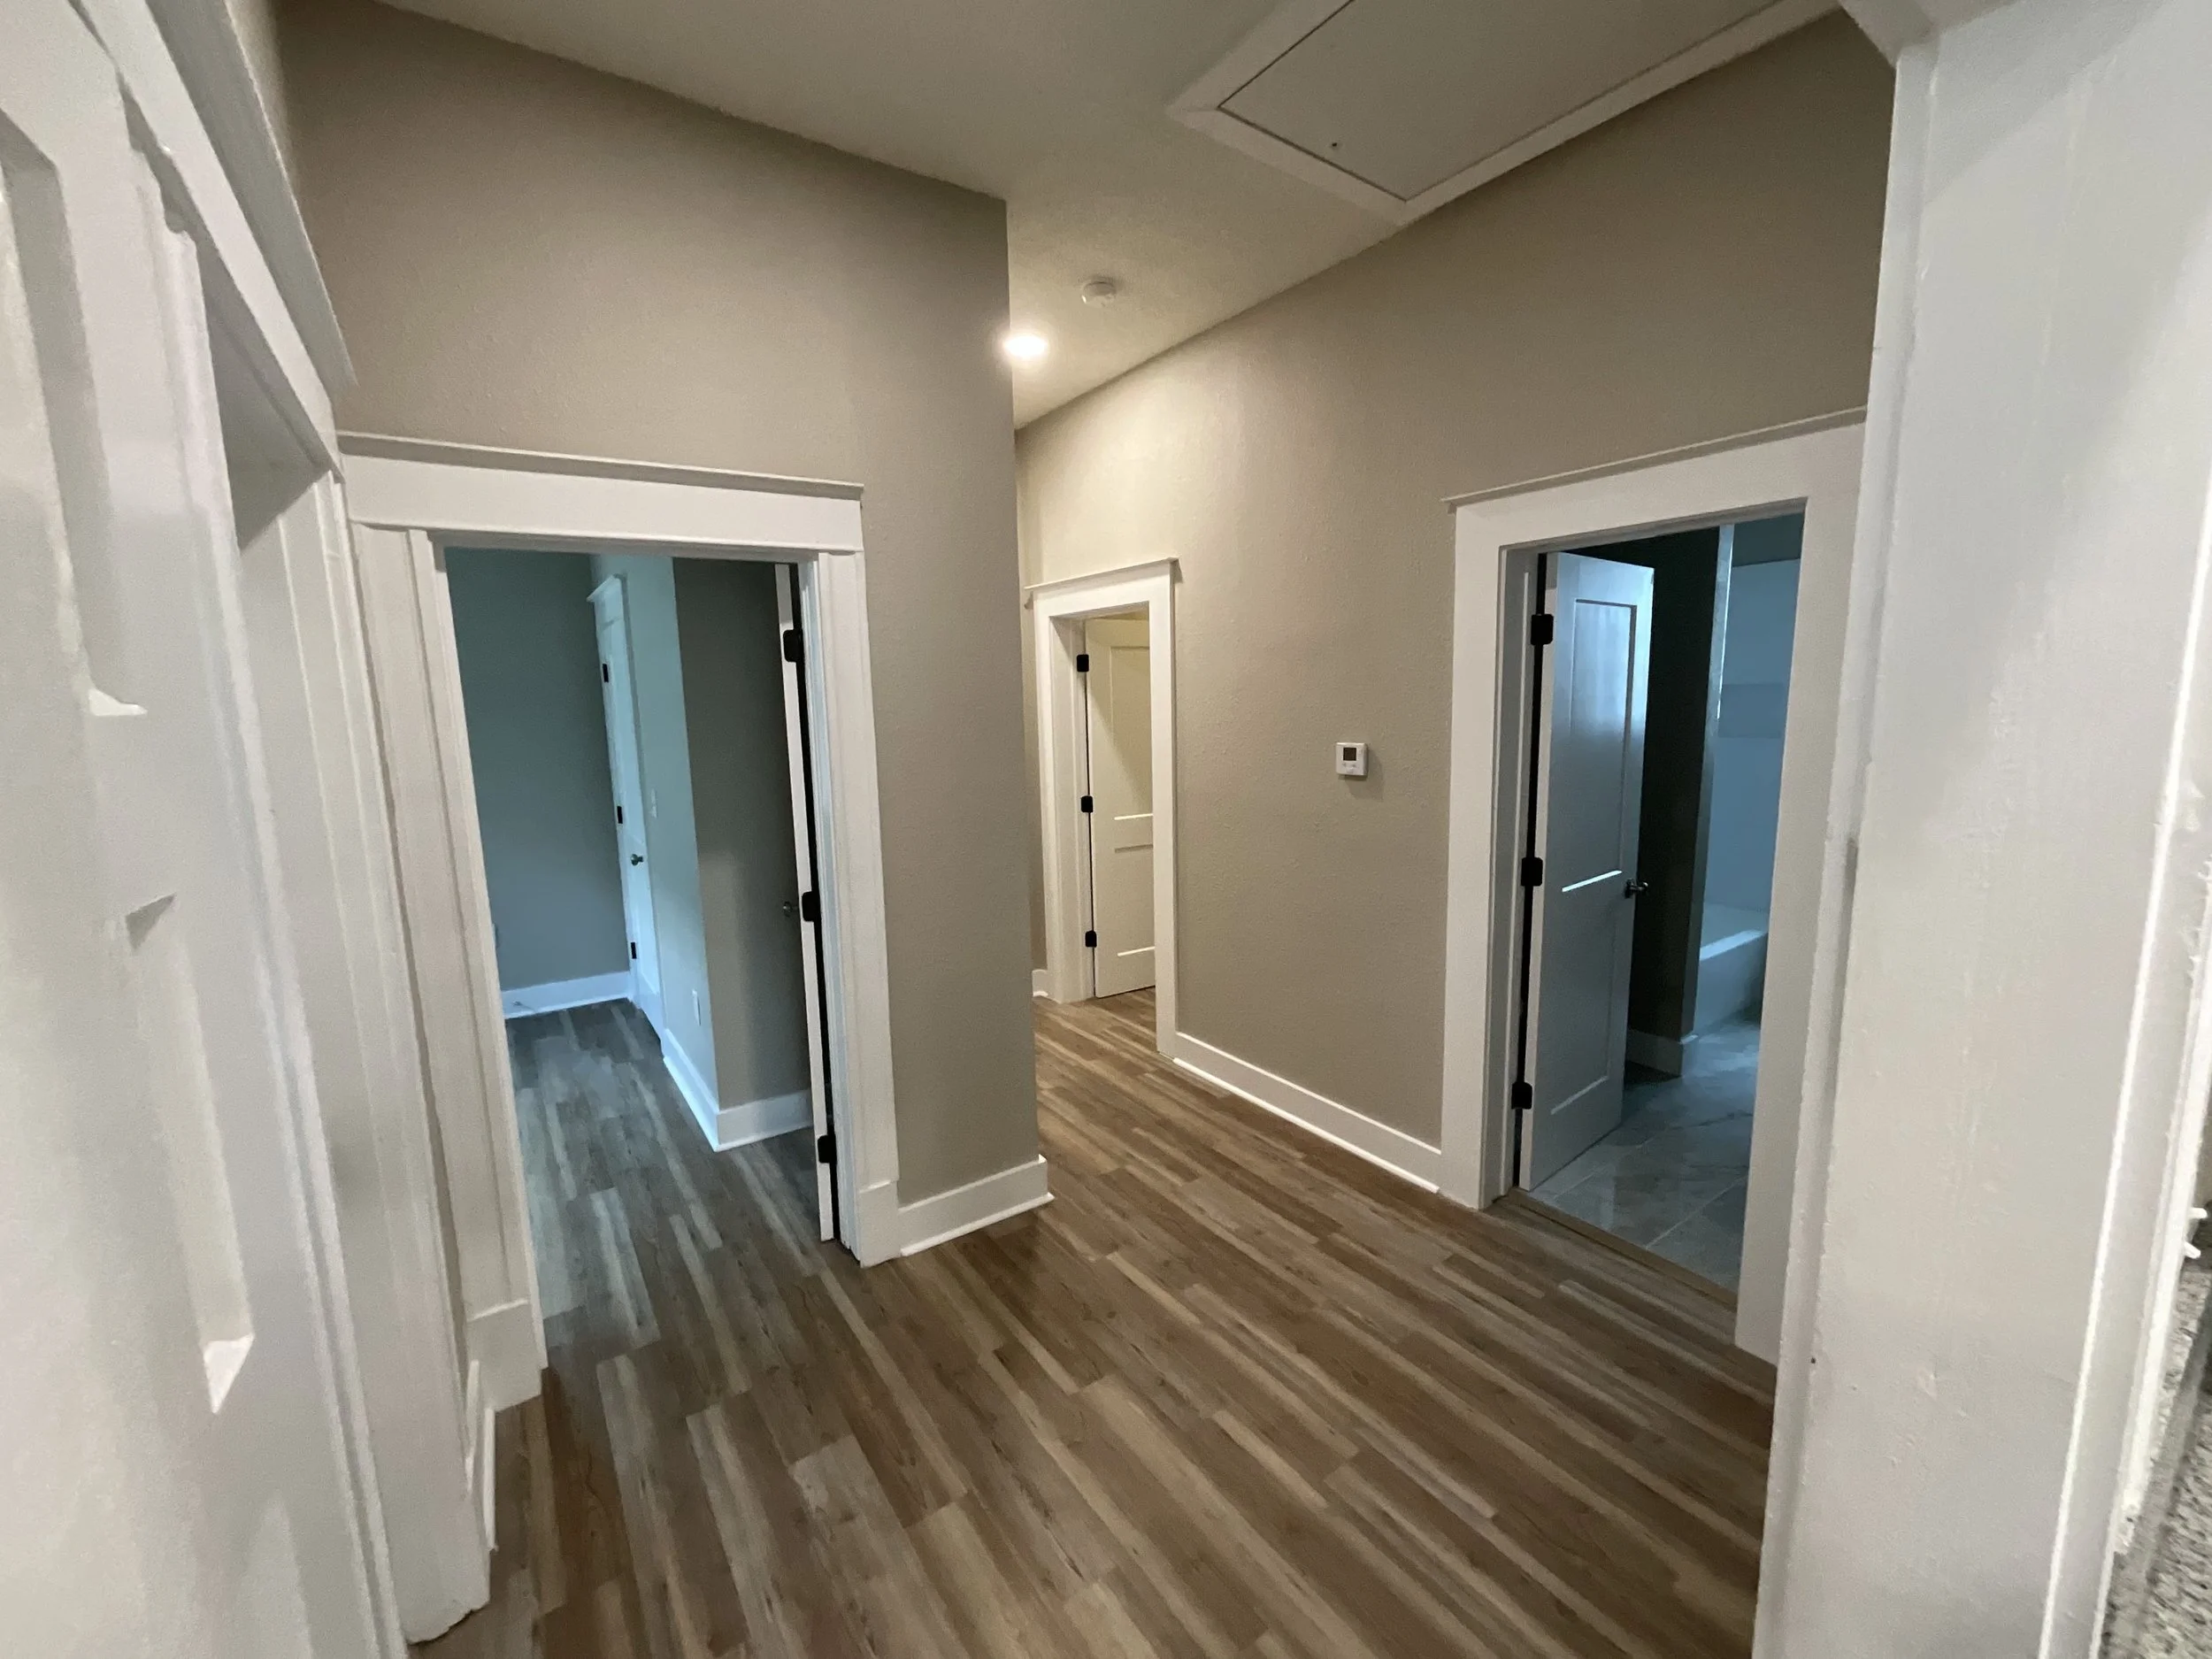
After many more days of touch ups and details, the home started to come together. This is the new central hallway where the original kitchen and bathroom #2 were.
-
![]()
New hallway bathroom.
-
![]()
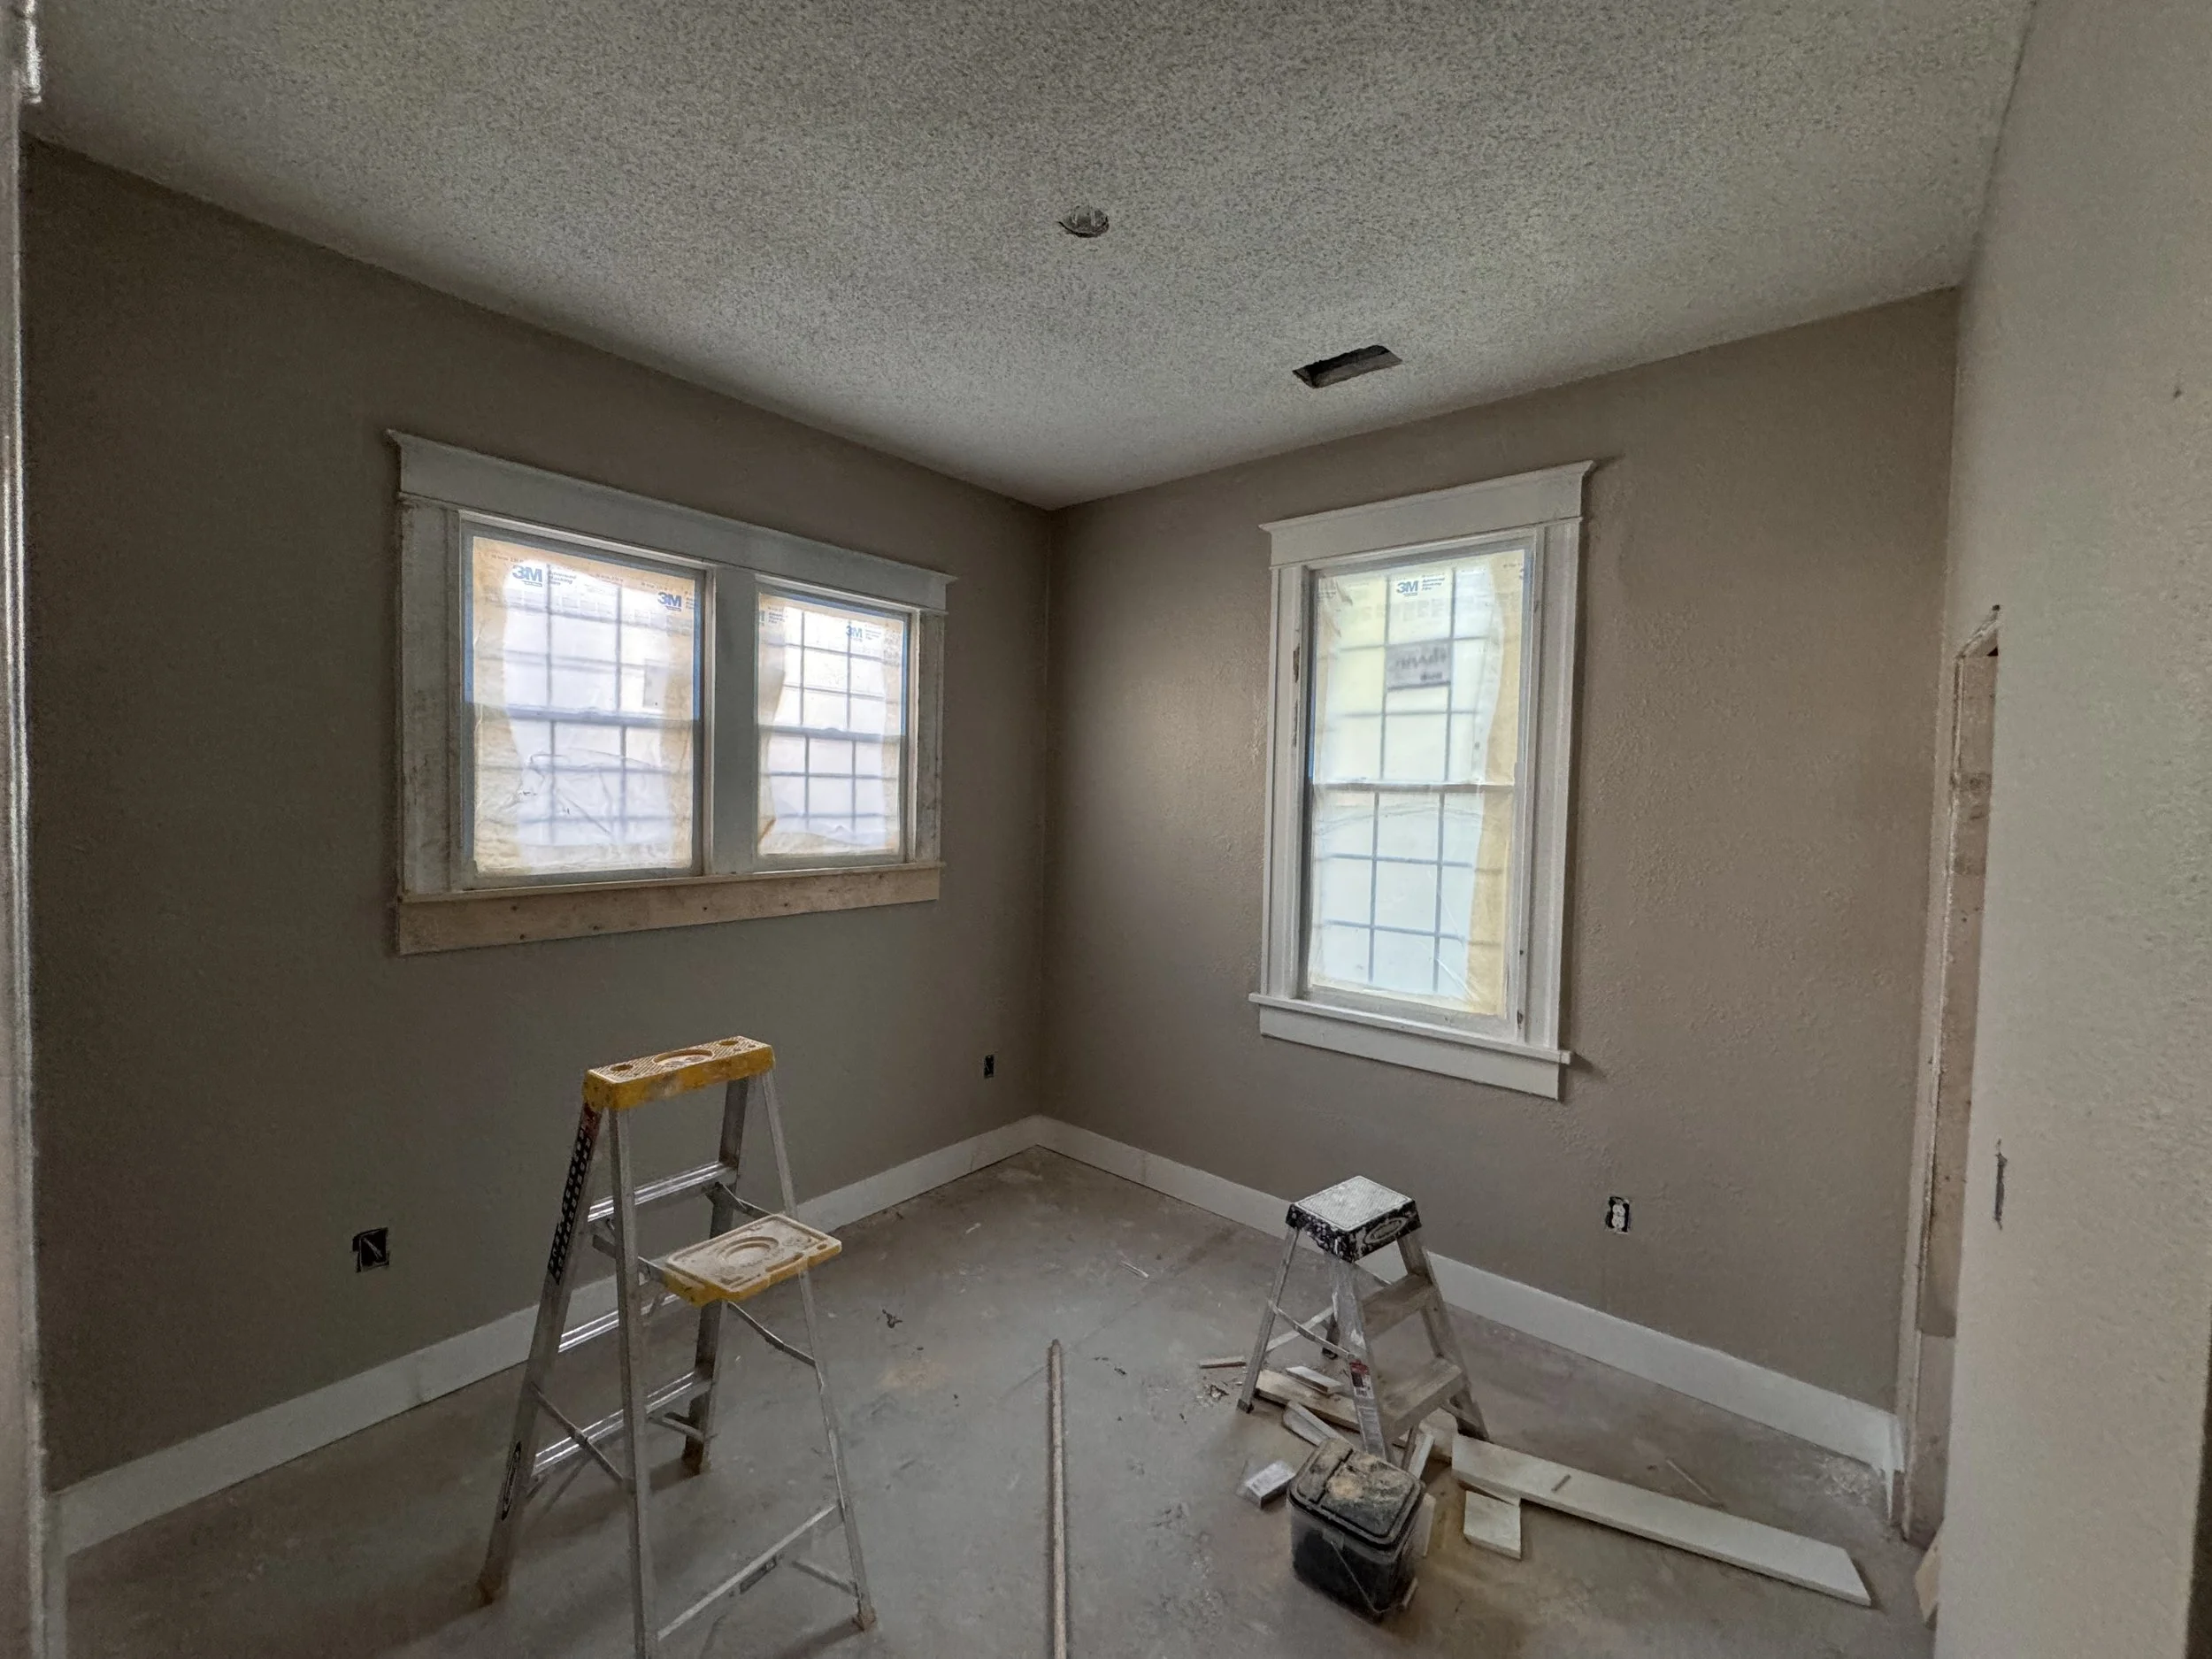
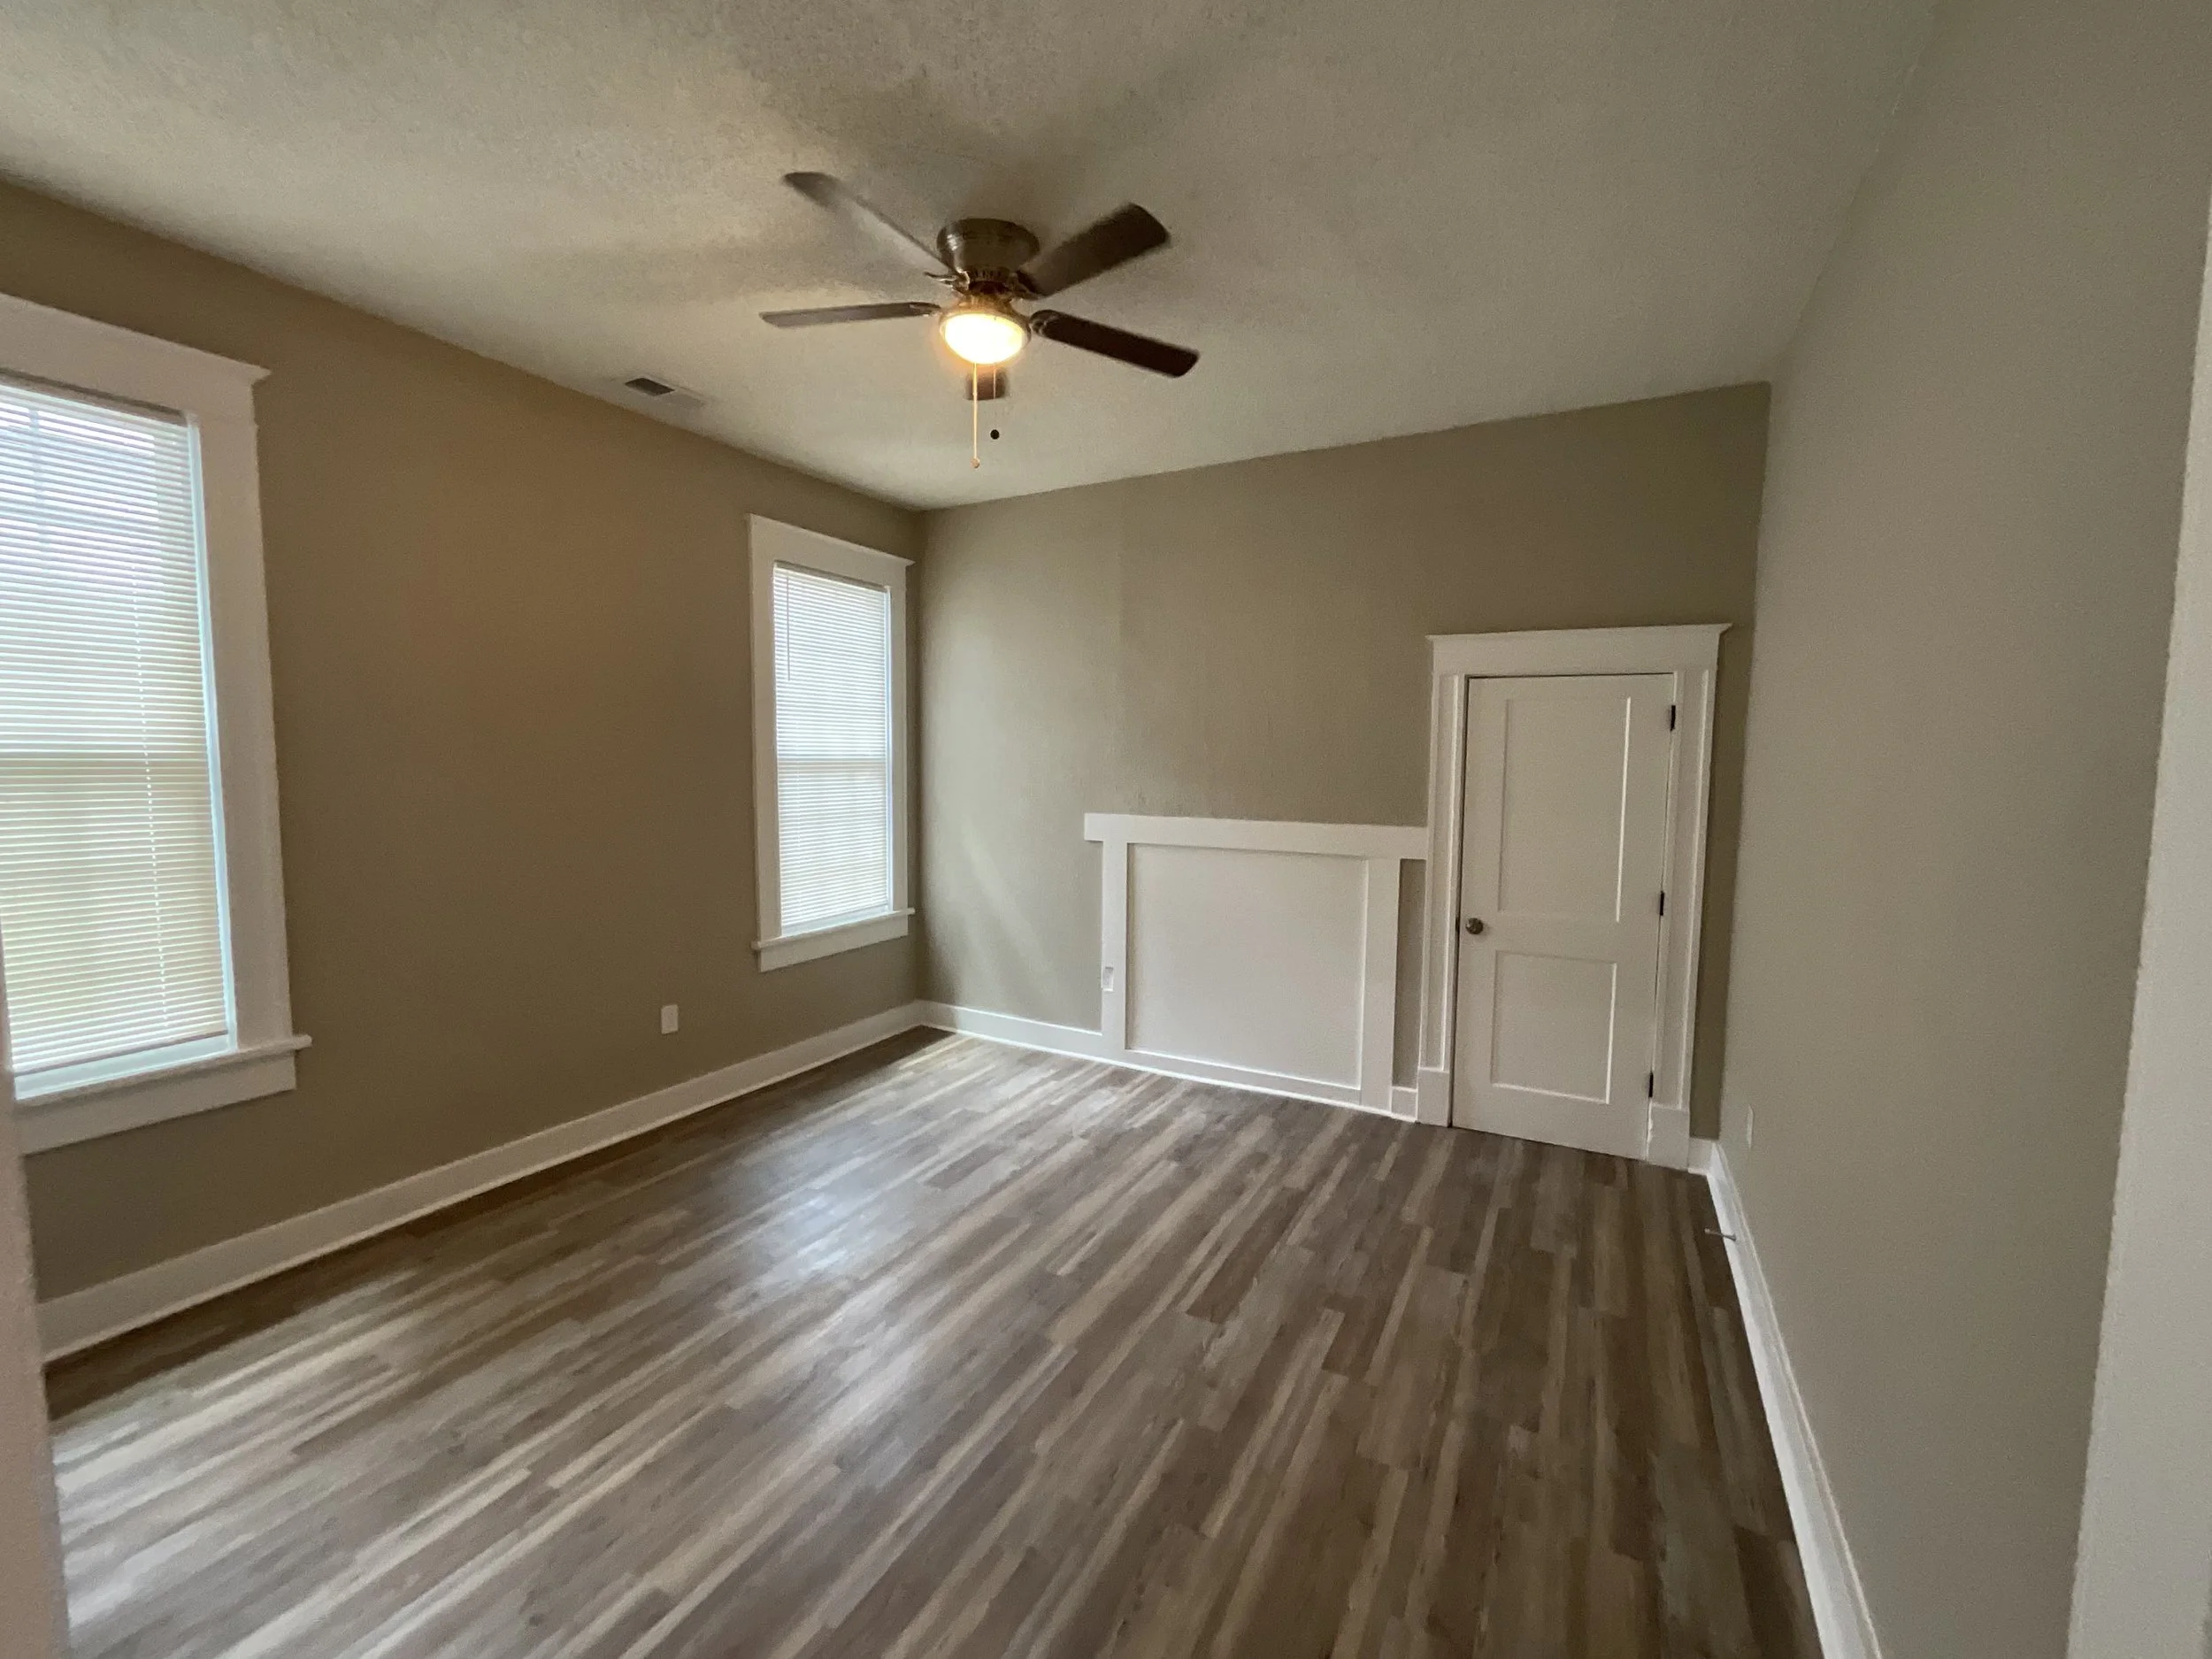
New bedroom.
-
![]()
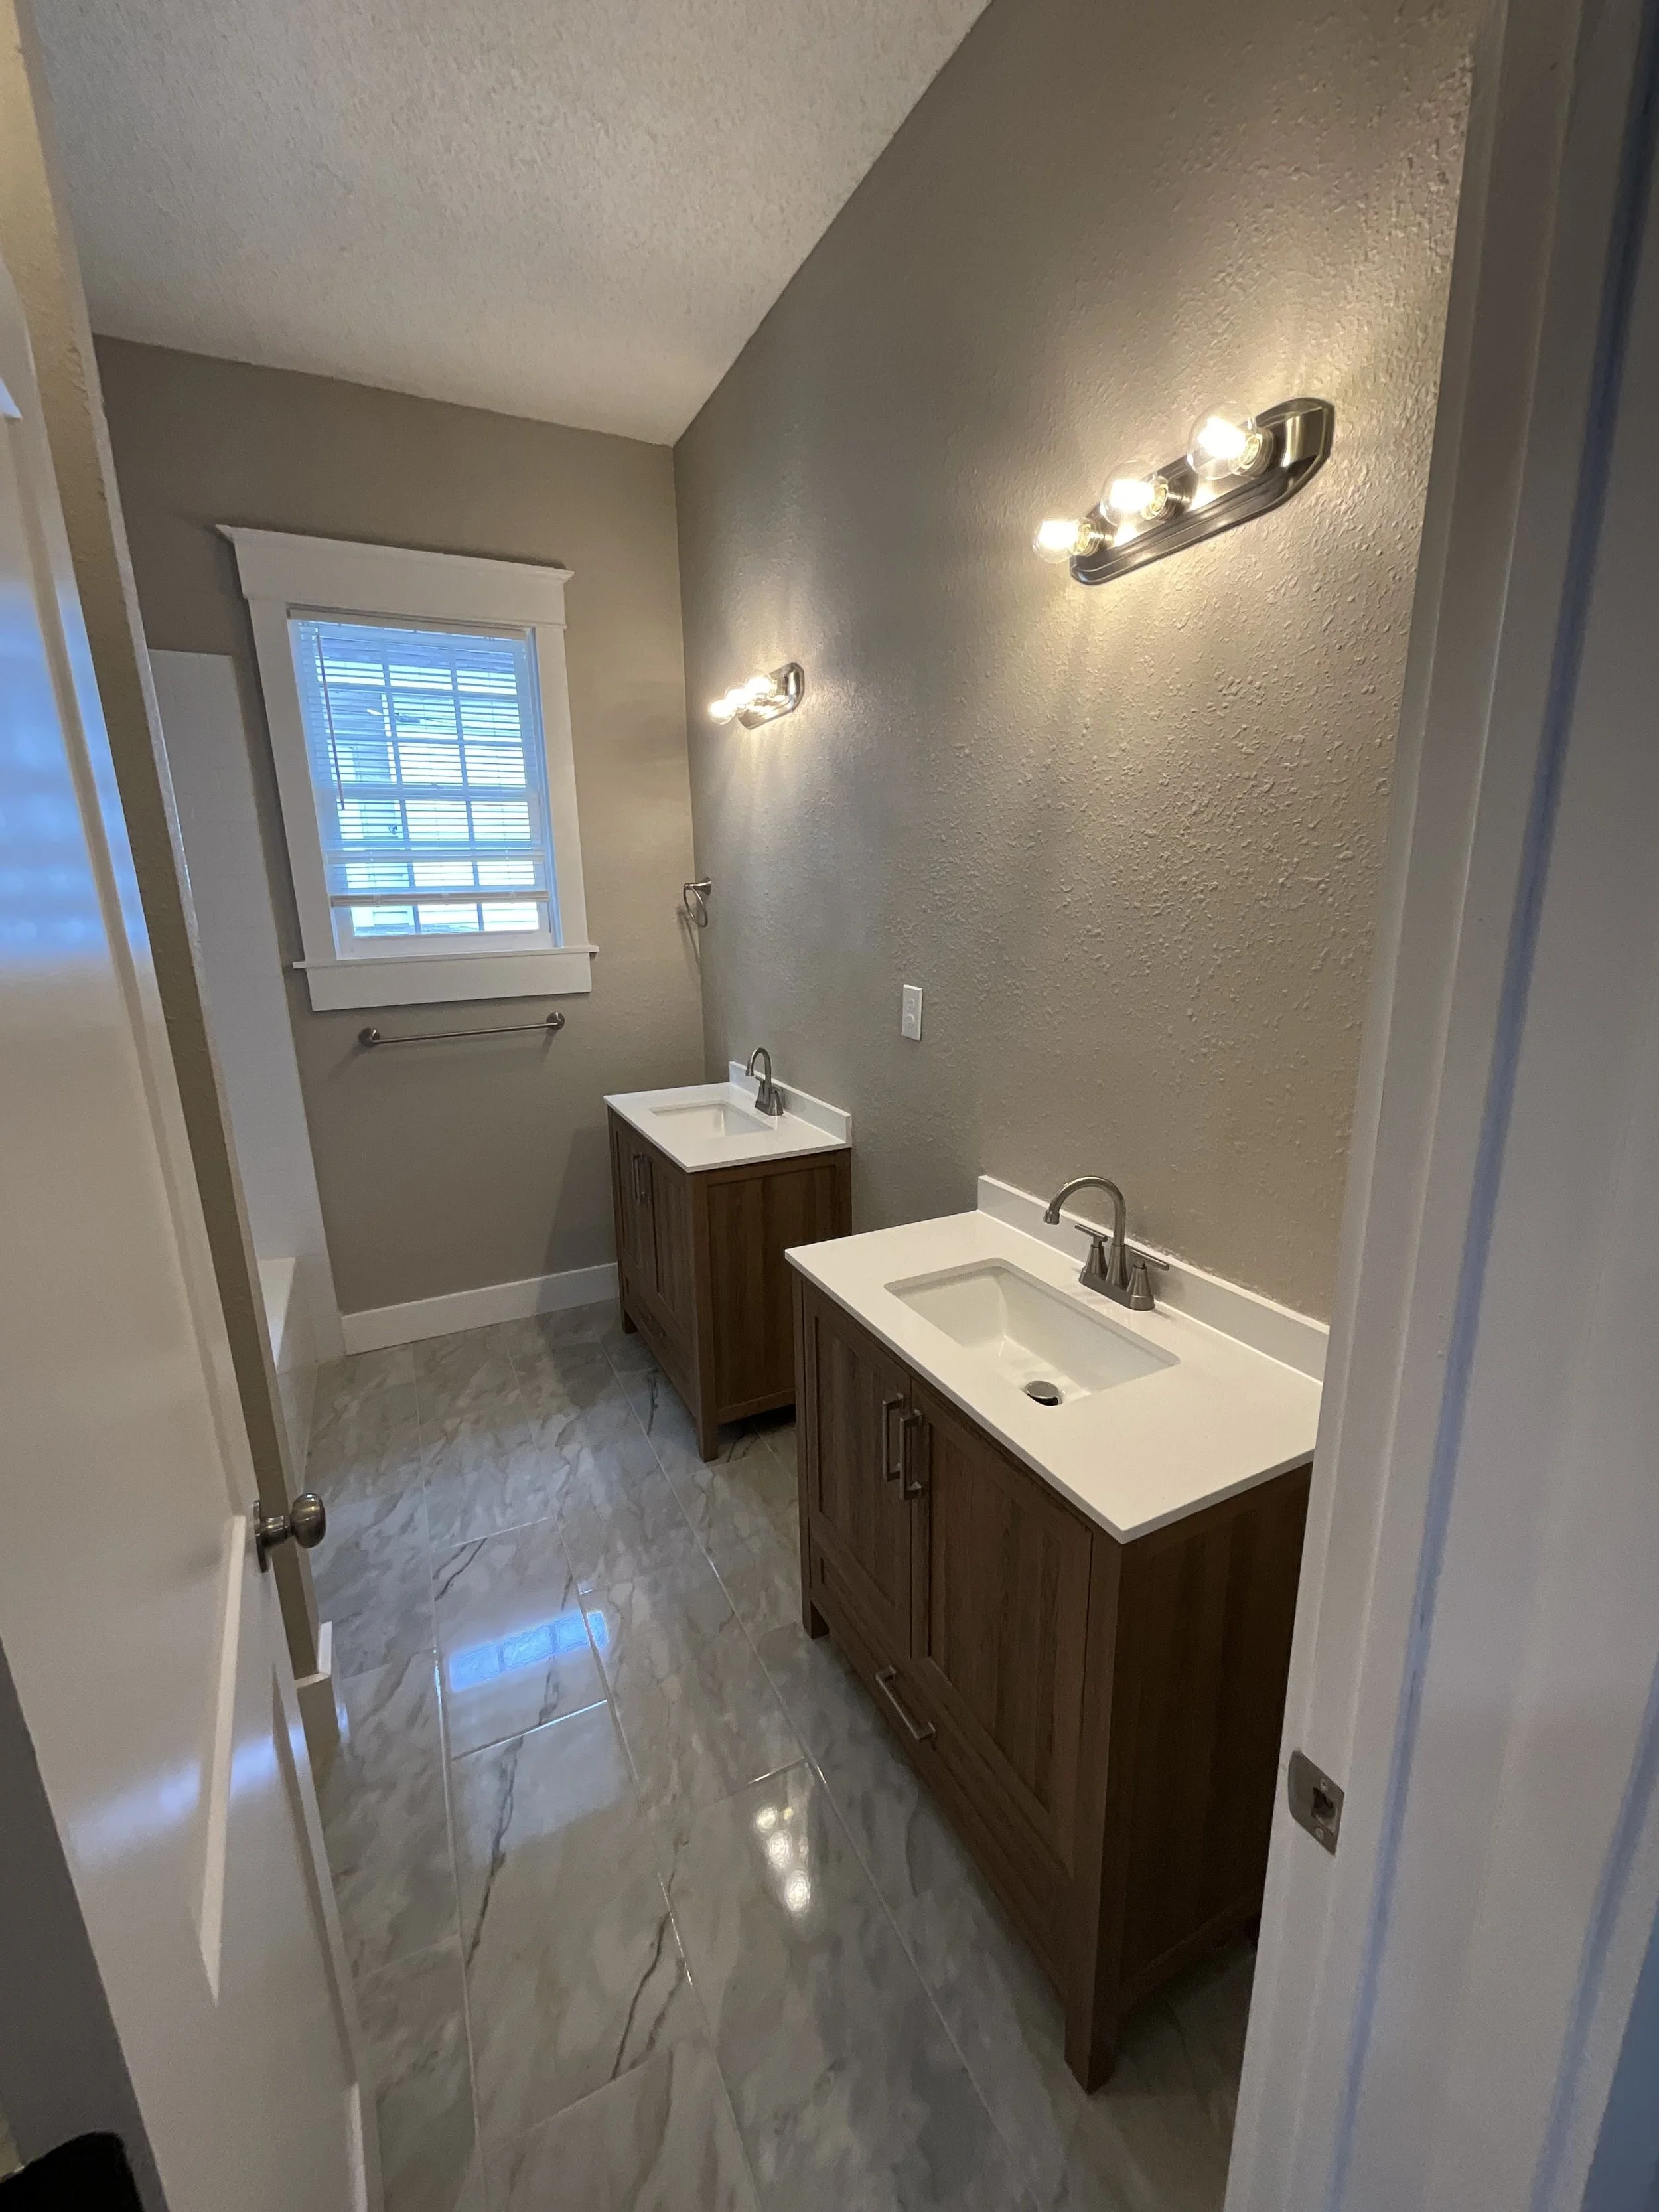
New Bathroom #2.
-
![]()
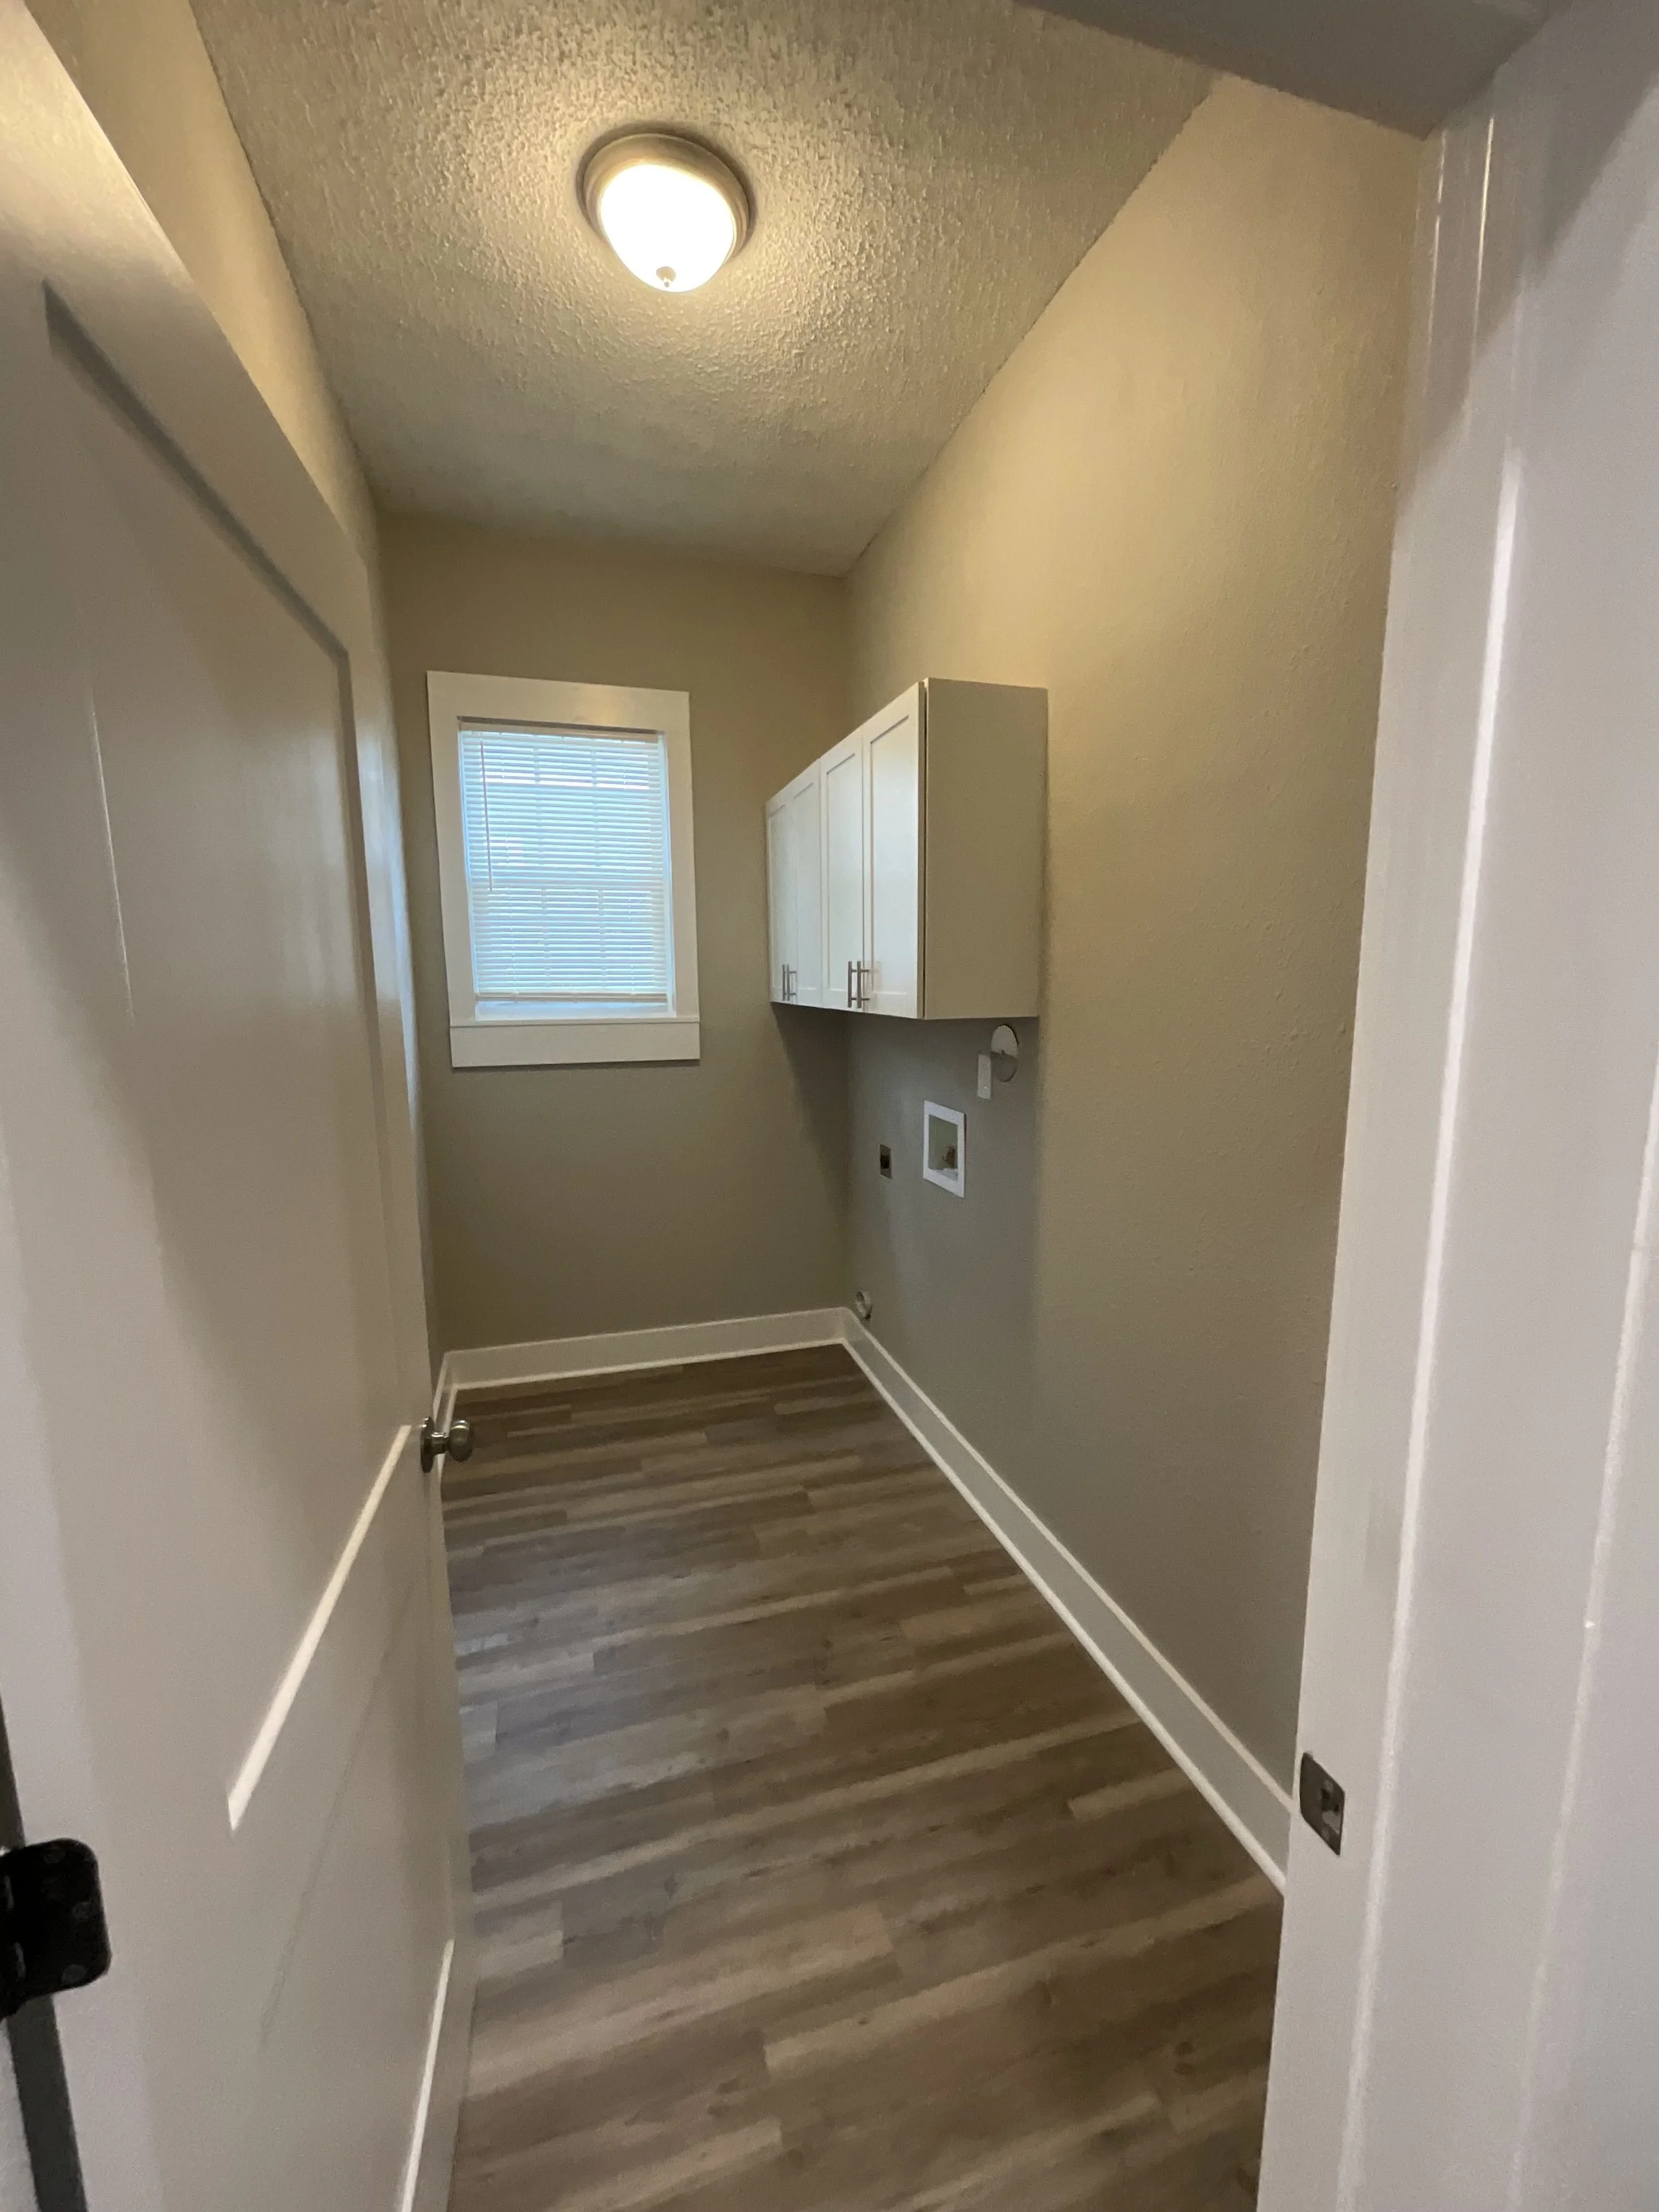
New laundry room.
-
![]()
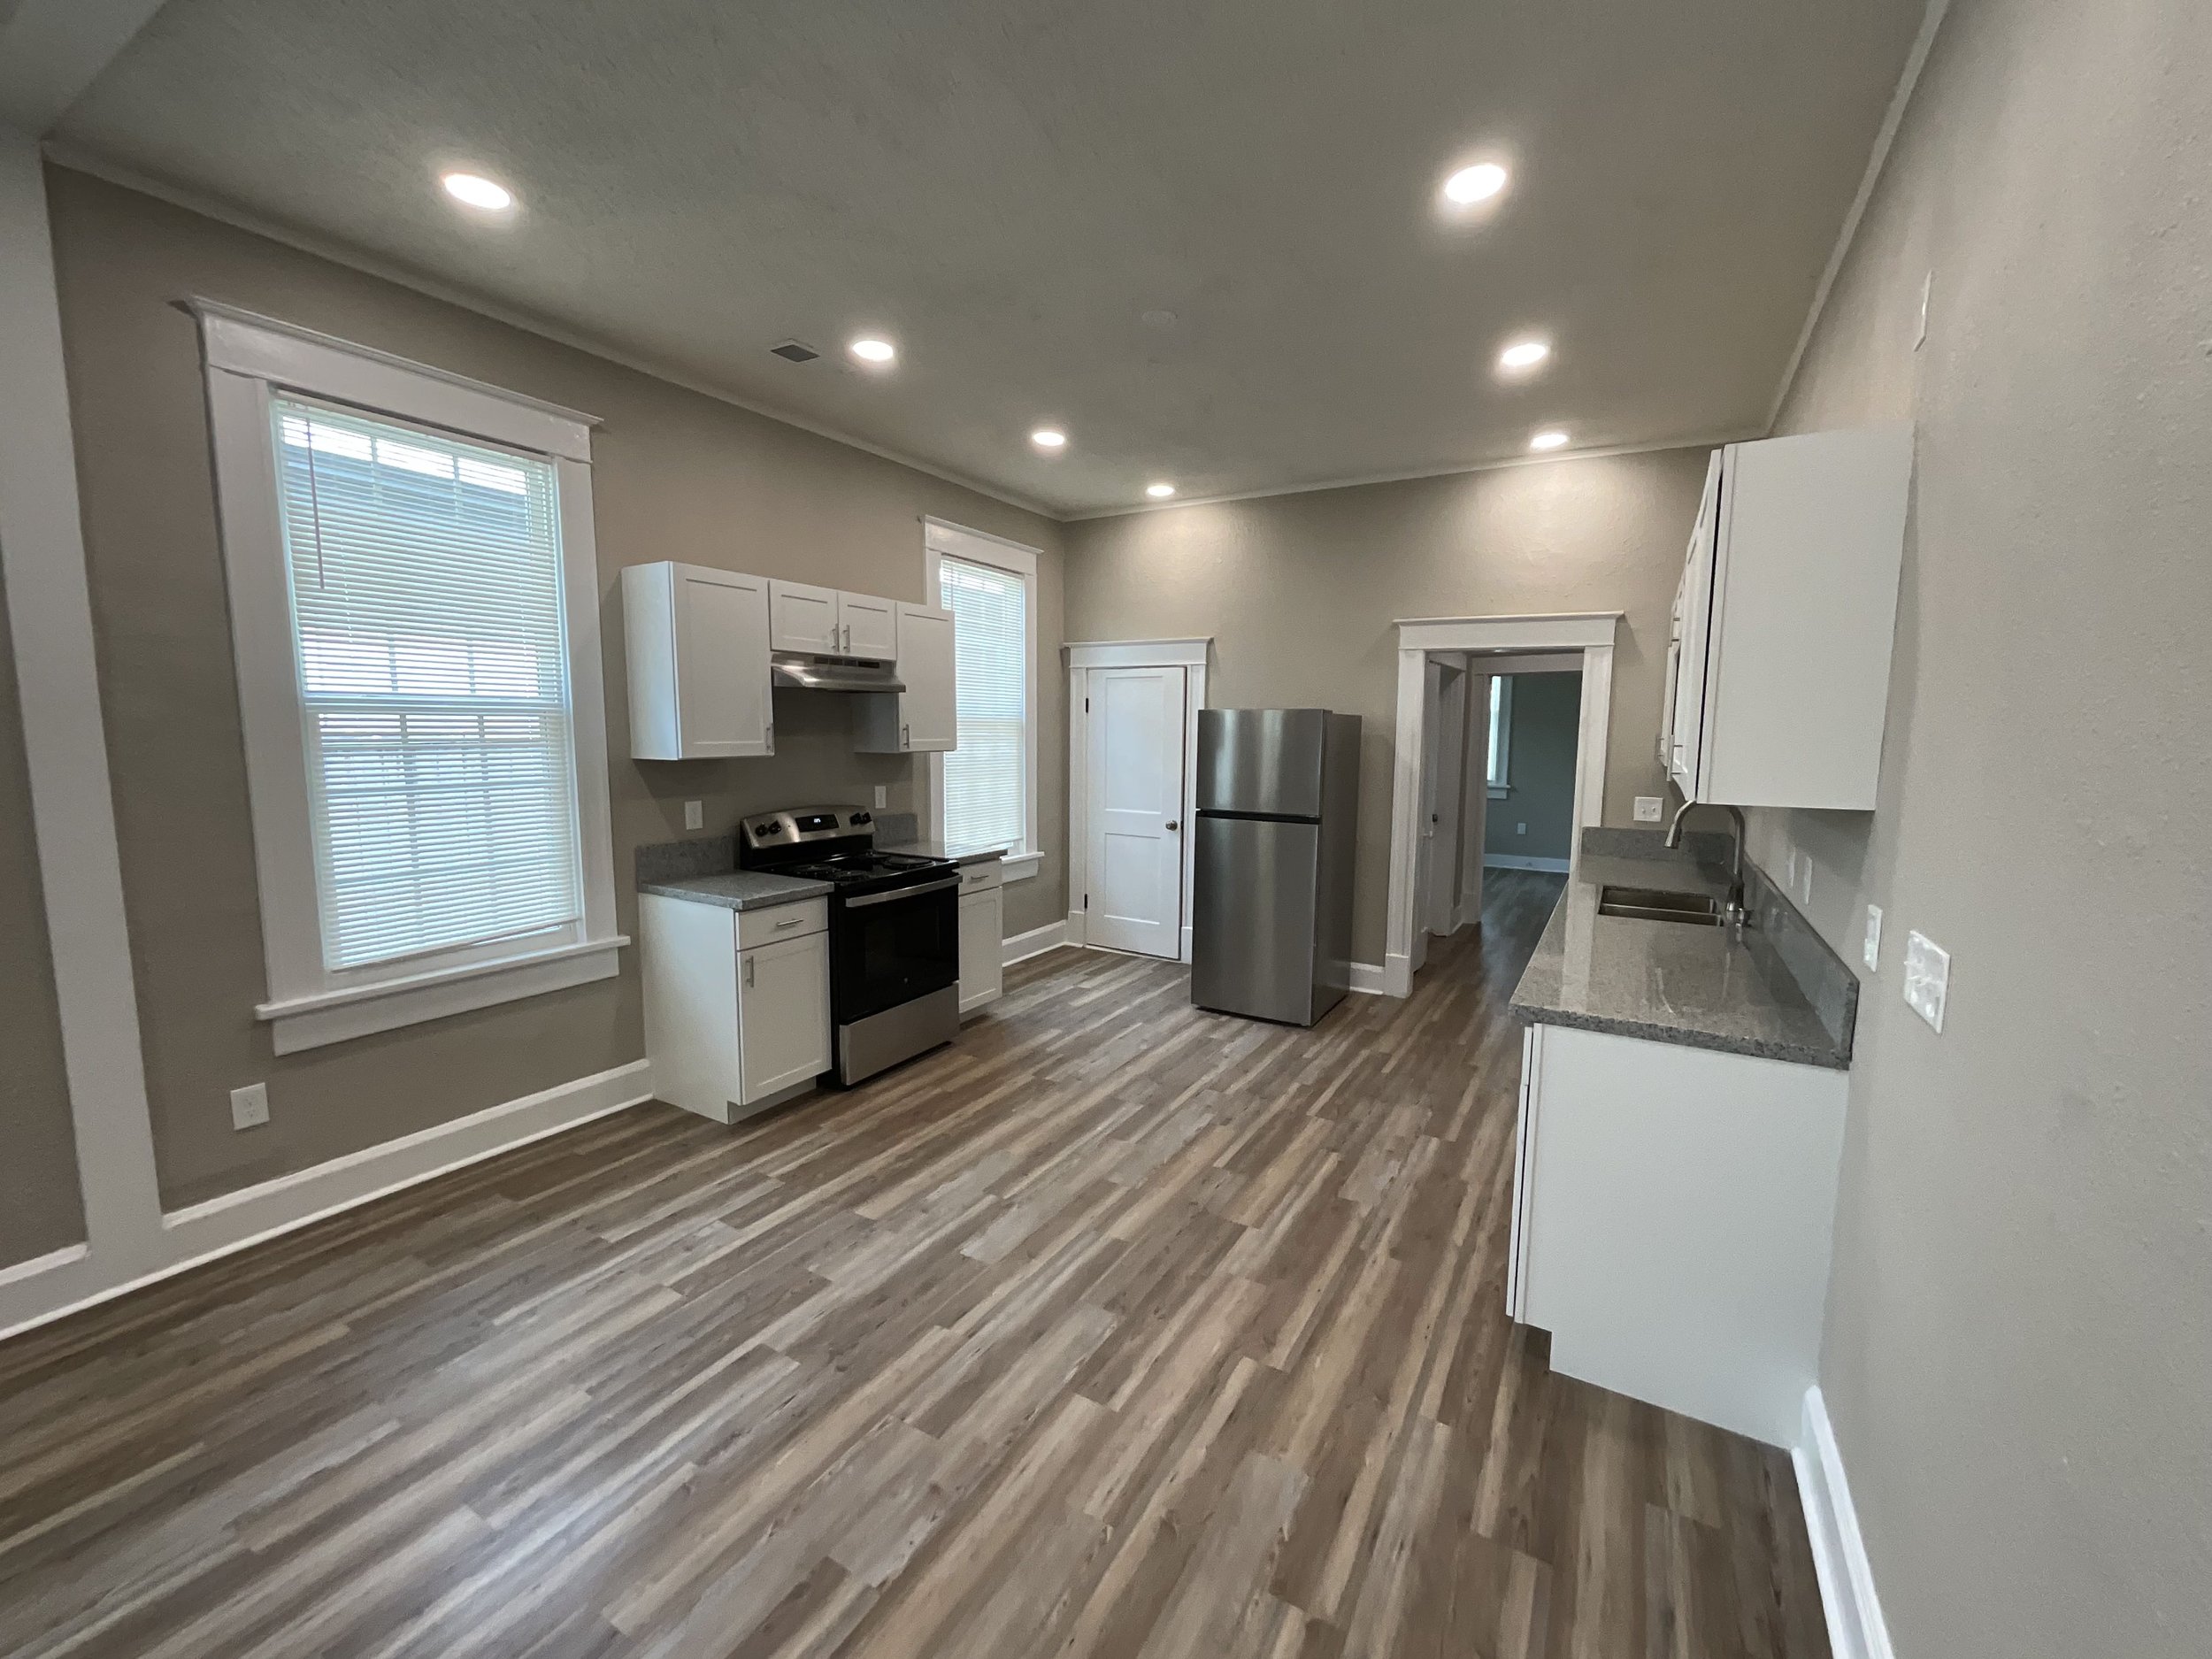
New open kitchen/living area.


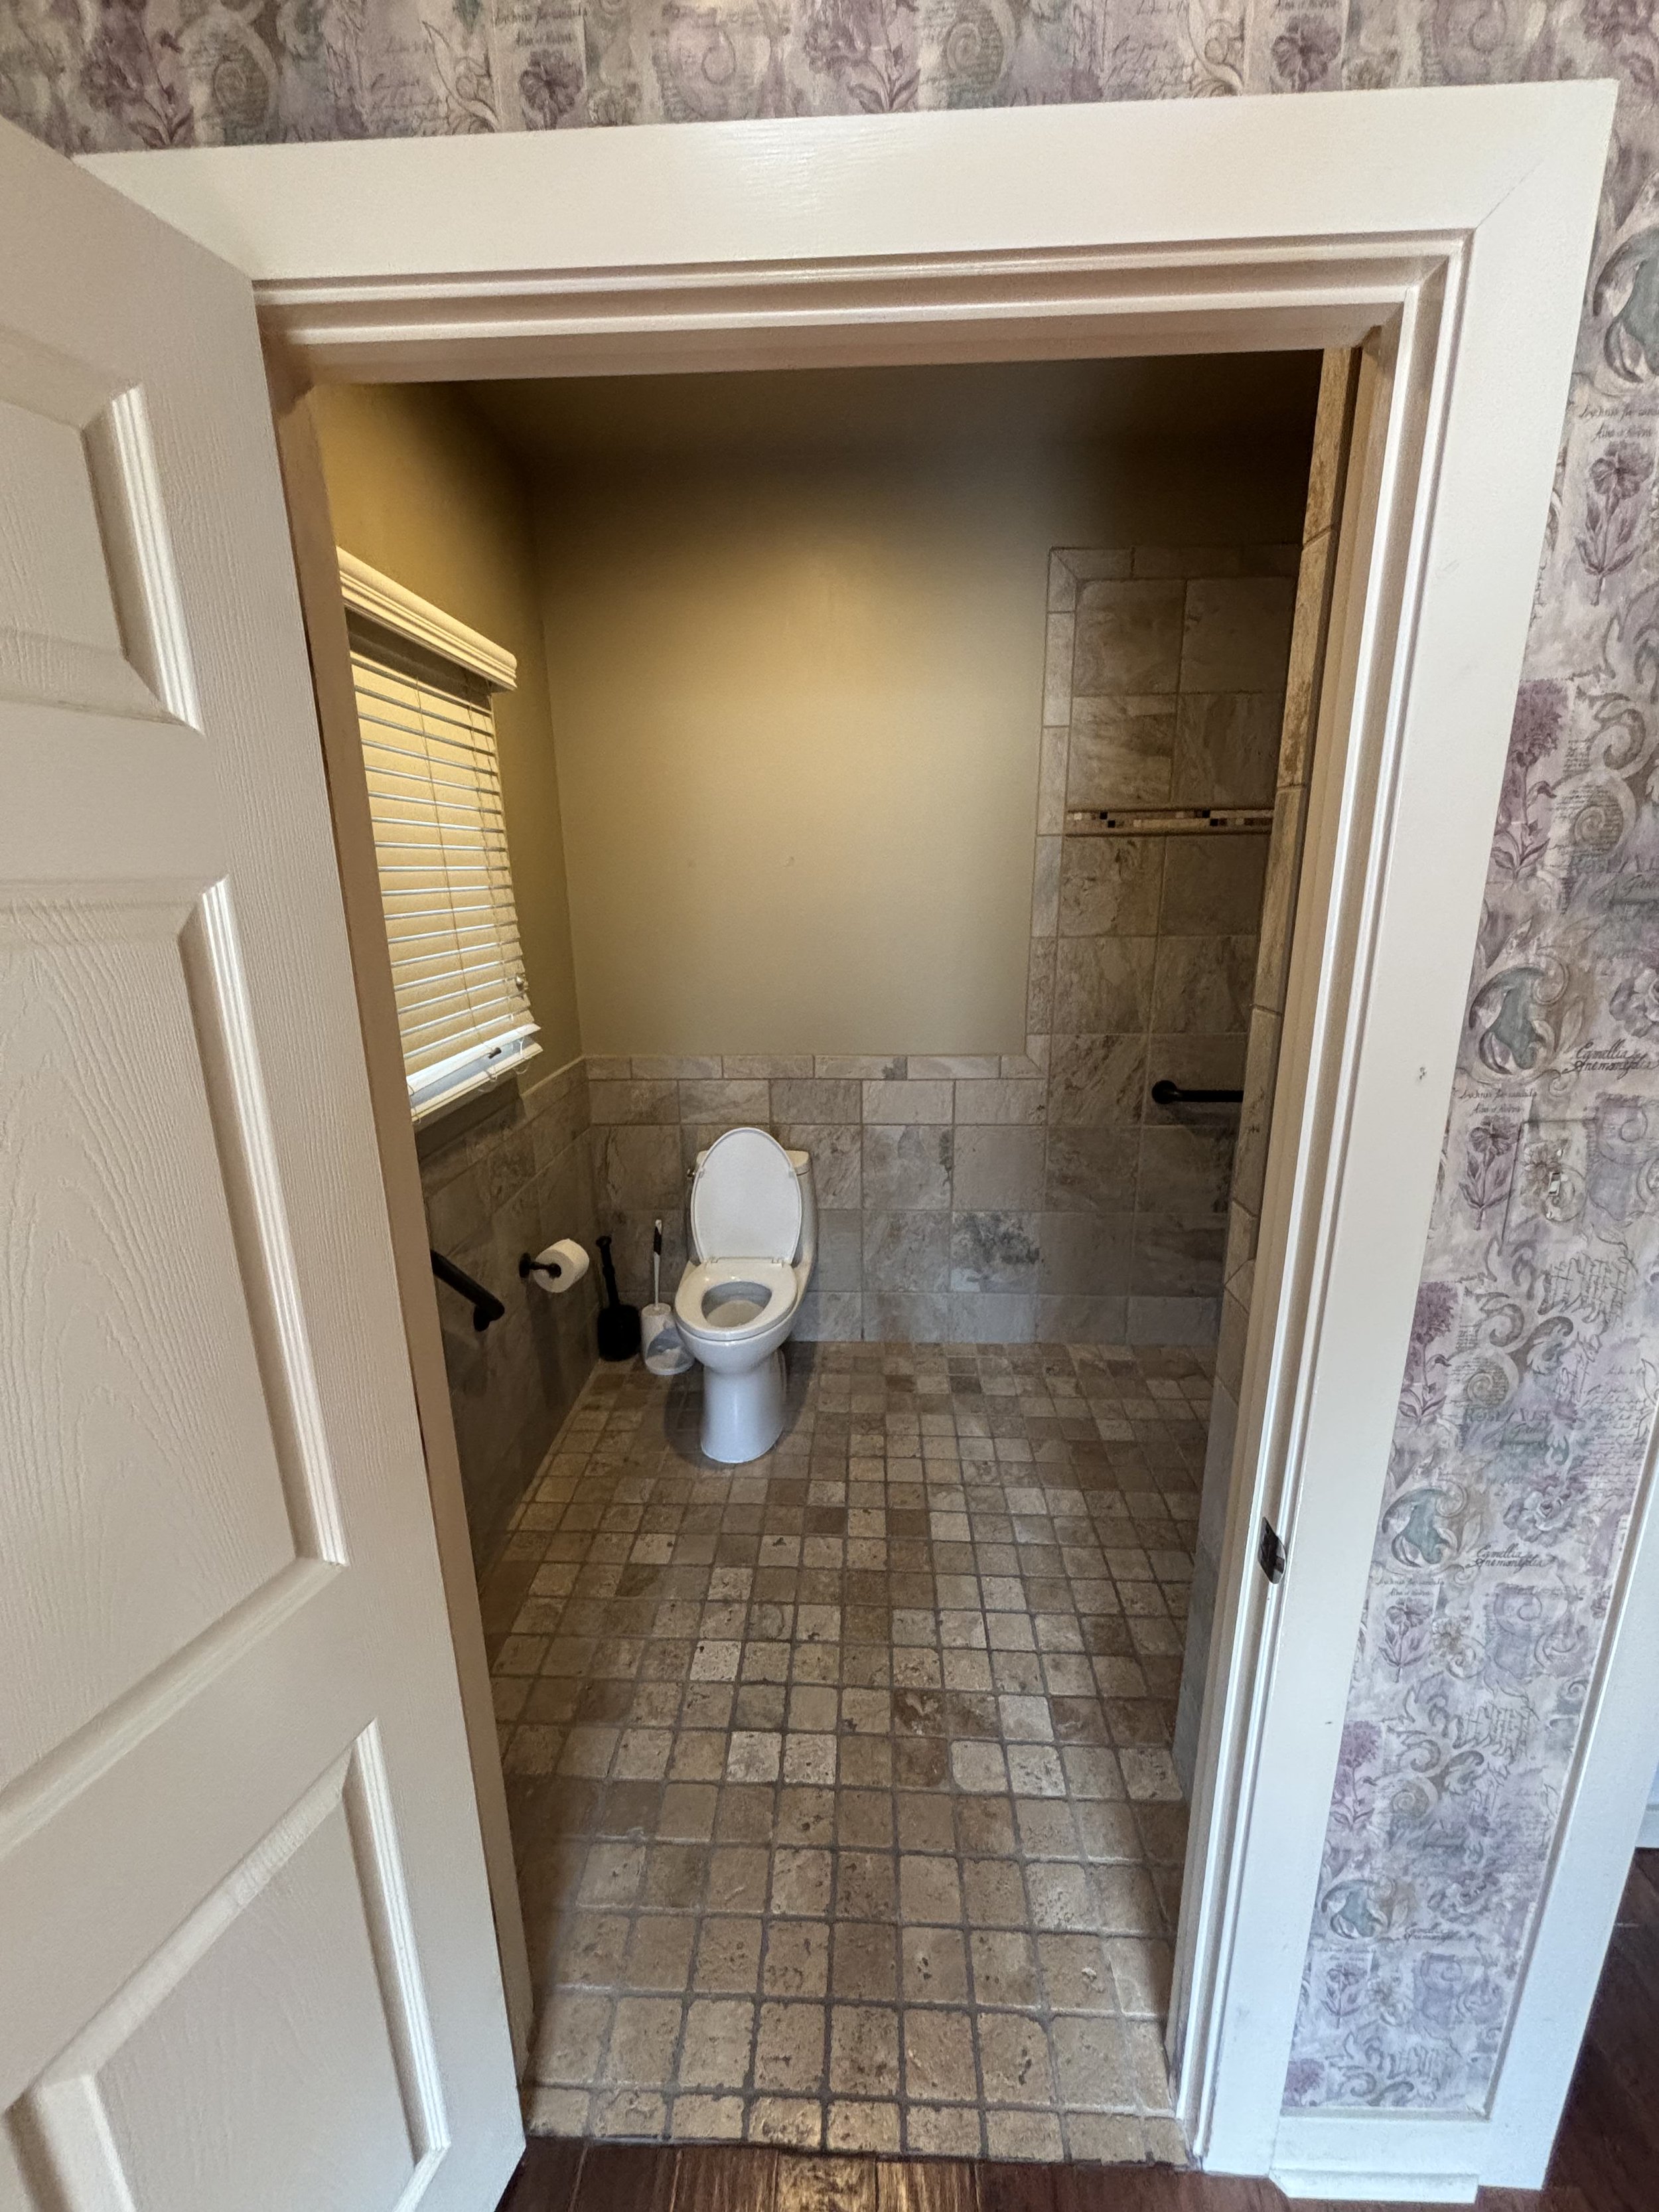
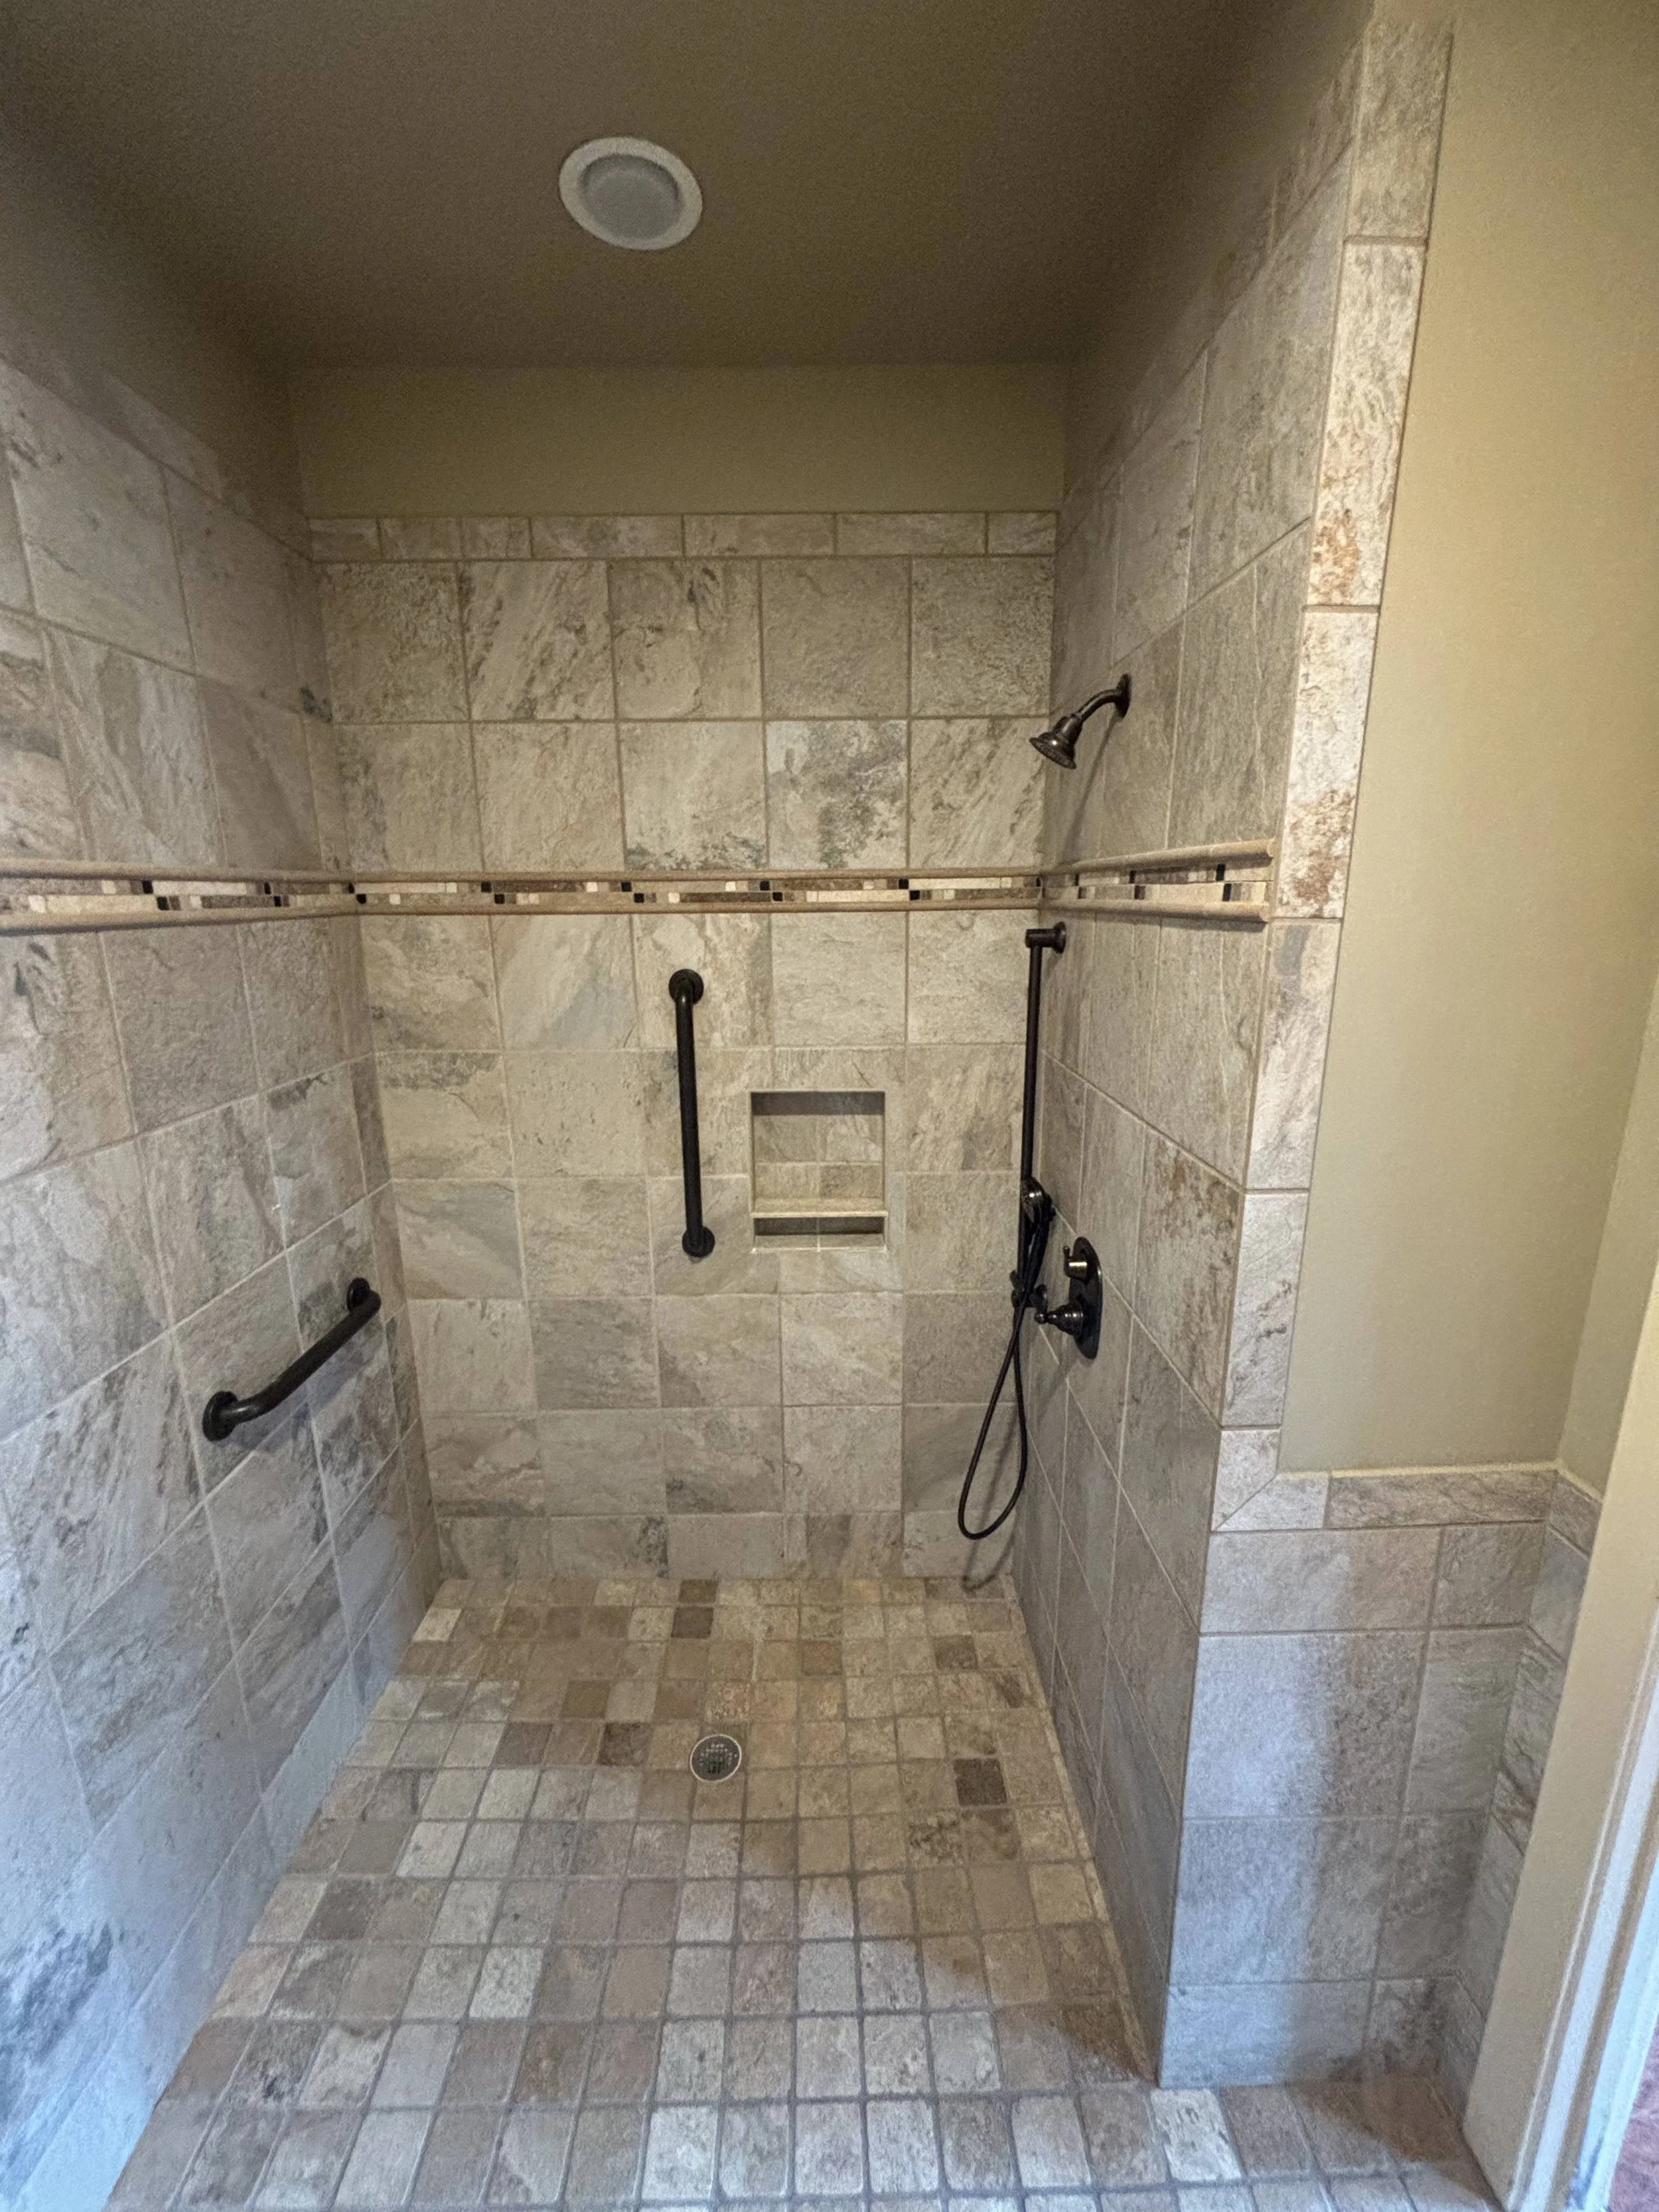
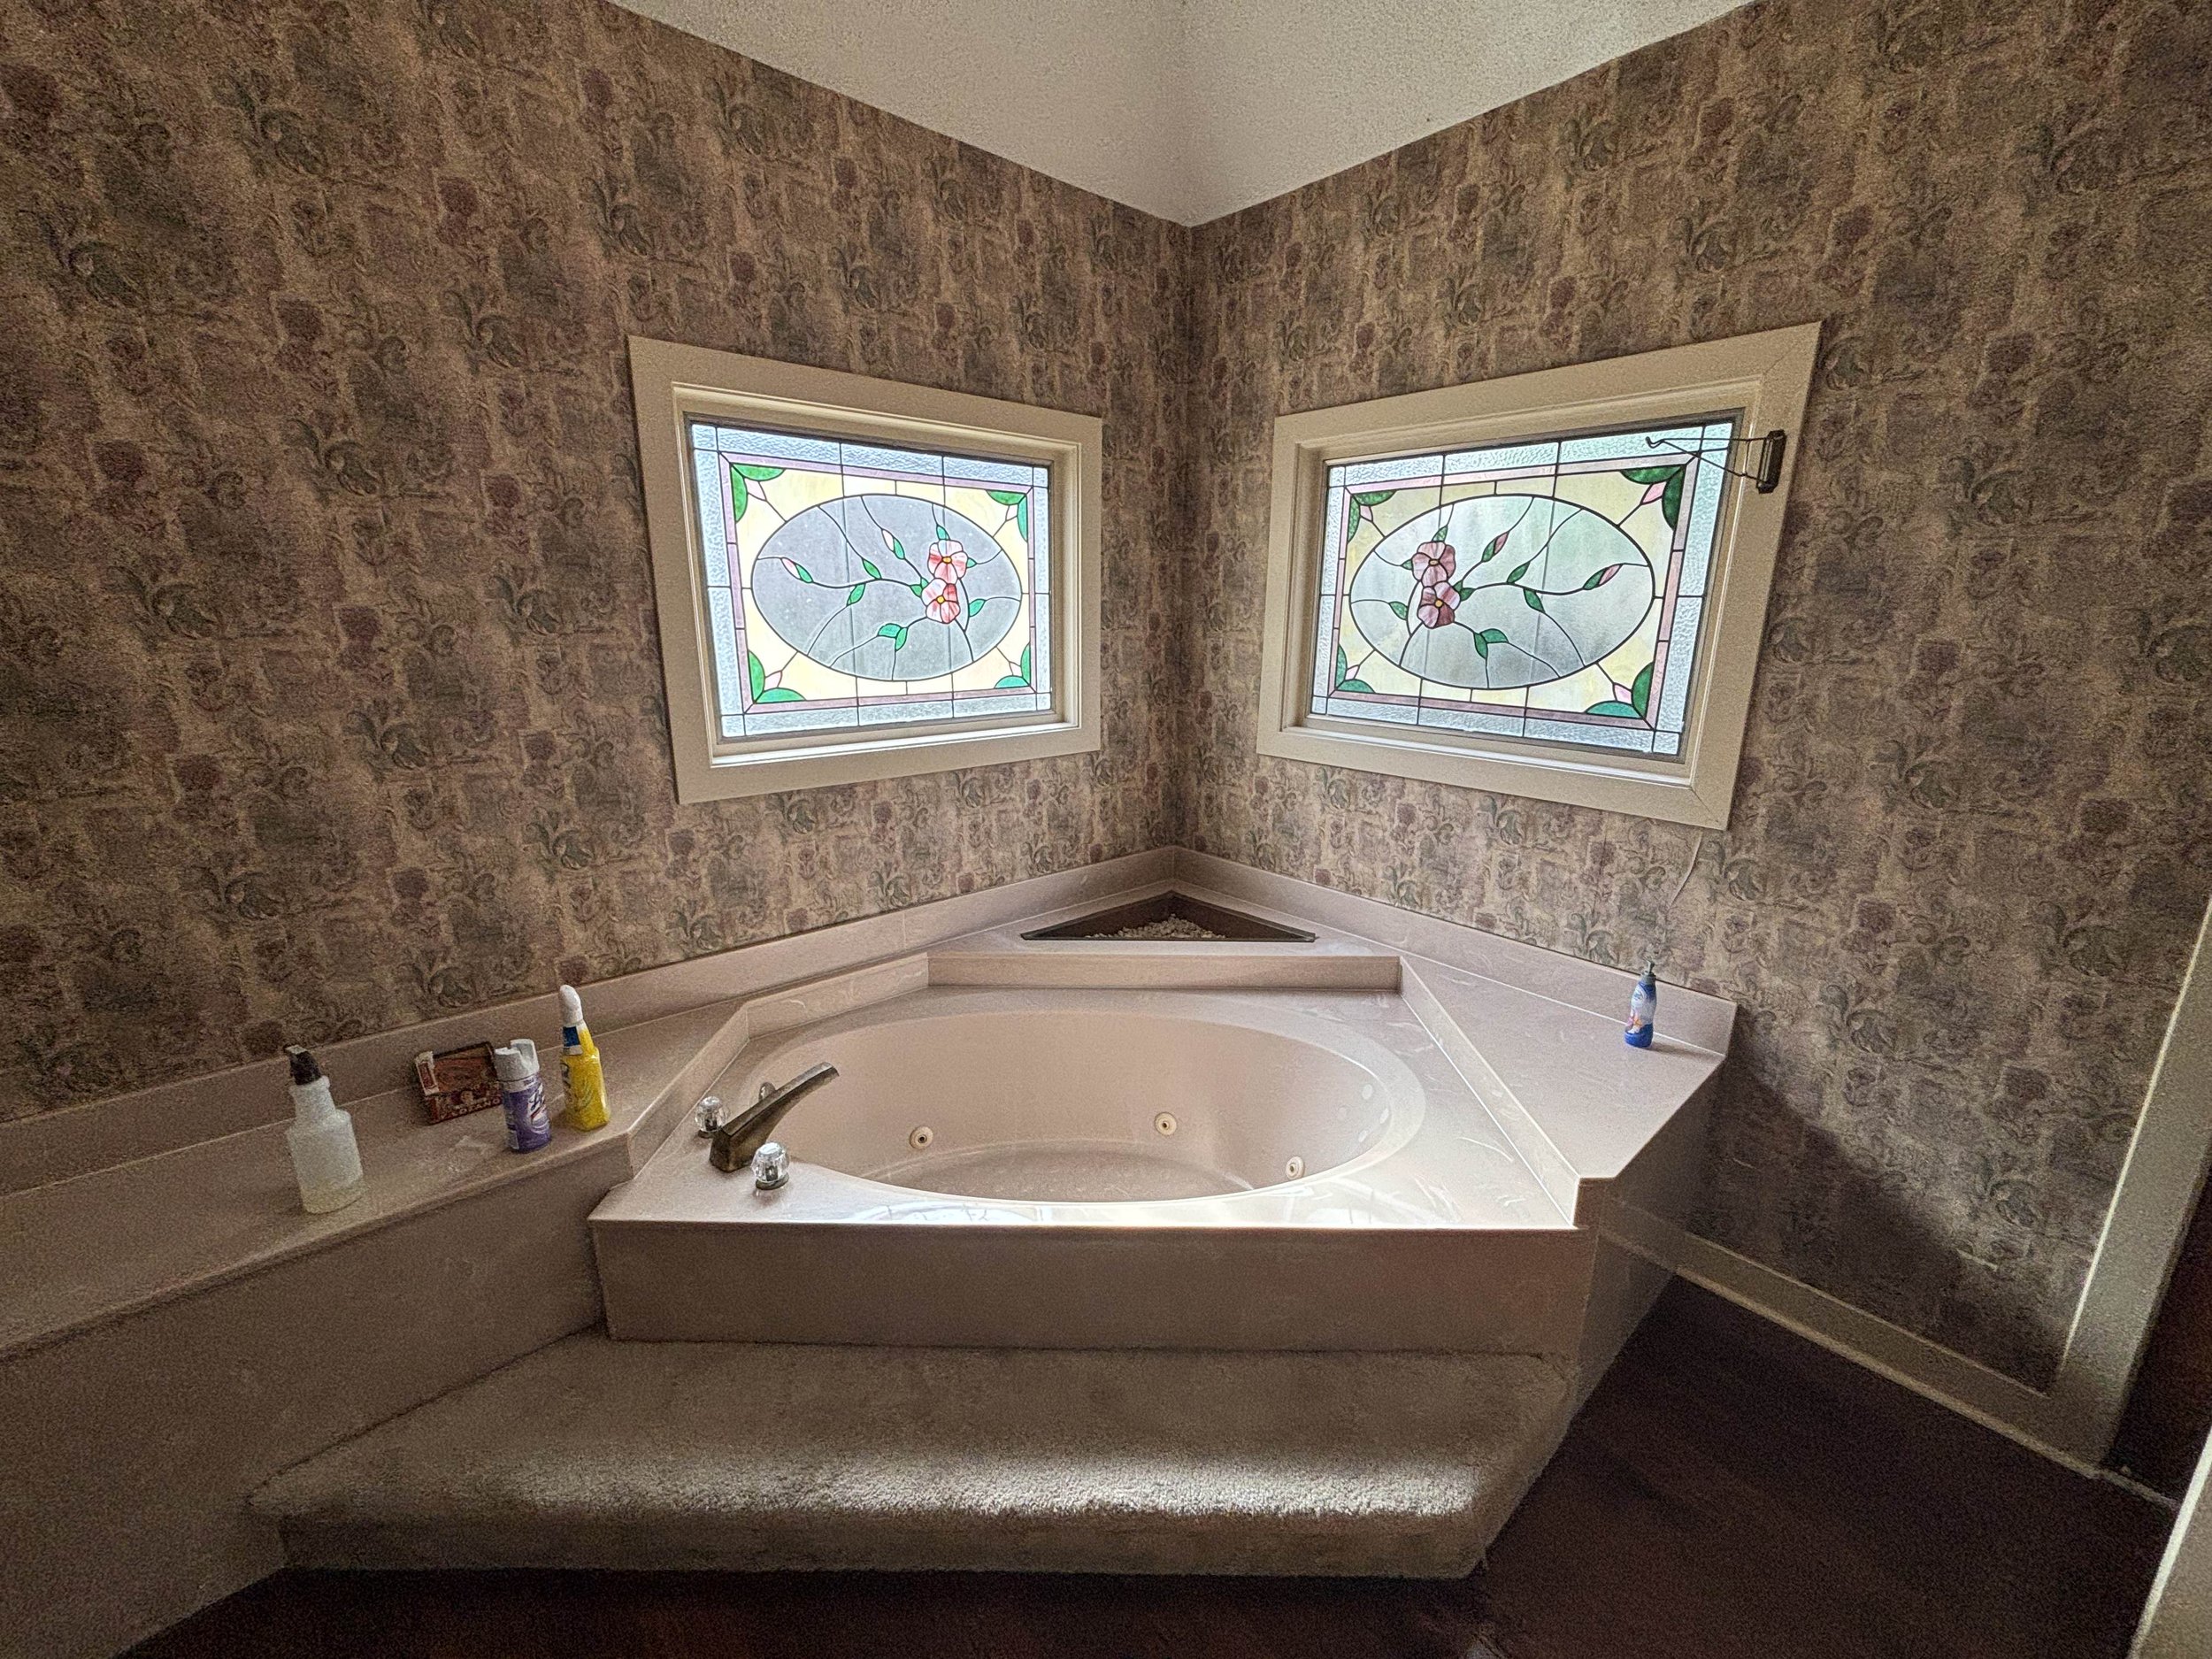
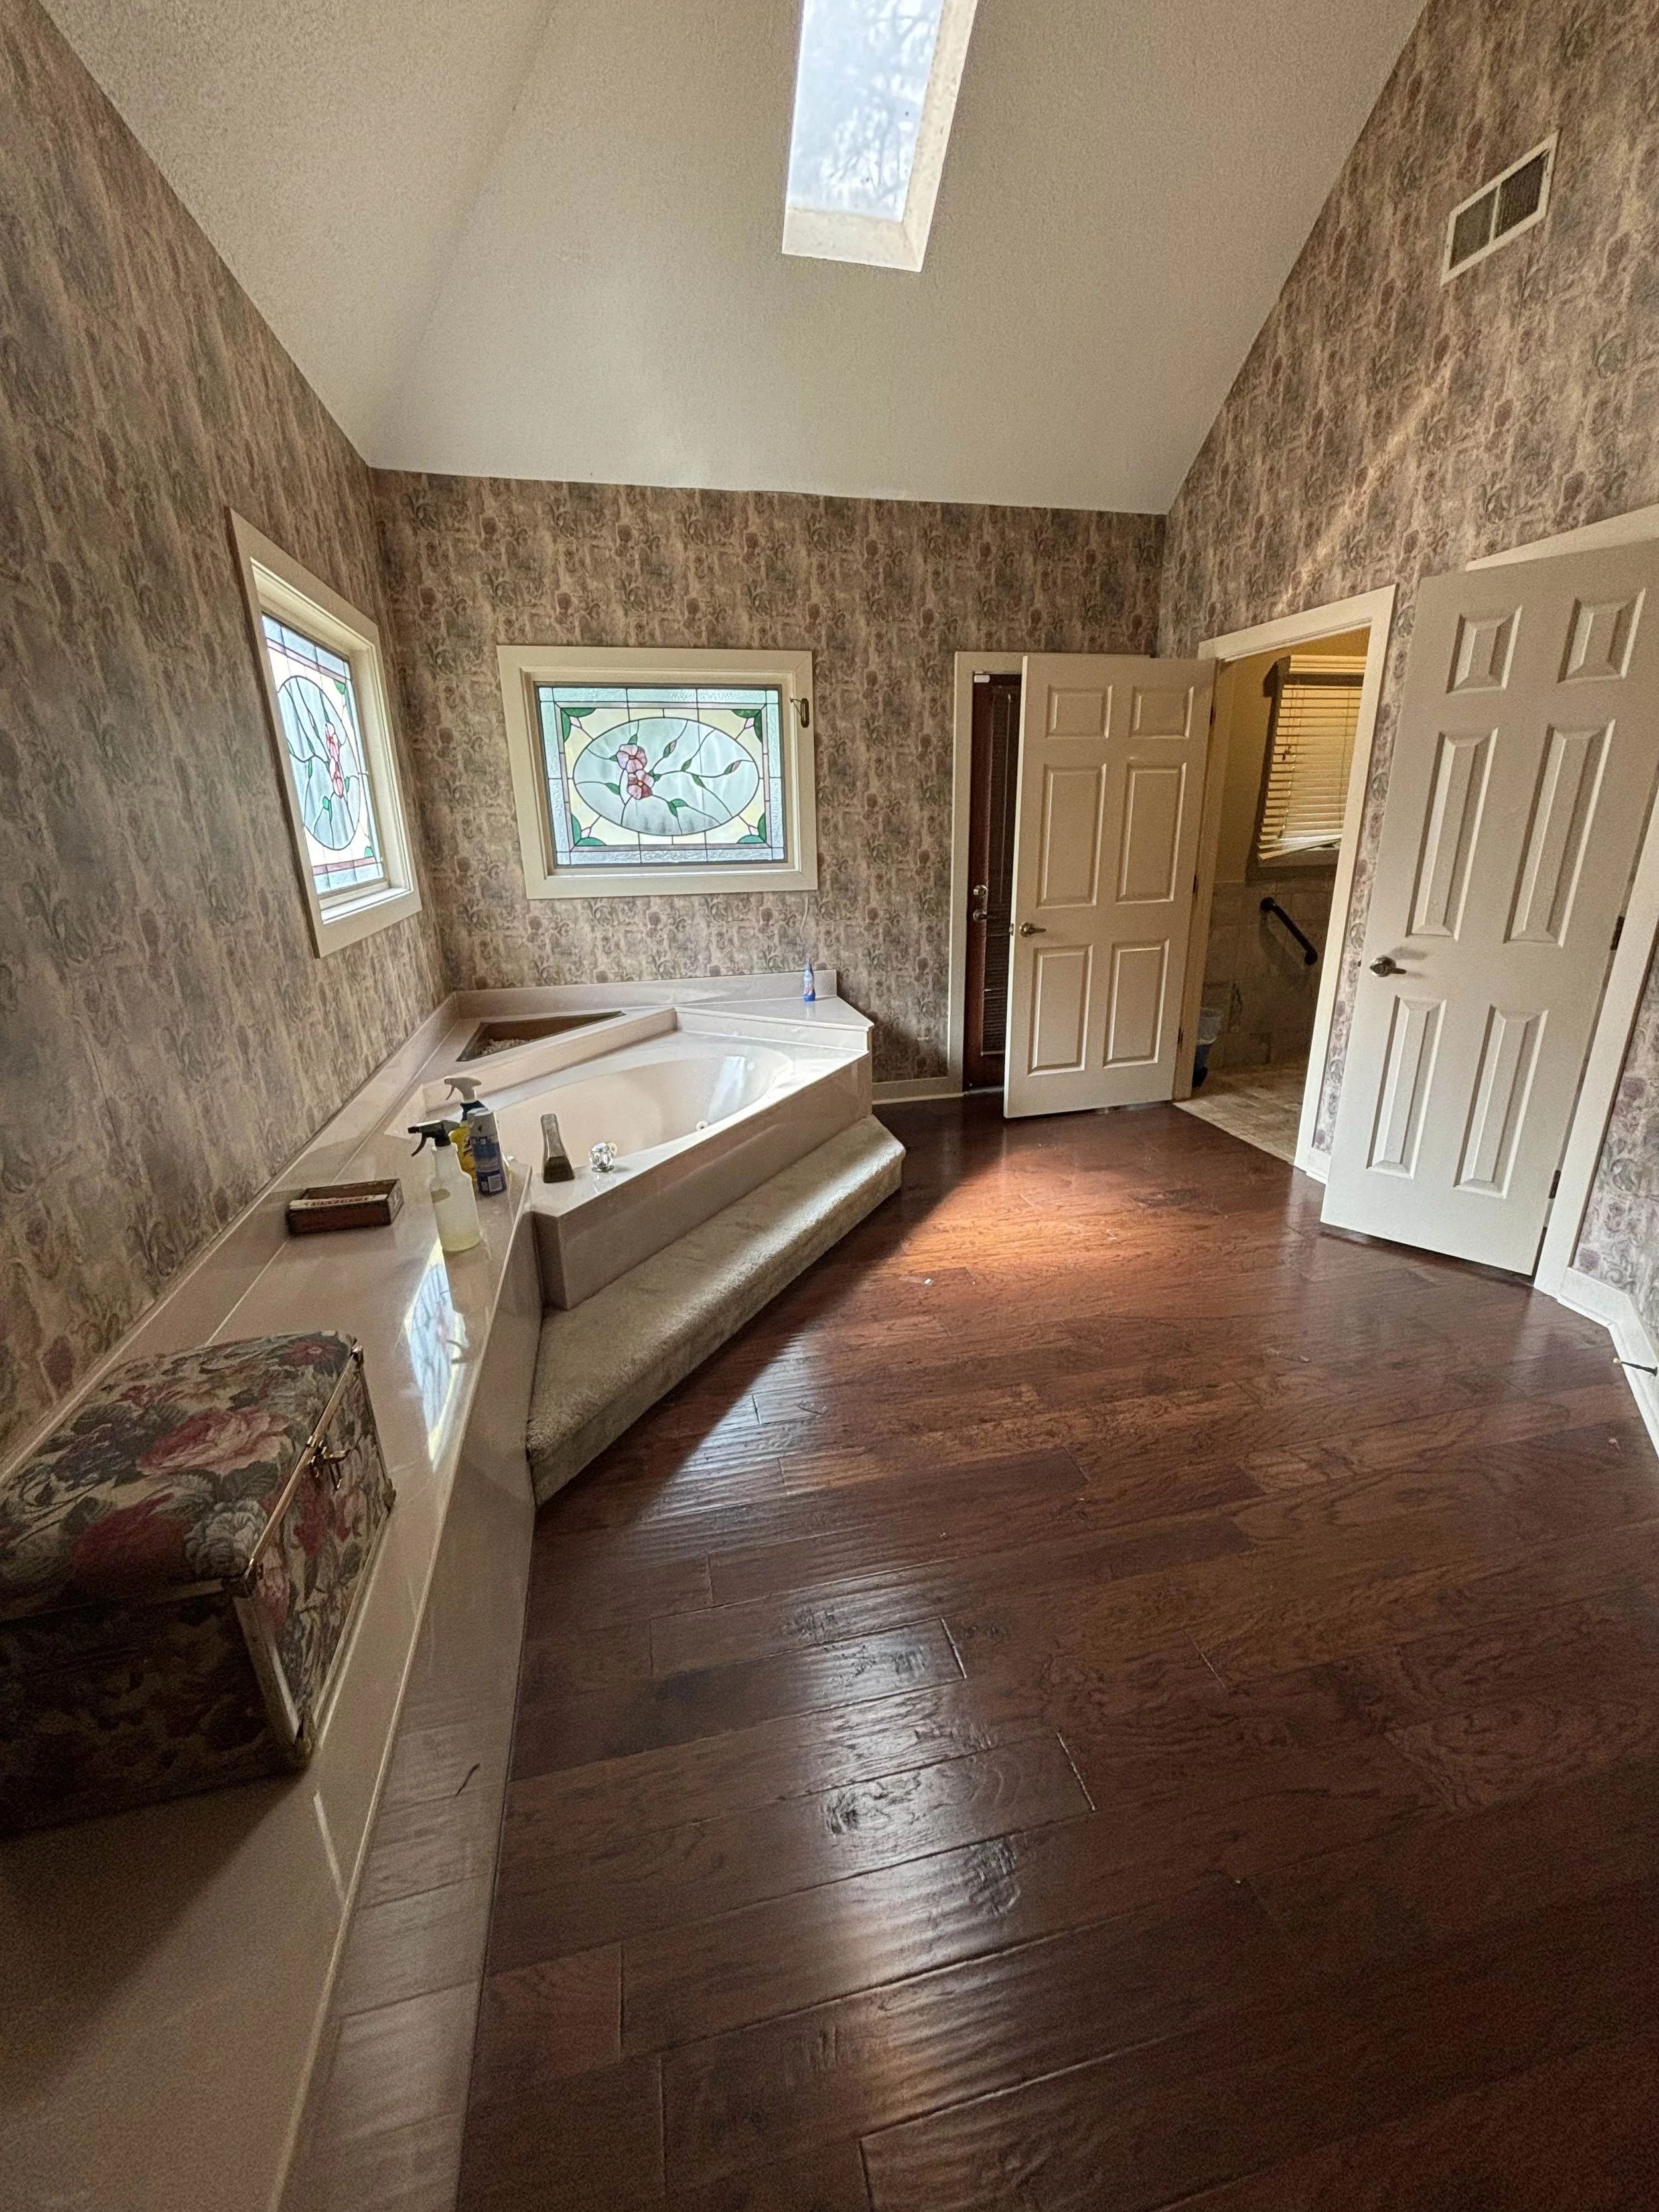
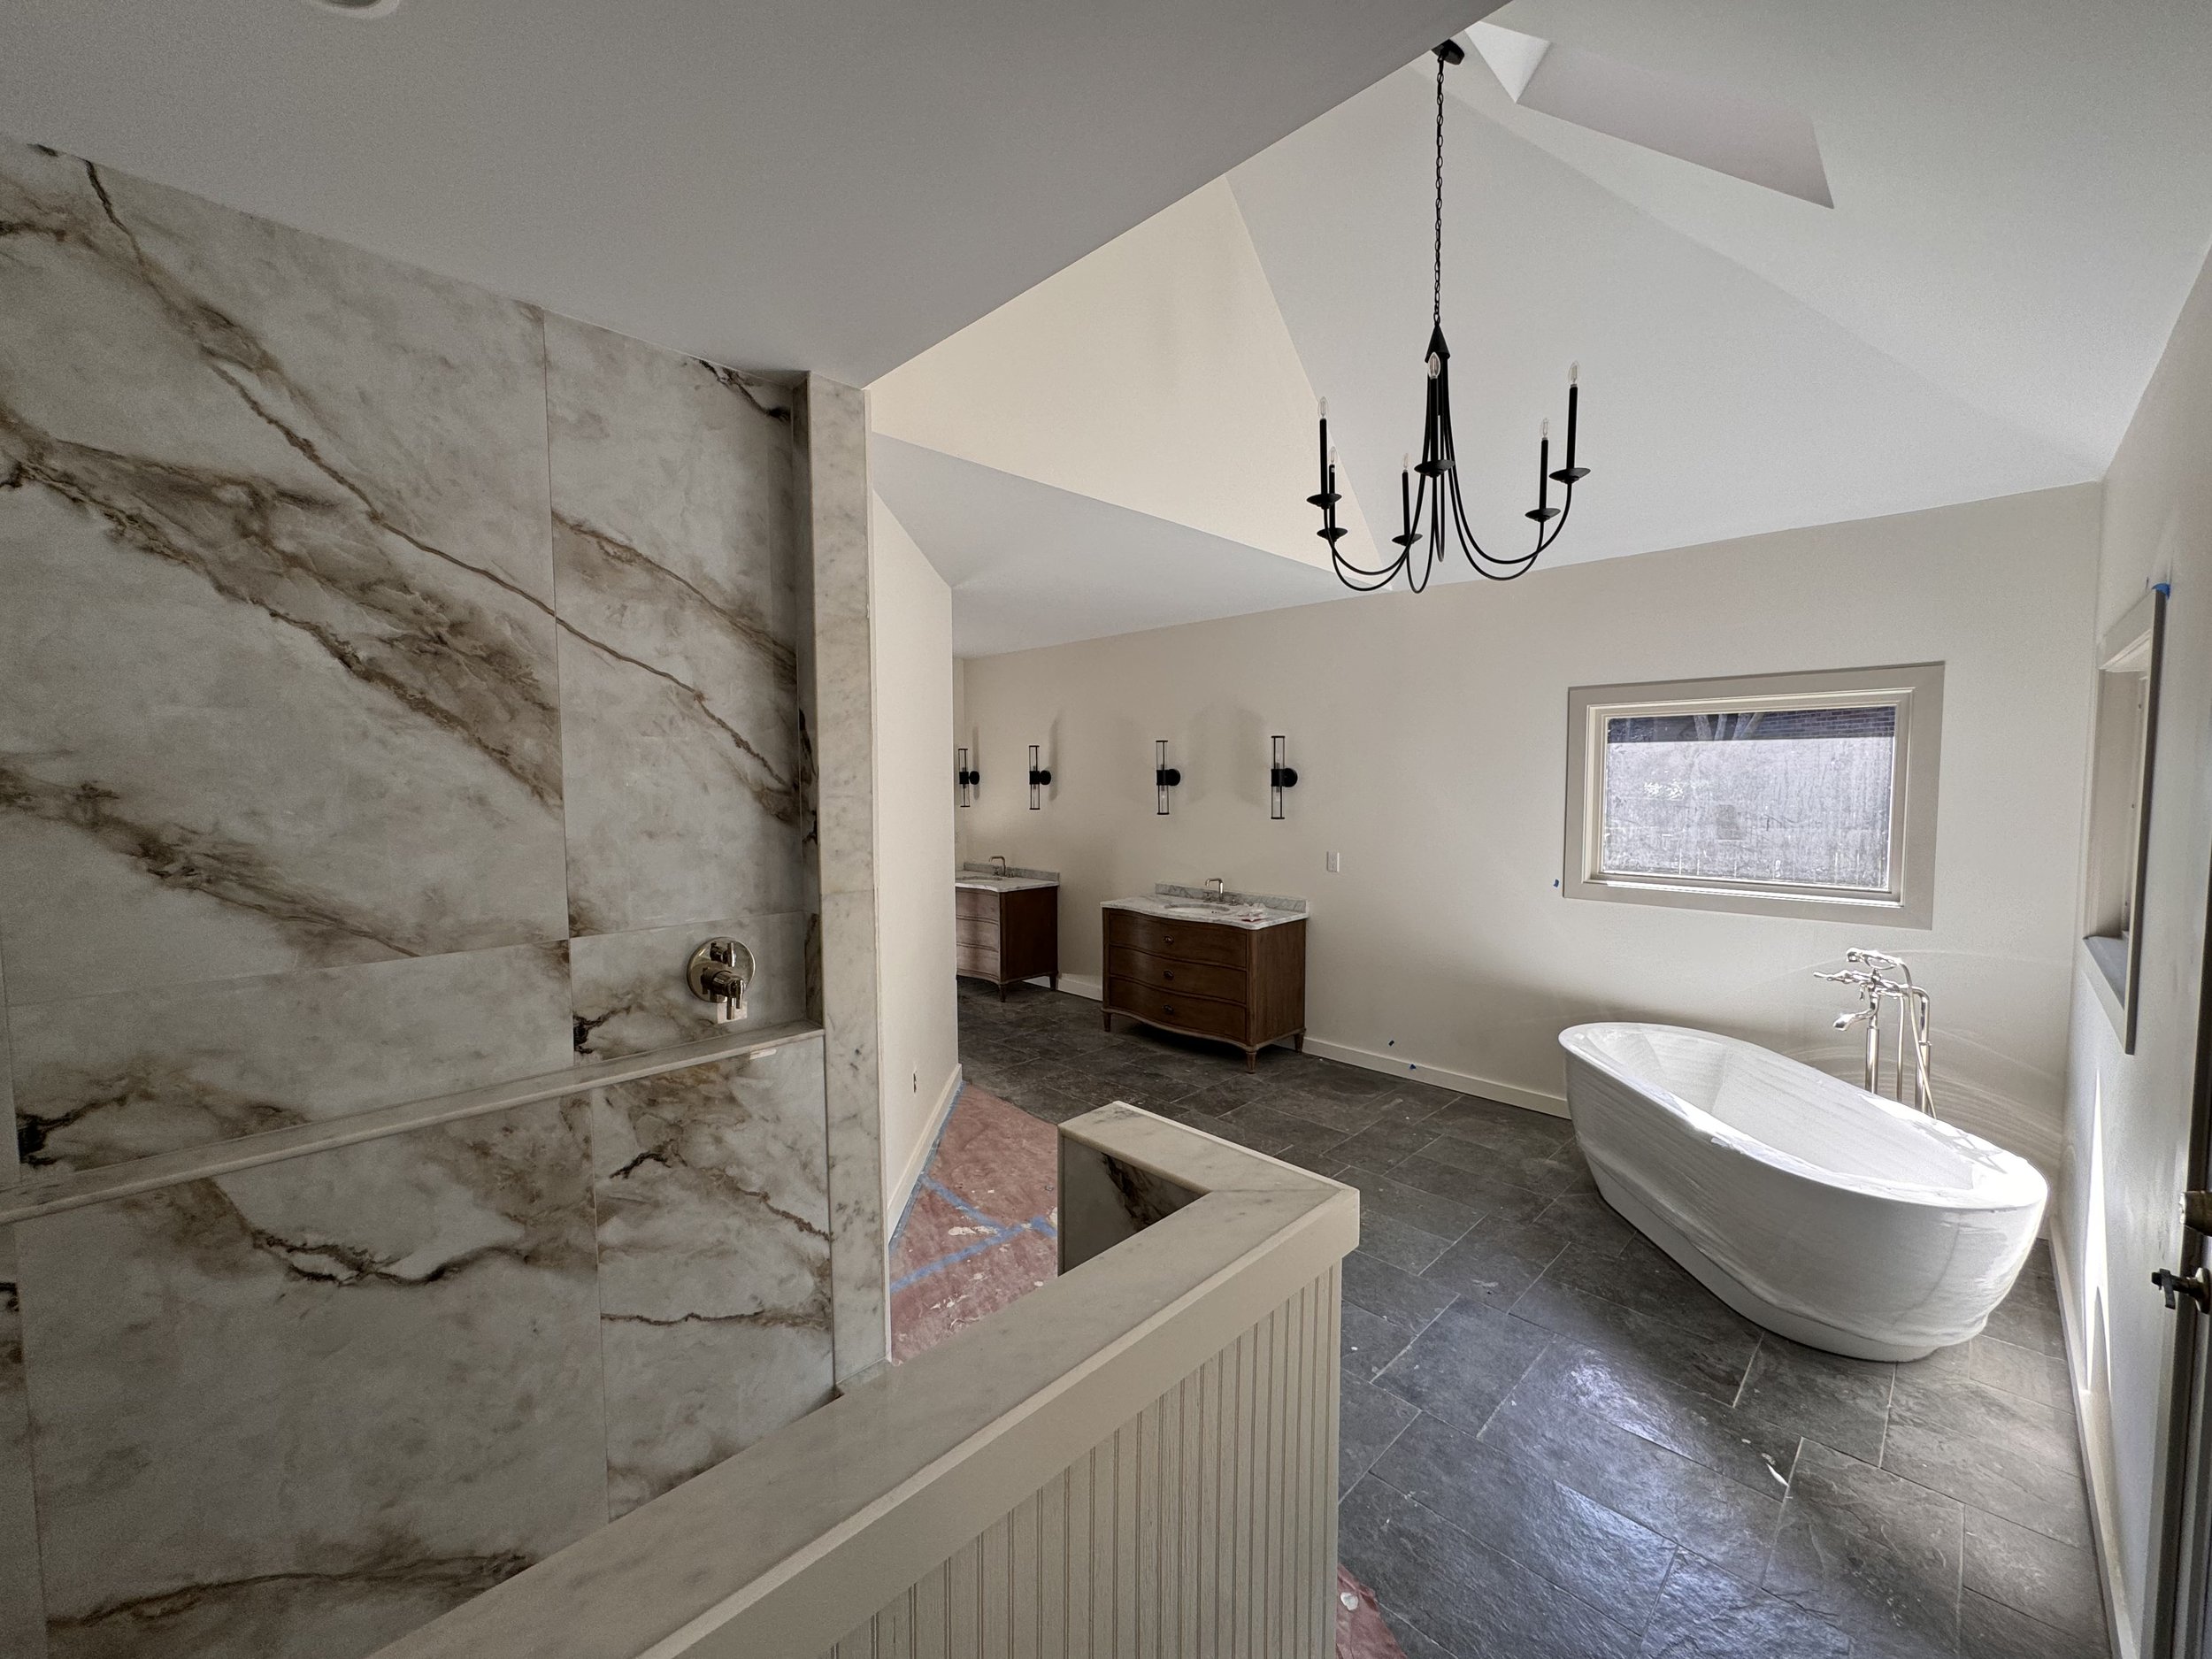
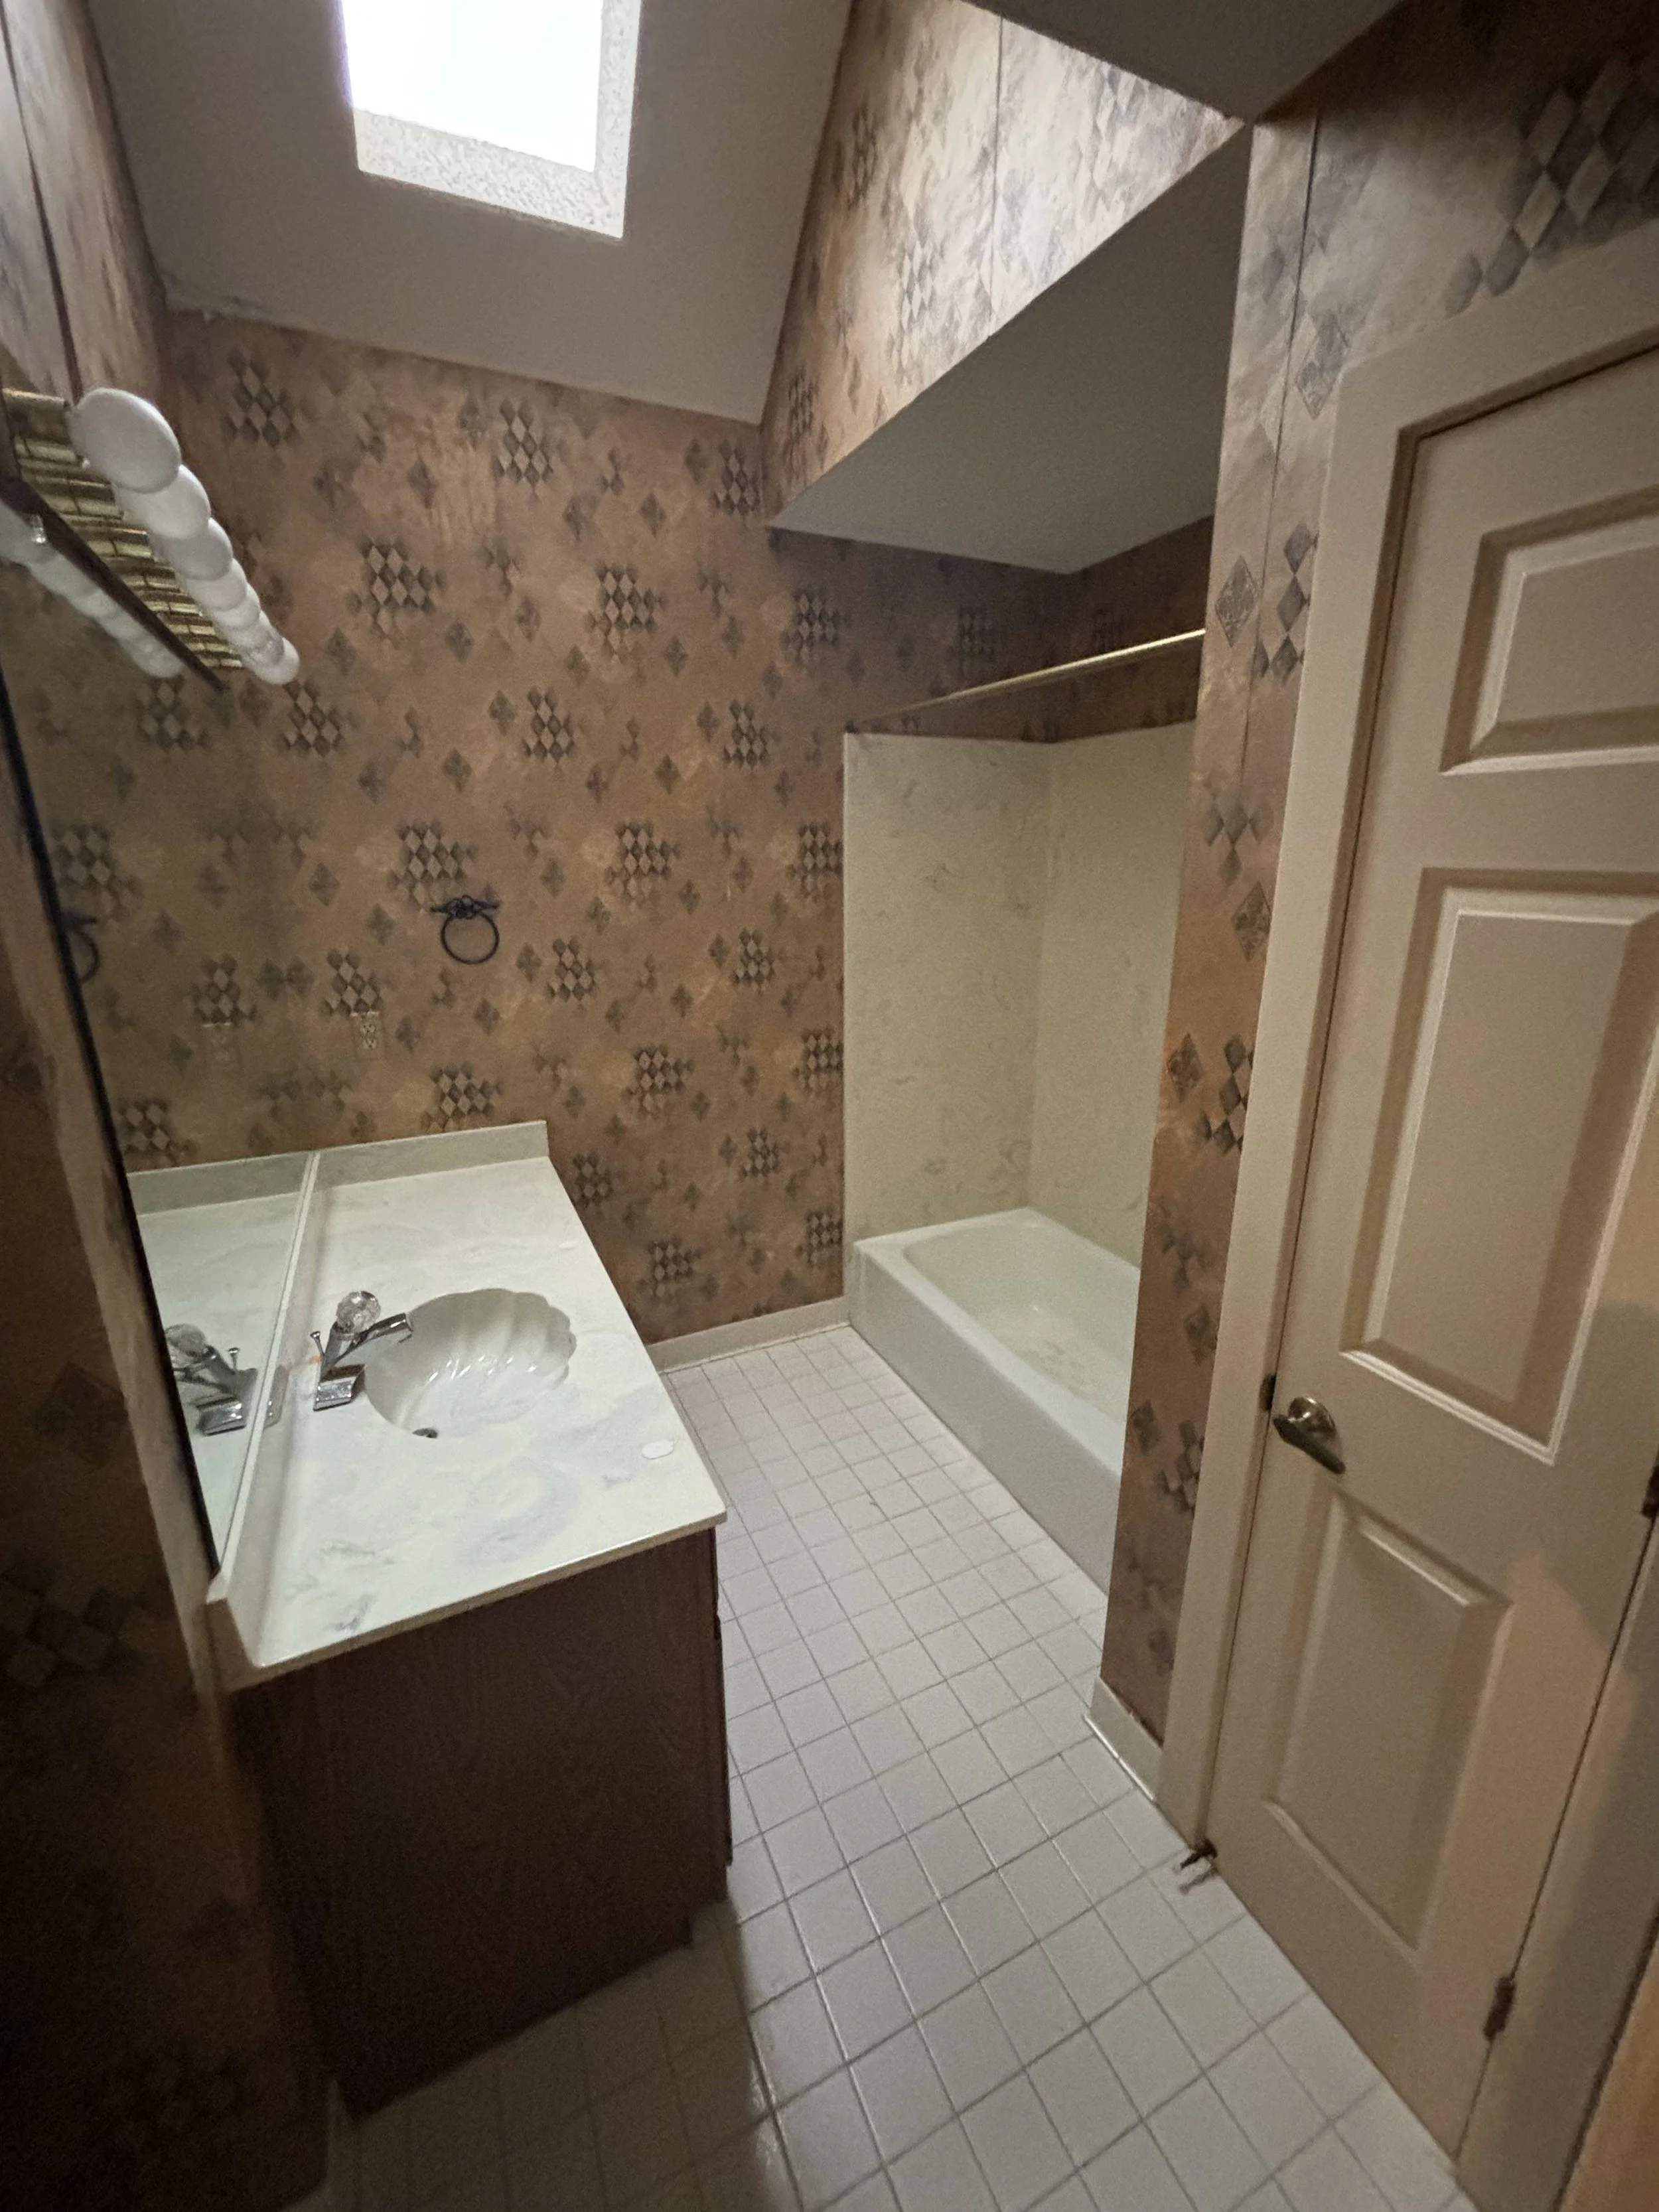
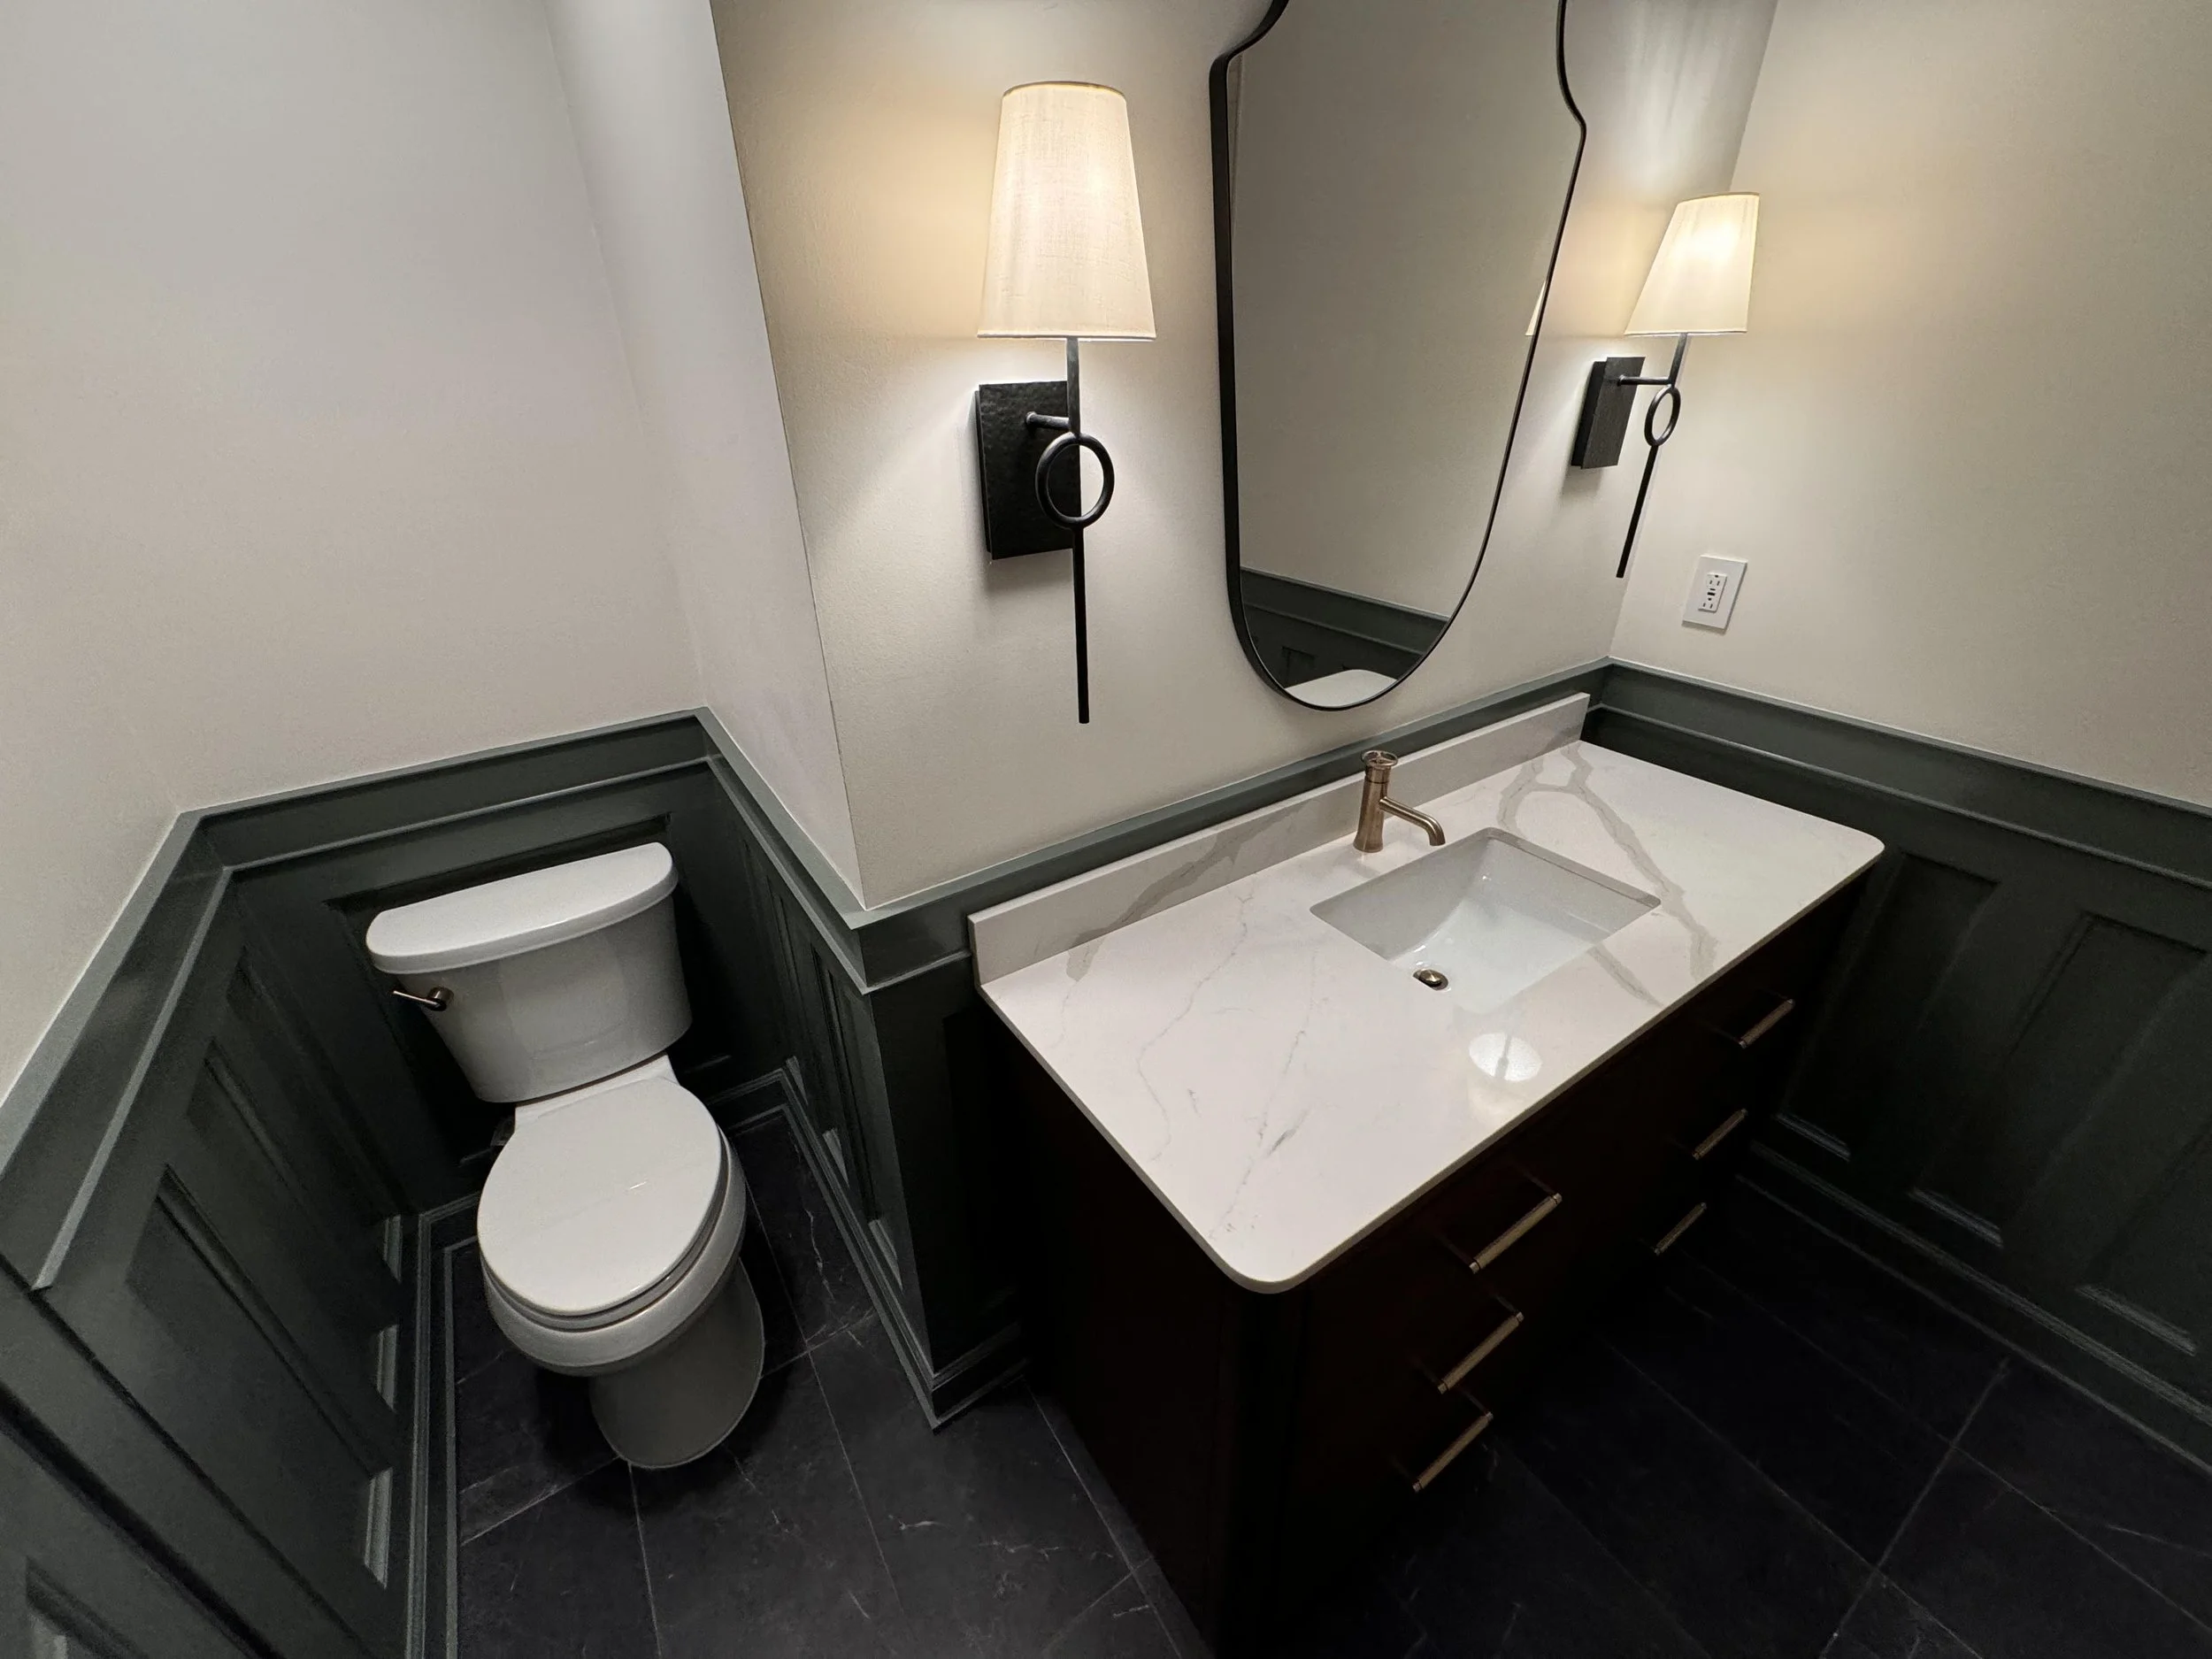
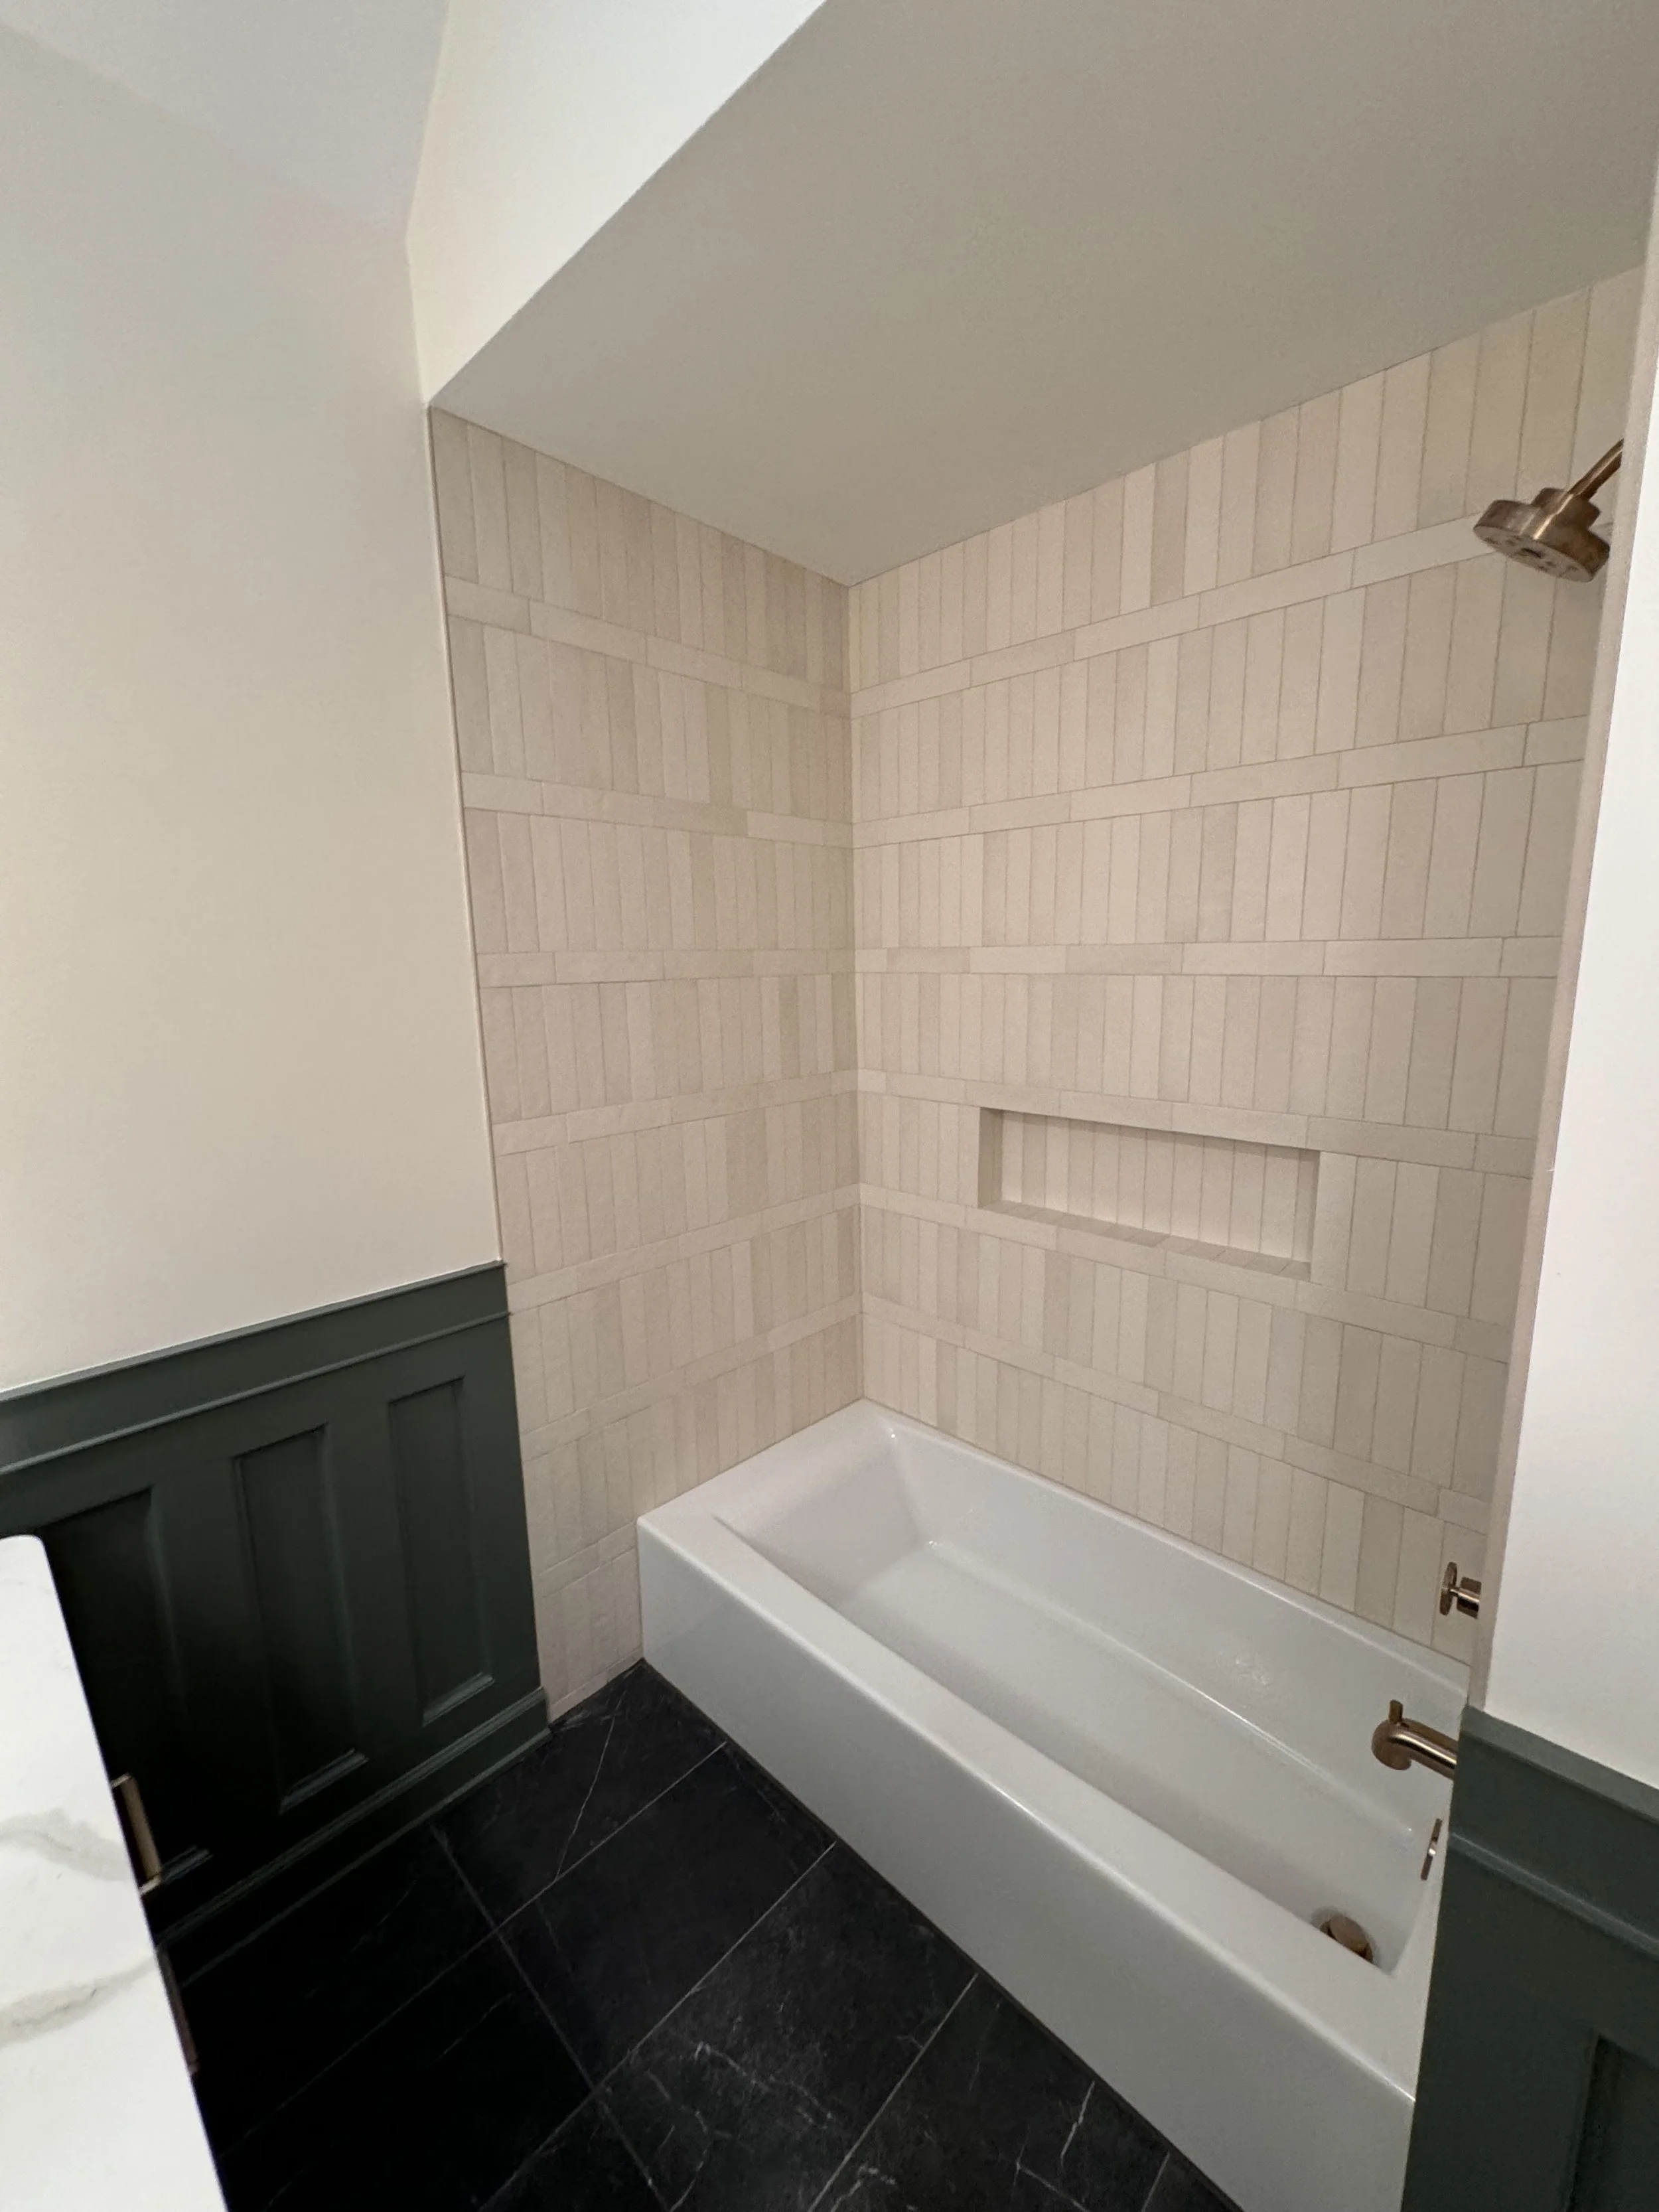
Germantown Bathroom Remodel
-
![]()
Before
-
![]()
Before
-
![]()
Before
-
![]()
Before
-
![]()
After
-
![]()
Before
-
![]()
After
-
![]()
After
Residential Gallery
We’re proud to showcase our work. Click here to view our Residential Gallery